Why does my granny square slant? | How to fix it
How to avoid slant when making a granny square.
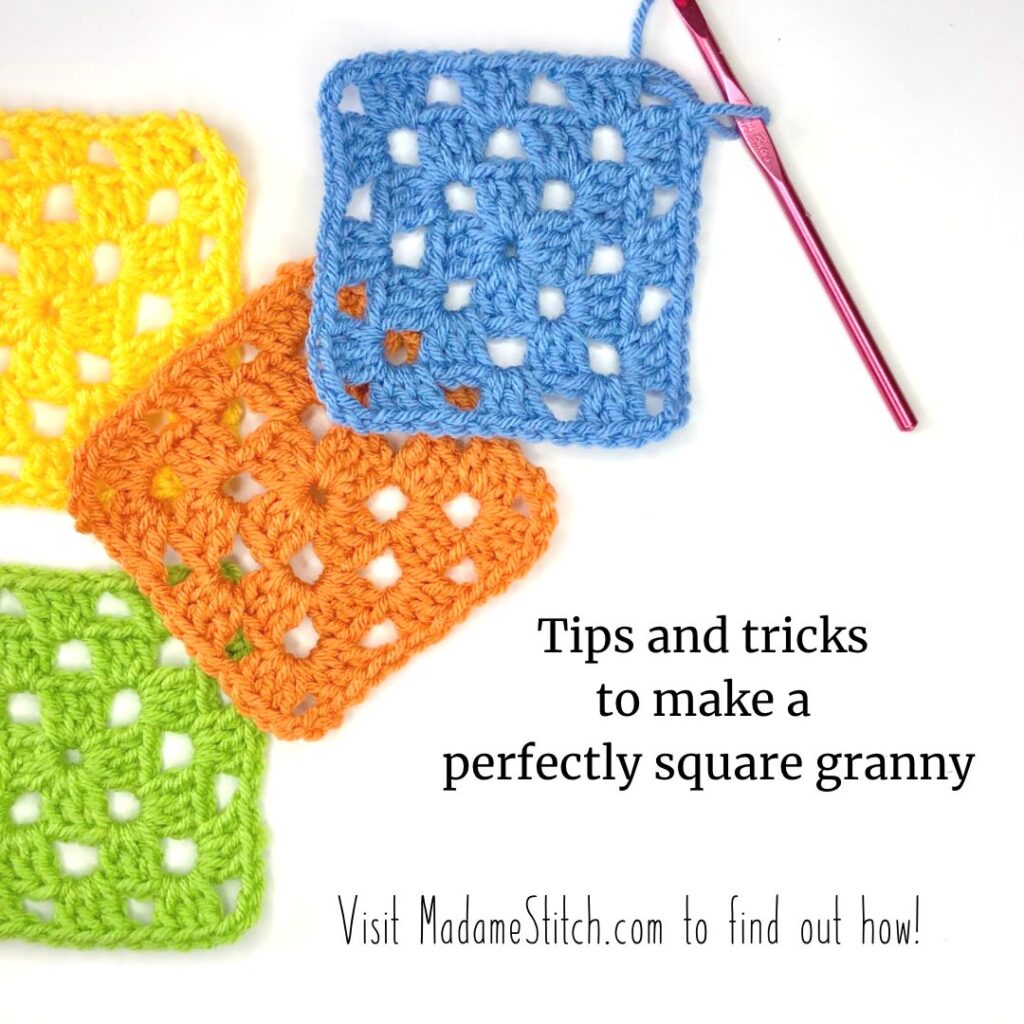
You have the perfect yarn and the perfect project for that yarn. You dive in with great excitement! But, the bigger the square gets, the wonkier it looks. What’s going on?! I know, I’ve been there.
Impact-Site-Verification: 2098ff39-bfde-40f7-a8bd-b0c73535adc1
Why does my granny square slant?
The short answer is that stitches, particularly the double crochet, naturally slant to the right. When working in rows, that slant is offset by turning at the end of each row. When working in rounds, the instructions usually tell you not to turn. All of that slanting continues in the same direction and that’s when the wonkiness happens.
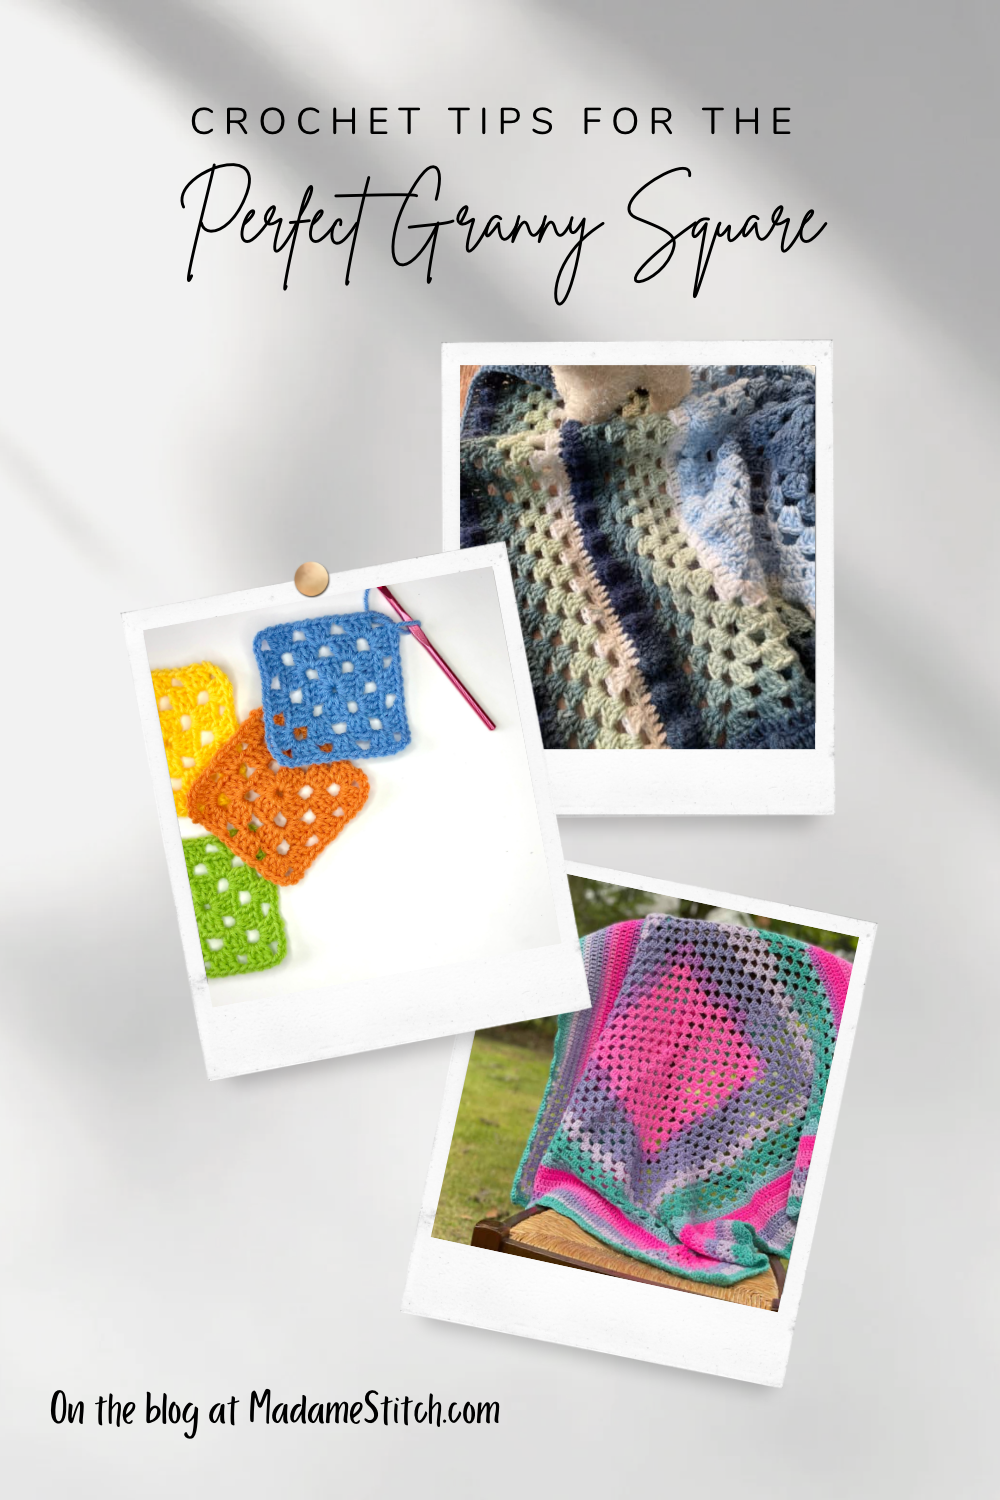
How do I fix it?
It’s a simple fix, really. Turn after every round. Or, you can turn every few rounds if you’re working with more than one color.
I have a confession to make. I’ve been making granny squares big and small for over 40 years. I’ve put up with the slant, even embraced the slant, because I like the look of the right side and the wrong side of the finished work. However, because I’ve been making a bunch of baby blankets lately, I started to wonder. So, when I started a new blanket recently, I thought, “Why not turn every row to see if it makes a difference?” Boy, was I surprised by the result.
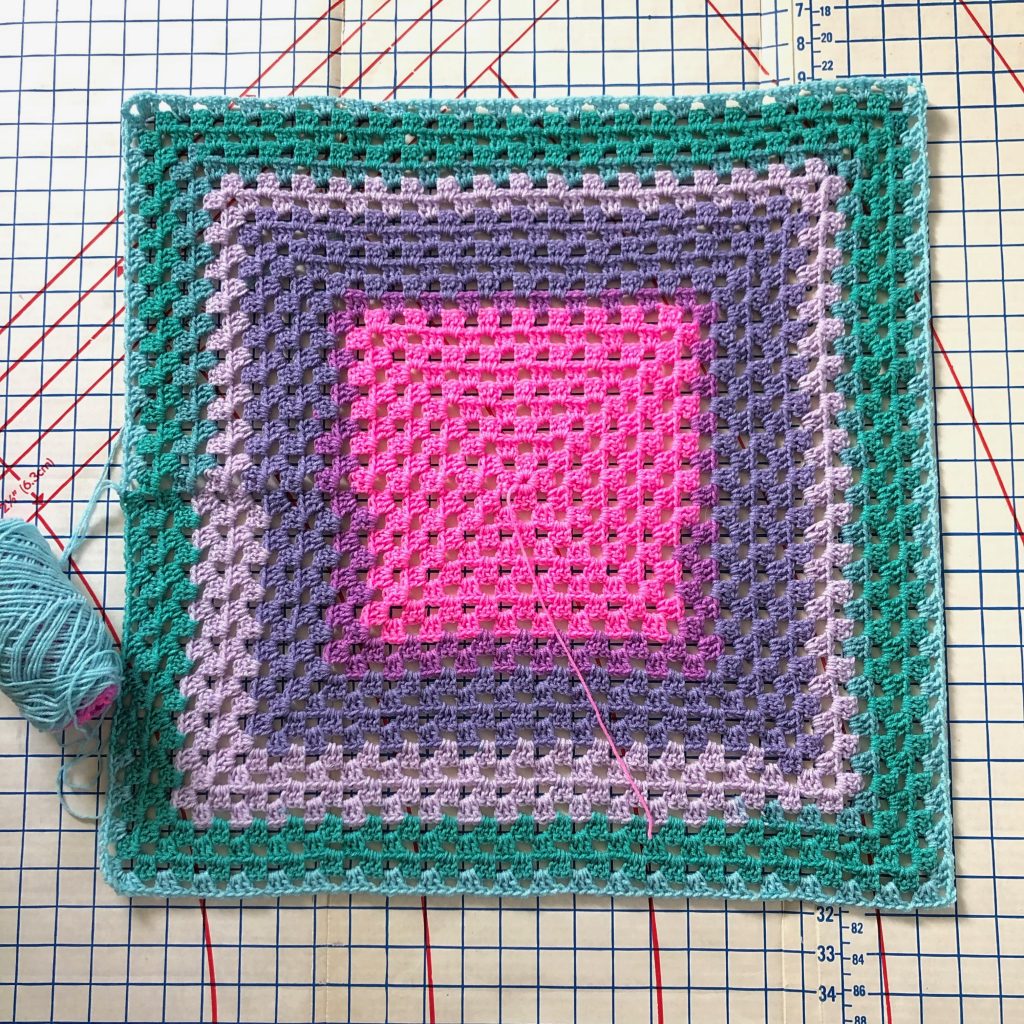
This baby blanket starts with a 20-round traditional granny square. That’s a pretty large granny square, one that can go sideways after about the first 5 or 6 rounds. As you can see from the picture below, I absolutely made the right decision to turn after every round. It’s beautifully straight! And, I’m fine with the reversible fabric.
I’m now a convert of turning every round! However, when making smaller granny squares, say 4 or 5 rounds, I’ll probably stick with working all the same direction because, up to that point, it usually doesn’t matter much.
Is there anything else I can do?
Yep, as with almost anything else in life, there are other ways to get the job done.
You could cut the yarn after every round, whether your square is one color or many, and reattach the yarn in the corner before or after where you ended the previous round. If you’re making a square that changes color every round, this one makes sense. However, creating more ends to weave in when you don’t have to makes me a little crazy.
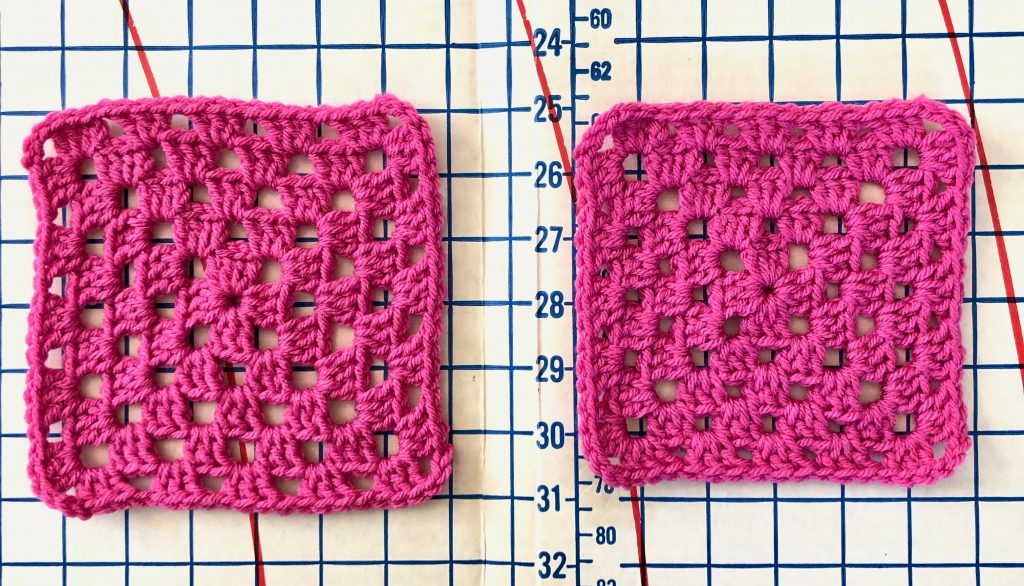
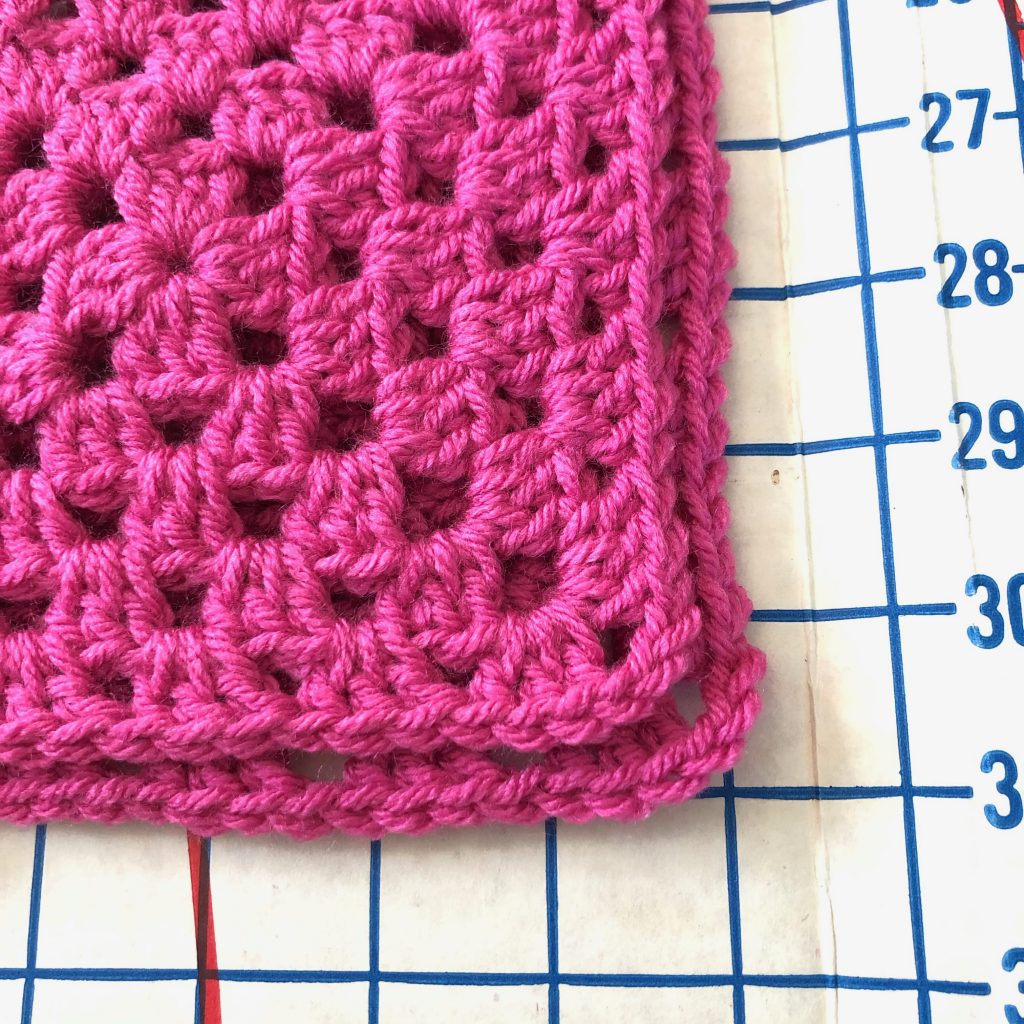
You can also eliminate the ch-1 spaces along the edges, making for a tighter, more compact square. Keep in mind, though, that this will create a slightly smaller square, so the necessary adjustments to whatever project you happen to be working on will need to be made. You may have to add rounds to the square or make additional squares for the overall project. Or, you might try using a larger hook.
In the first picture, the square on the left was worked as usual, the square on the right eliminating the ch-1 spaces. The one on the right definitely looks less wonky.
In the second picture, you can see how the top square, worked without the ch-1 spaces, is slightly smaller than the one underneath.
A square must be square!
I highly recommend turning every round. I love the way the fabric looks and my granny squares, especially in the bigger projects like pillows and blankets, come out straight and square. I probably won’t go back to making them the old way. How about you? Let me know what you think in the Comments section.
Looking for some great granny square projects to test your new skills?
All of the patterns you see here are available in my Ravelry shop. Head over and get yours today!


Learn the tricks to picking the perfect pattern for you…every time! I share my tips with you and offer a free downloadable resource to go with them.



Thank you sooo much for this information, I’m about to start a baby blanket that involves granny squares
Then this should really help keep the blanket straight and square.
Good luck with the baby blanket!
-Debbie
Thanks!
You are welcome!
Thank you for your answer. I have made small squares before, and like you said, I didn’t notice them slanting. However, recently I started a baby blanket and noticed the slant. I wondered what I did wrong, now I know. I guess it’s time to start over.
Oh dear, I really hate starting over. But, sometimes you just need to, right?
Good luck!
-Debbie
Thank you for this. Can you explain what you means by “turn”? I’m having trouble visualizing. I totally get that the stitches slant and want to make my baby blankets more square
Thank you,
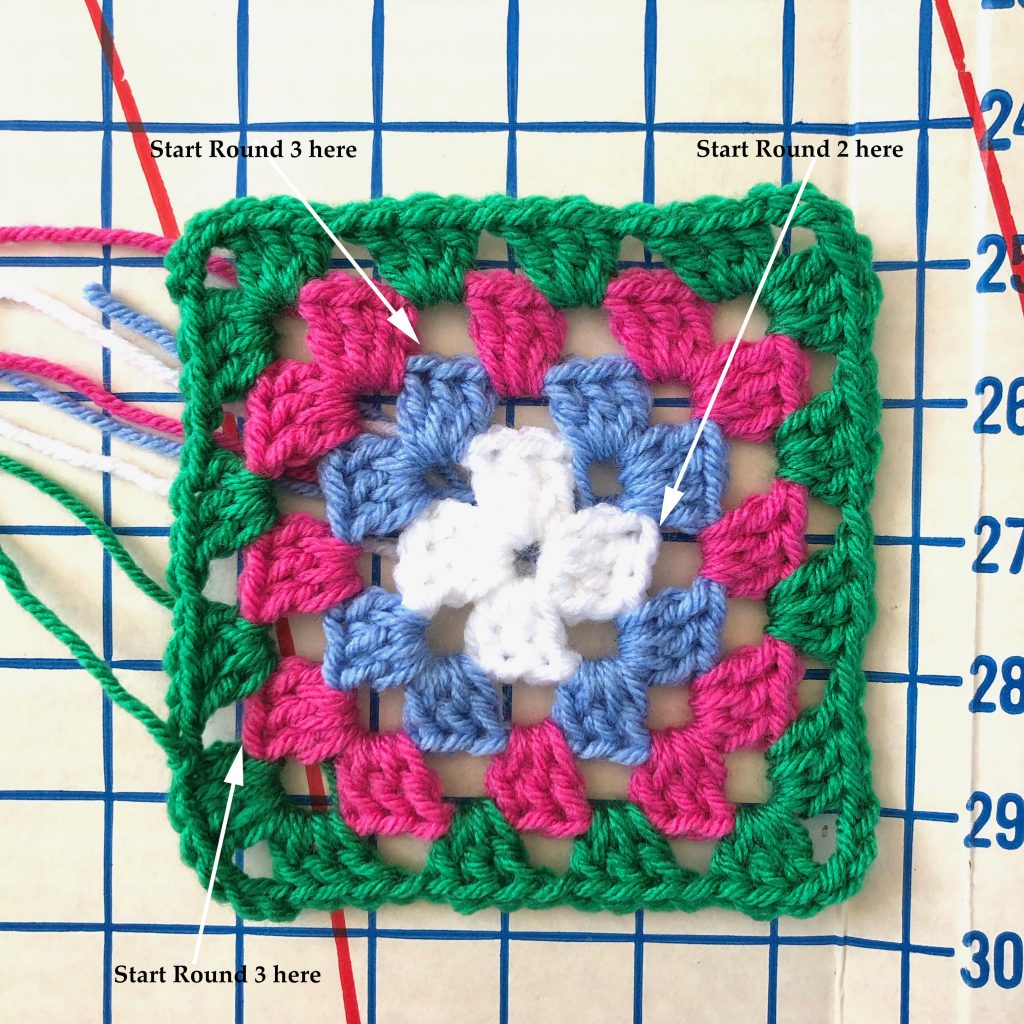
Normally, when working a granny square, you would get to the end of a round, join with a slip stitch, then continue to the next round in the same direction.
In this case, when you get to the end of the round and you’ve joined with a slip stitch, you turn the square over to work in the opposite direction. To keep your larger granny from slanting, turn after every round.
I hope that helps!
Debbie
Oh thank you, I not the one that asked the question but I was wondering! ❤️❤️
Thank you, thank you, thank you! I thought I was doing something wrong. Turning after each round makes sense.
Kathy,
You are NOT doing anything wrong! Because of the way the stitches sit, they naturally slant as you work. So, going the same direction all the time just makes that slant worse.
Glad this helped! Happy granny squar-ing!
Debbie
My granny blanket I made; I used 6 primary colors and 12 accent gray shades in between the primary colors. Every primary color, I crocheted in 1 direction. The gray colors (every other row) I turned around and started in the next corner. It kept the blocks straight, no wonky-ness.
I discovered a similar problem with making a hexagon blanket. All the patterns I saw had ch-2’s and it was making ruffles. I finally found a pattern that had ch-1’s and it made all the difference. I’ve avoided Granny Squares for this same issue and can’t wait to try this! Thanks, Debra!!
Elaine,
The cool thing is that, no matter what a pattern calls for, you can always experiment with the chain spaces to see what works with your tension. Each designer works a bit differently and their way might not work for you.
I hope you’ll give granny squares another try with your new-found knowledge!
-Debbie
OMG! This makes so much sense. We’ve been doing it all wrong all this time. And such a simple thing. Thanks.
Thank you for this advice/tutorial. I thought it was just the way I held the yarn or my tension was off or something else but what? Blocking didn’t help.
Now I know what to do. 🙂
For some reason, I’ve never had this problem, which is good for me but it was also a problem. People come to me for crochet questions and I really didn’t know what to say. So now, when I am asked, I can direct them here for their answer.
HELLO,
I cannot believe that I am actually seeing this post today. Just yesterday I purchased a gorgeous square pattern to add as a centerpiece for my WIP blanket.
This pattern calls for a turn after every row. I was so confused that I assumed it was mistakes made in the instructions. I took it all apart about 6 times and finally gave up because the stitch count, line up didn’t work according to their instructions. But thanks to this post today, I will try again and again until I figure out the problem. Thank you so much for posting this article. I probably will read it again and again. Thanks again for your time and efforts to make me a better crocheter.
Sincerely,
Ivy Sistrunk
Oh my goodness! I’m so glad you found this, just in time. I’m sorry to hear of all your frogging but I have confidence you’ll be able to work it out.
Good luck!
Debbie
Will this also work with solid granny squares
Bobie,
It’s most effective with the traditional granny square but should also work for any granny square. You just have to be sure the stitches are correct around the join.
Best,
Debbie
Yes, I usually turn after every round, especially in a large baby blanket. Have had no problems.