Cozy up for fall adventures: The charming granny square cowl you’ll love to wear
A granny square cowl that will keep you warm and stylish as you embrace the season’s charms is a must-have for fall. It’s the perfect accessory for crisp fall outings!
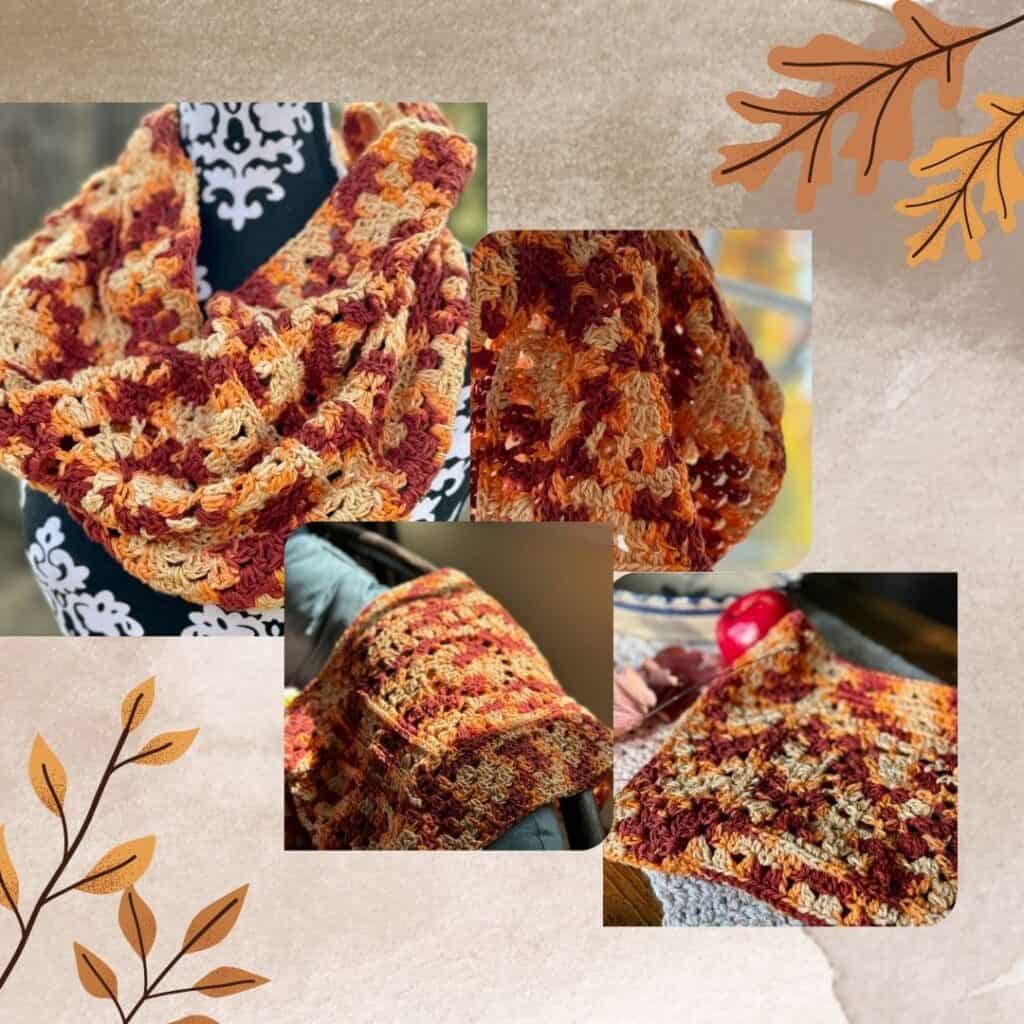
Fall is one of the most magical times of the year, filled with outdoor adventures that bring joy and excitement. The crisp, clear air makes it perfect for bundling up and heading out for fun activities like apple-picking, where you can fill your basket with fresh, juicy fruit straight from the trees.
Hayrides through fields of golden corn or pumpkin patches are a nostalgic delight, as you watch the vibrant reds, oranges, and yellows of the falling leaves swirl around you.
There’s something truly special about this season that invites us to embrace the beauty of nature, making every outing feel like a celebration of autumn’s charm.
Why not add a gorgeous granny square cowl to that charm that brings all the colors and cozy fall feels together?
The Wagon Wheel Cowl is the accessory you’ll need to be stylish and warm while you’re enjoying all your favorite fall activities!
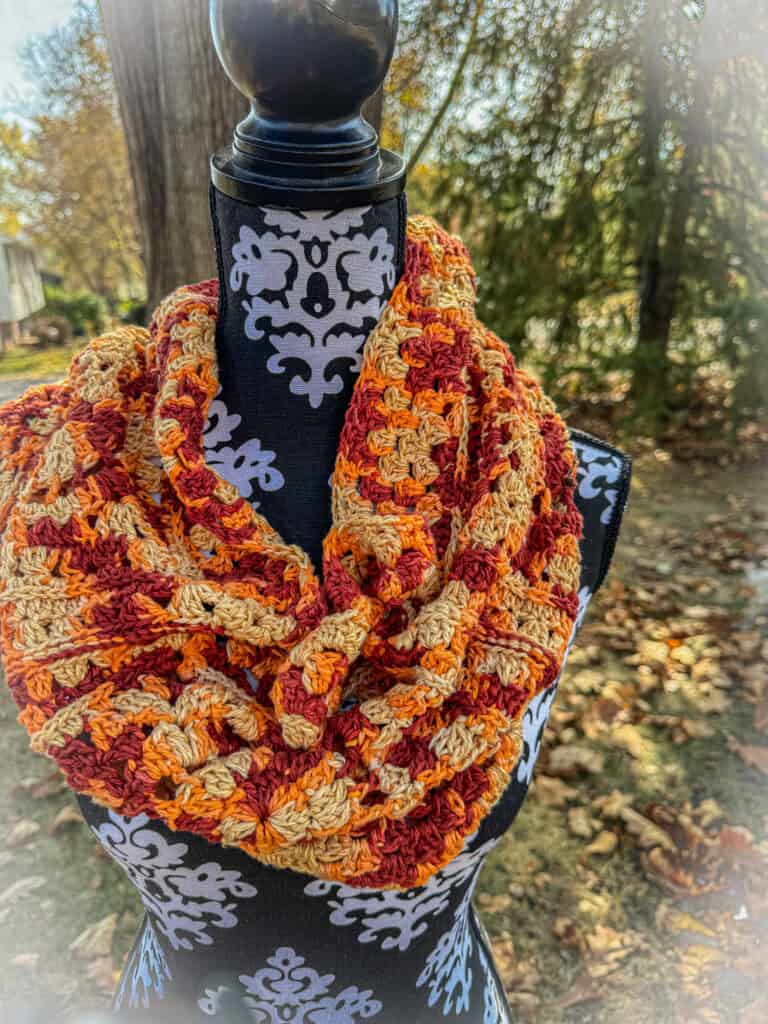
The Wagon Wheel Granny Square Cowl
Design + Construction
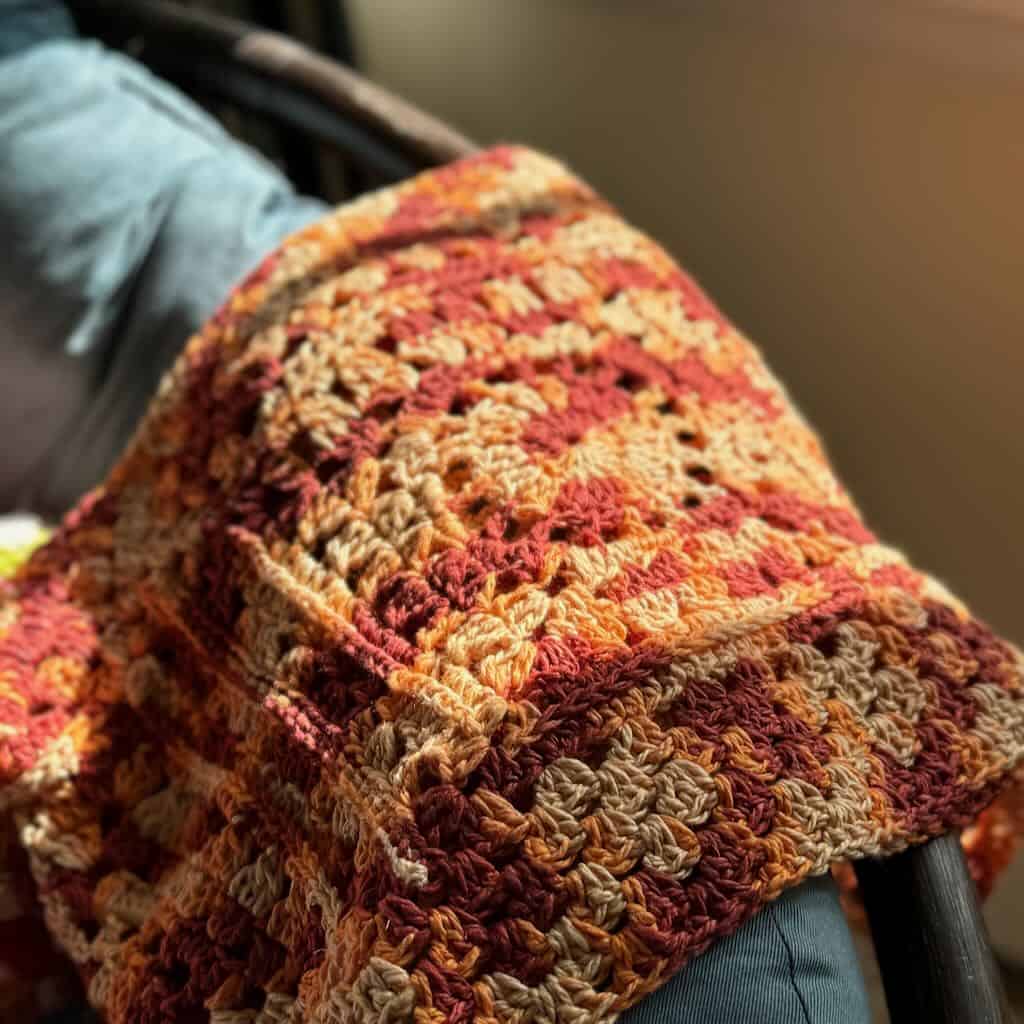
I originally designed the Wagon Wheel granny square for the 2024 Granny Stitch Sampler Blanket that made its debut in this year’s crochet along. I fell in love with the look of the square and knew I needed to repurpose it for other crochet projects.
The granny square starts as a circle, one that looks like the spokes of a wagon wheel, making it the ideal foundation for this fall-themed granny square cowl. The circle becomes a square by working stitches of differing heights and with the addition of corner spaces.
In the square, I combined my beloved granny stitch with double crochet clusters (the modern granny stitch). And, a bit of surface texture is created by working half double crochets in the third loop (the camel stitch).
The 4 squares work up quickly and are joined in a ring to form the body of the granny square cowl. I used a slip stitch seam to add a touch of texture to the look of the granny square cowl.
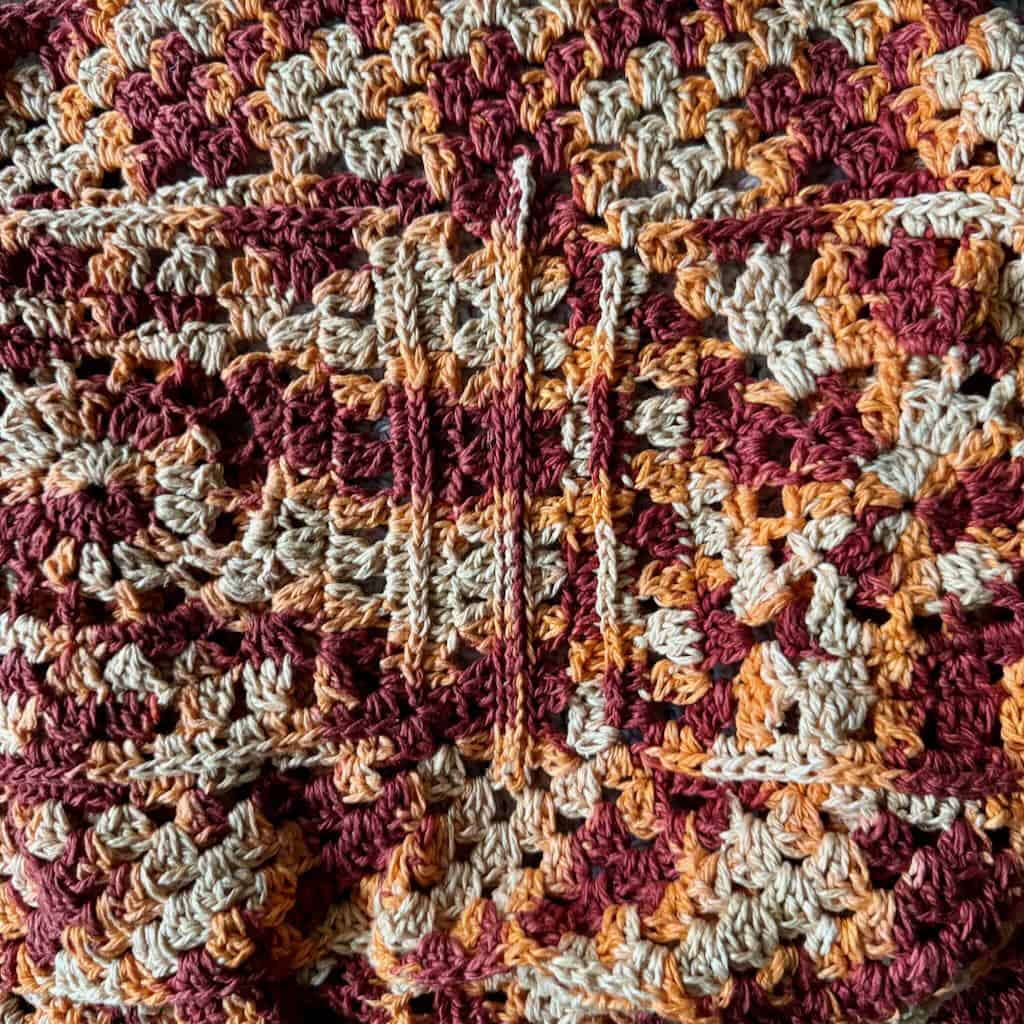
To complete the look and pull it all together, a granny stitch border is worked along both edges of the cowl.
While this granny square cowl is designed with fall in mind, it’s actually perfect for any season. Choose the fiber content and colors you want for to create an accessory for any occasion or season.
Customize your granny square cowl
Here are a few suggestions:
- Use multiple colors. Mix it up in the border by working a traditional multi-color granny square look with a new color for each round. Or, highlight various sections of the square by changing colors instead of using just one.
- The width of your granny square cowl can be customized just by changing the number of rounds of granny stitch you work for the Border.
- Add squares to your cowl to make it a double wrap infinity scarf.
The Yarn
This beautiful granny square cowl is the result of repurposing a square I love and shopping my yarn stash. We all have yarn in our collections that just sits on the shelf. Why not use it for a gorgeous fall accessory?
I chose a beautiful recycled silk yarn in my collection and decided the color was perfect for a fall-themed granny square cowl. This yarn came in a subscription box from Darn Good Yarn, something I treated myself to this past year. I’m so glad I found a purpose for this unique yarn.
This yarn is a heavier sport weight yarn that has no halo and very little, if any, stretch. When you choose your yarn, remember that a fiber content that has more stretch will alter the finished size of your cowl.
The good news is that gauge isn’t terribly important and it’s OK if the finished measurements change slightly with the weight of your yarn. Choosing a lighter DK or worsted weight yarn means your granny square cowl is a little larger. A lighter sport weight will result in something a little smaller.
Either way, your finished cowl should be the perfect size for you no matter what you choose!
Remember, this granny stitch cowl is perfect for any season, not just fall. The yarn you choose will change the character and weight of the cowl. That means a cotton yarn will give you the perfect spring/summer version and a wool yarn will give you all the warmth you need for the winter season.
Use your imagination to make the Wagon Wheel Cowl one of the most versatile accessories in your project bag!
Where to get the PDF for the Wagon Wheel Cowl
The Wagon Wheel Cowl is a free crochet granny square cowl pattern in this blog post. Scroll down for the free-to-view version.
Upgrade to the premium PDF and here’s what you’ll get:
◦ Detailed written instructions, beautifully formatted for a great experience
◦ A printer friendly, downloadable version you can upload to your favorite mobile device
◦ You won’t have to keep your browser open or bookmark this page
The premium PDF is available in the shops listed below. Just click on the button for your favorite.
Get your copy today!
The Wagon Wheel Granny Square Cowl Free Pattern
General Information
Yarn
Any heavy sport (#2) or light DK (#3) weight will work for this cowl. – Approx. 4.8 oz or 530 yds.
Yarn used for sample: Darn Good Yarn “Recycled Silk Yarn” sport weight (1.8 oz/200 yd; 50 g/182 m) – 3 hanks in Marrakesh Market
Hook
US size H-8 (5mm) or the size needed for gauge or most appropriate for yarn weight you’ve chosen
Tools
- Blocking boards and pins
- Tapestry needle for weaving in ends
Finished Size
- Each square measures 9″ across
- The cowl measures 36″ circumference x 14″ wide
Gauge
Rnds 1-4 of the square = approx. 4.25” measured across the center
Skill Level
Advanced beginner/Intermediate because of the variety of stitches and techniques used beyond the basics
Abbreviations – US crochet terminology
- beg – beginning
- BLO – back loop only
- ch – chain
- dc – double crochet
- hdc – half double crochet
- rep – repeat
- rnd(s) – round(s)
- sc – single crochet
- sk – skip
- sp – space
- st(s) – stitch(es)
- YO – yarn over
Repeats
- (…) – Work everything within the parentheses in the same st or sp.
- […] – Repeat everything within the brackets the indicated number of times.
- {…} – Repeat everything within the brackets the indicated number of times.
Special Stitches
2 double crochet cluster (2dc cl) – YO, insert hook in indicated st, YO, pull up loop, YO, pull through 2 loops, YO, insert hook in same st, YO, pull up loop, YO, pull through 2 loops, YO, pull through 3 loops on hook.
Double crochet 2 together (dc2tog) – [YO, insert hook in next st, YO, pull up loop, YO, pull through 2 loops] twice, YO, pull through all loops on the hook. This dc2tog is worked with the beg ch-2 across the 3 dc of the 1st GS of Rnd 6.
Double crochet 3 together (dc3tog) – [YO, insert hook in the next st, YO, pull up a loop, YO, pull through 2 loops] 3 times, YO, pull through 4 loops. This dc3tog is worked over the 3 dc of the GS below in Rnd 5. (In the corners, this st is referred to as 3dc cl.)
Granny stitch (GS) – 3 dc in the same st or sp.
Half double crochet in the 3rd loop (hdc 3lp) – when working from the front side of the stitch below – YO, insert hook through the 3rd loop that sits behind and just under the top loop of the stitch, YO, pull through 3rd loop, YO, pull through all 3 loops on hook to complete the hdc.
Invisible join: At the end of the rnd, remove working loop from hook, insert hook from back to front through the top of the 1st st of the rnd, add working loop back onto the hook and pull through to the wrong side of the square; continue as instructed.
Puff – YO, insert hook in indicated sp, YO, pull up a loop, [YO, insert hook in the same sp, YO, pull up a loop] twice, YO, pull through 7 loops on hook.
Stacked single crochet (STsc) – (This stitch is used at the beginning of a row or round to replace the traditional turning ch-3. It has the appearance of a dc.) – Insert hook in the same st as loop, YO, pull up a loop, YO, pull through 2 loops (bottom sc made), insert hook in the left vertical bar of the bottom sc, YO, pull up a loop, YO, pull through 2 loops (top sc made).
Pattern Notes
- Do not turn after any rnd. All rnds are worked with right side facing.
- A ch-1 at the beg of a rnd does not count as a st.
- A ch-3 may be substituted for the STsc without altering the construction of the square.
- Stitch counts are included only when they change.



One Comment