A granny stitch afghan square that radiates sunshine and warmth
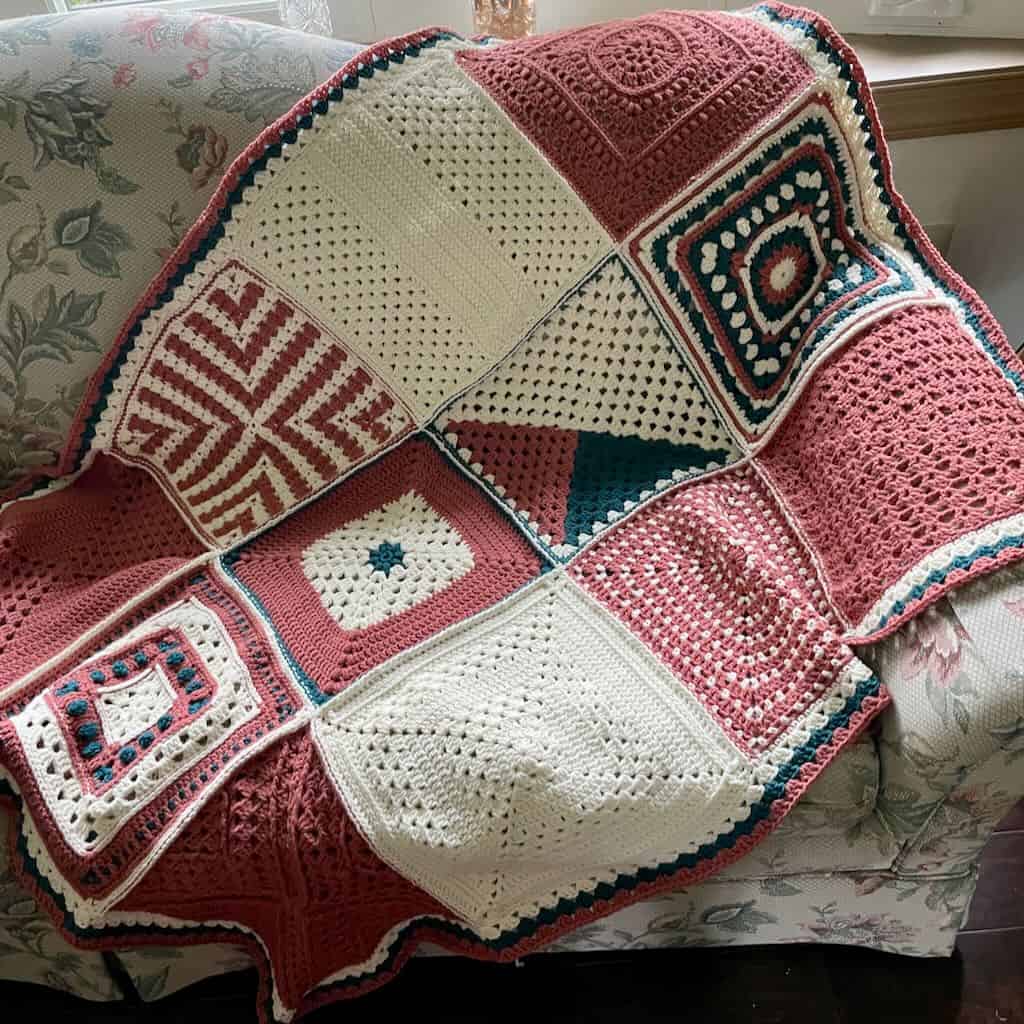
The Sunburst granny stitch afghan square radiates warmth and charm. It’s perfect for a cozy blanket that will wrap you in comfort and style.
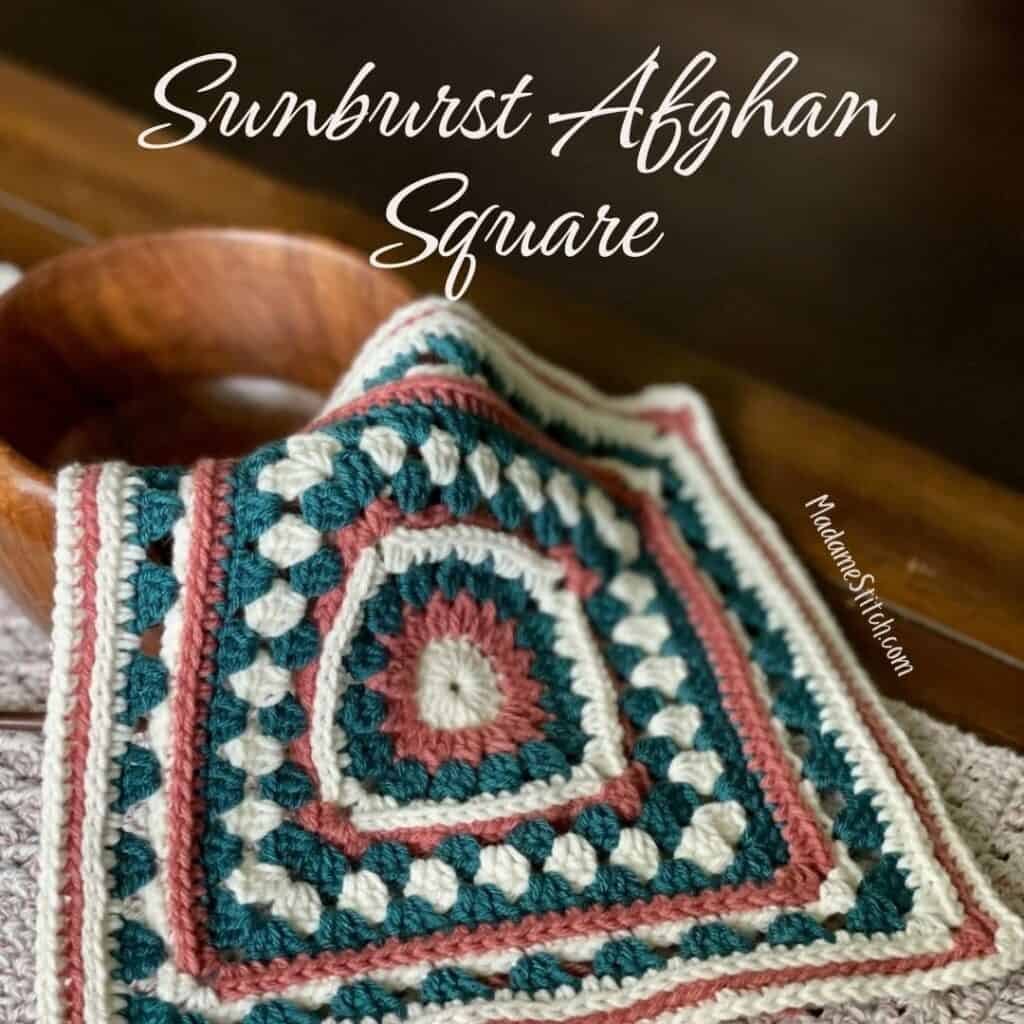
The Sunburst granny stitch afghan square
Afghan squares are the cornerstone of any beautiful crochet blanket. My go-to is usually a traditional granny square. Making anything with a good old granny square gives me hours of mindful crochet.
For the Granny Stitch Sampler Blanket crochet along, I took my favorite stitch, the granny stitch, and combined it with other stitches to create a square with loads of texture and a variety of shapes. The Sunburst granny stitch afghan square is the perfect square for a cozy blanket.
Design + Construction
This granny stitch afghan square is filled with texture created by the variety of stitches and techniques used in the construction.
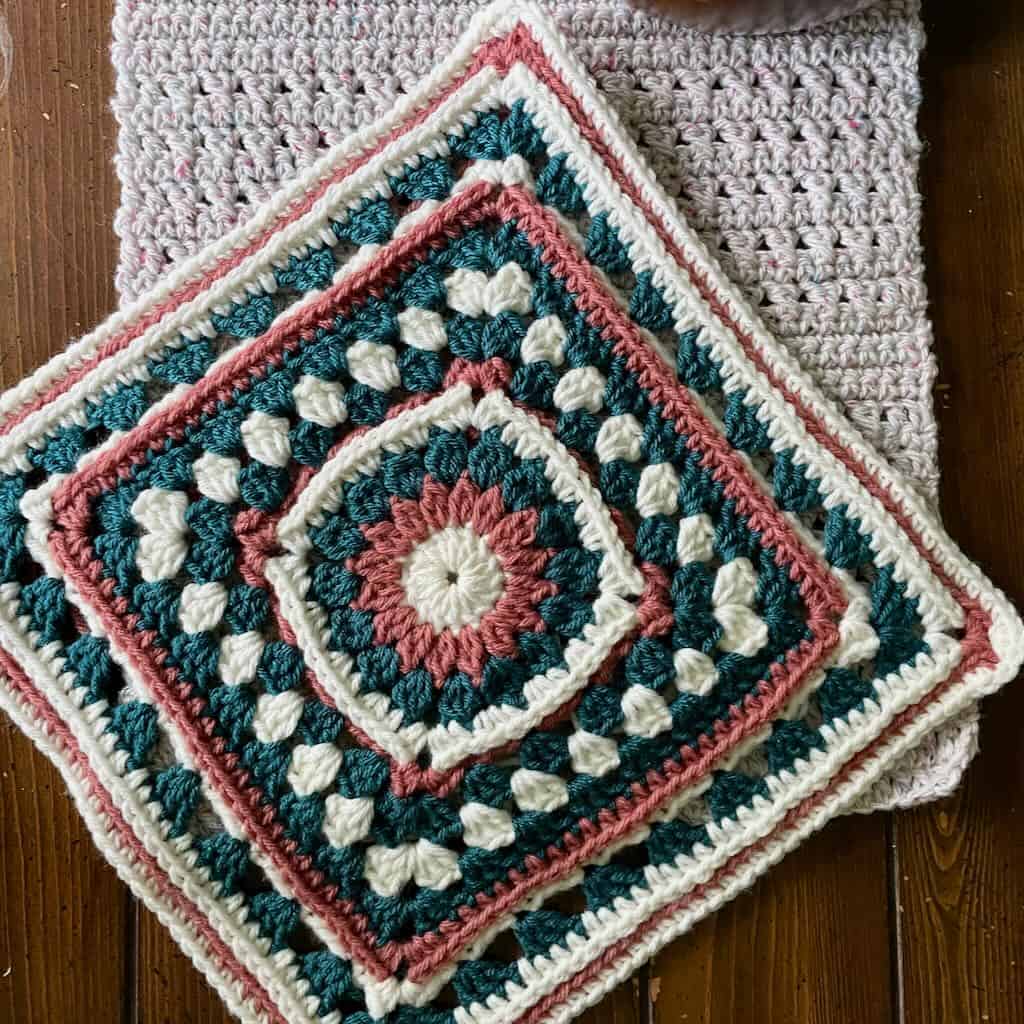
The Sunburst granny stitch afghan square actually starts as a circle. The cluster stitches in the center of the square create the illusion of a sunburst. Subsequent rounds turn that circle into a square.
Working single crochets in the 3rd loop of the previous round pushes the top loop to the front of the square for a beautiful surface stitch without needing to add anything once the square is finished.
The star of the show is the granny stitch, that group of 3 double crochet worked together in a space or stitch that comes straight from the traditional granny square. It’s mixed in with the other stitches for a beautiful combination.
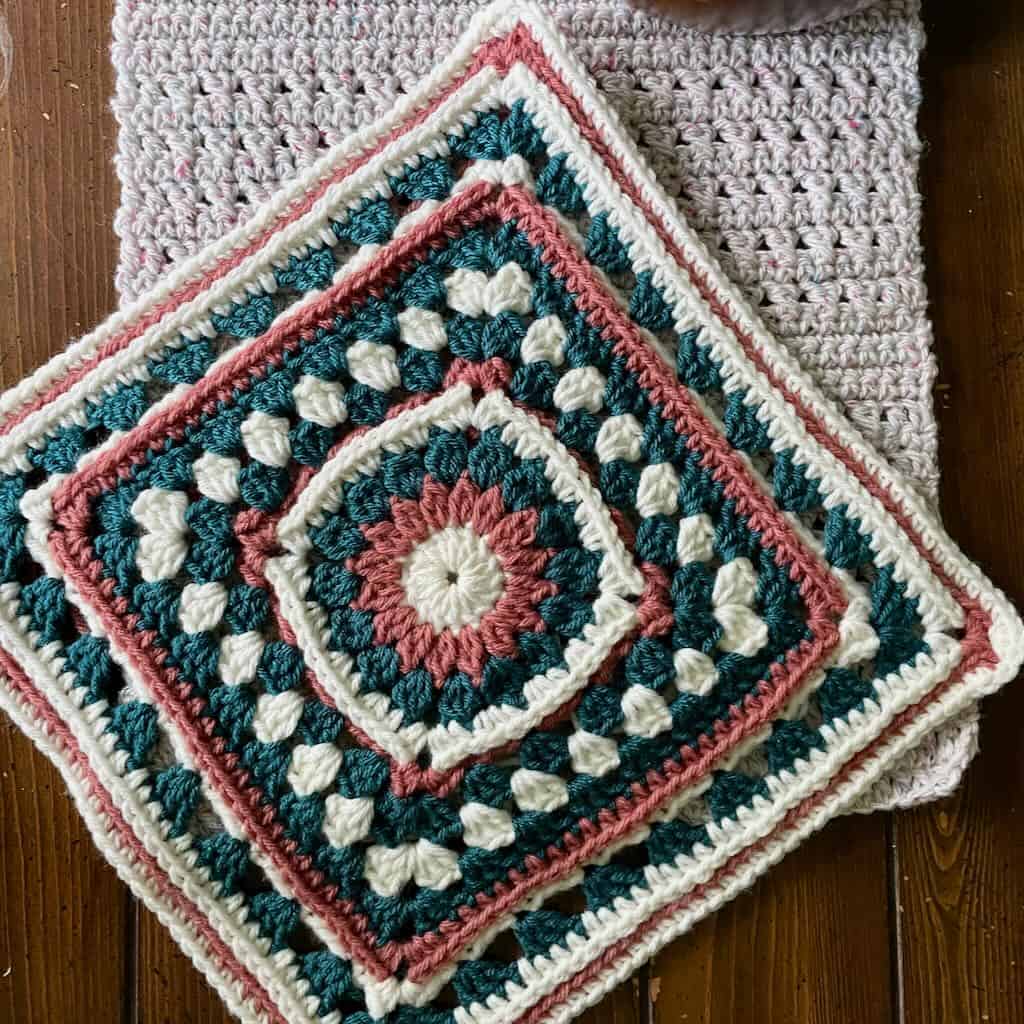
The Yarn for the Sunburst granny stitch afghan square
Because this granny stitch afghan square is intended to be a part of a larger blanket project, I chose acrylic yarns that were soft and durable, also perfect for the cost-conscious among us.
I’ve used both Lion Brand’s “Pound of Love” and Knit Picks “Brava Worsted” before and have been incredibly happy with how they hold up.
Keep in mind that you can choose any worsted weight yarn you like in any color combination that suits your taste. You can even crochet the granny stitch afghan square in one color if you like.
The colors in the model for the Sunburst granny stitch afghan square were chosen for the Granny Stitch Sampler Blanket crochet along. Both yarns offer a beautiful variety of colors, giving you lots of options for gorgeous color combinations should you choose to create your own color palette.
Purchase the PDF for the Sunburst granny stitch afghan square on Ravelry.
The Granny Stitch Sampler Blanket crochet along
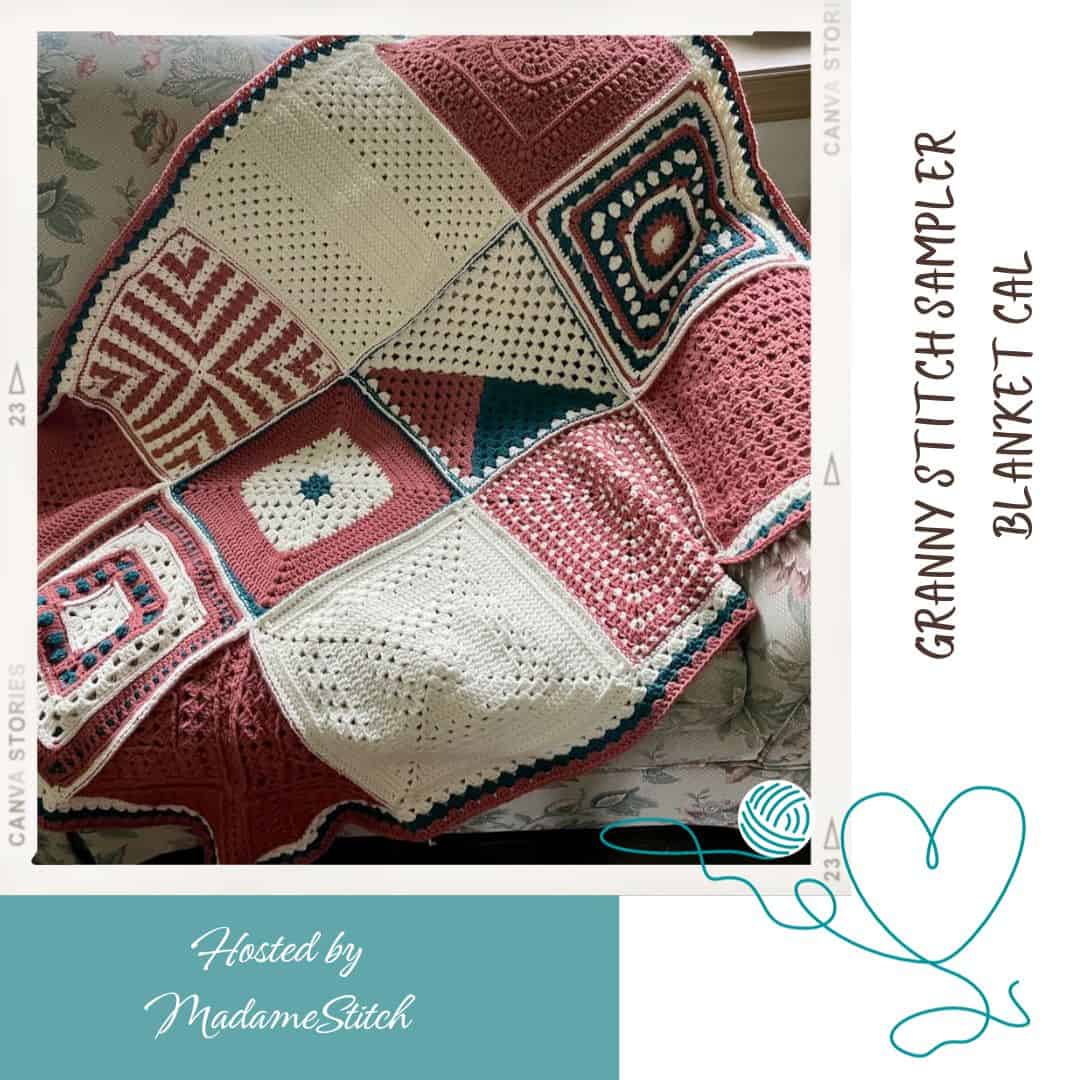
The Sunburst granny stitch afghan square is part of the Granny Stitch Sampler Blanket, a free crochet along.
The Sunburst granny stitch afghan square officially releases on Monday, Oct. 2, as part of the crochet along.
From Monday, Oct. 2, at 8am EDT, to Tuesday, Oct, 3, at 11:59pm, you can purchase the PDF for this square at a 50% discount in my Ravelry shop.
Use the code GRANNYSTITCH50 at checkout.
The full pattern for the Granny Stitch Sampler Blanket is available for purchase. If you prefer having everything in one convenient document you can download to your favorite mobile device, this is a great deal!
What you need to know about the Sunburst granny stitch afghan square
This post contains affiliate links. That means, if you purchase something using the link, I receive a small commission. You don’t pay any extra and your information is safe. Thanks for supporting my small business.
Yarn
Color A (CA) – Lion Brand “Pound of Love” 100% premium acrylic worsted (16oz/1020yd; 454g/932m) in Antique White (#099B)
Color B (CB) – Lion Brand “Pound of Love” 100% premium acrylic worsted (16oz/1020yd; 454g/932m) in Terracotta (#134A)
Color C (CC) – Knit Picks “Brava Worsted” 100% premium acrylic worsted (218yd; 100g) – Peacock or Tidepool (These colors are interchangeable)
The entire square takes approx. 2.4oz/160yd.The square can be worked in just one color of any worsted weight yarn. However, using contrasting colors highlights the variations in texture throughout the square.
Hook
US size H-8 (5mm) or size needed for gauge
Finished size: 12″ square (blocked)
Gauge: Rnds 1-3 = 3″ across
Skill level: Advanced beginner/Intermediate
Abbreviations – US crochet terminology
- beg – beginning
- ch – chain
- dc – double crochet
- hdc – half double crochet
- rnd(s) – round(s)
- sc – single crochet
- sp – space
- st(s) – stitch(es)
- YO – yarn over
- ( ) – Work everything within the parentheses in teh same st or sp
- [ ] – Repeat everything within the brackets the indicated number of times
- { } – Repeat everything within the brackets the indicated number of times
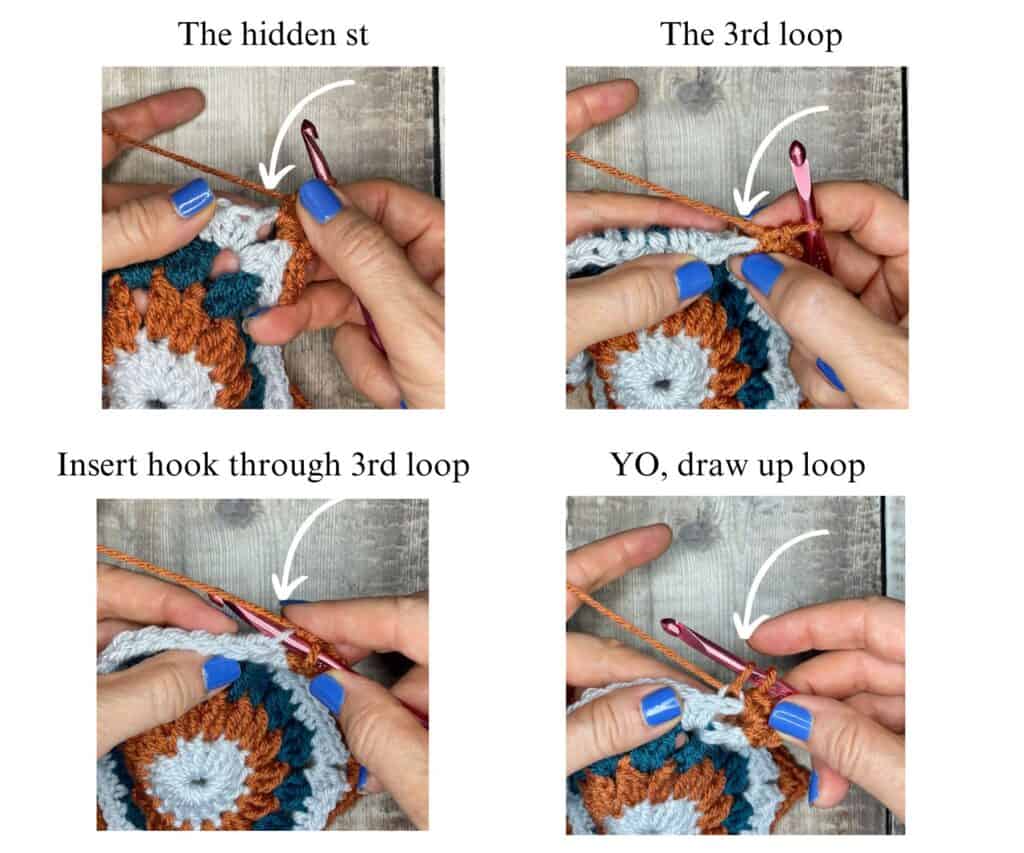
A note about the hidden stitch
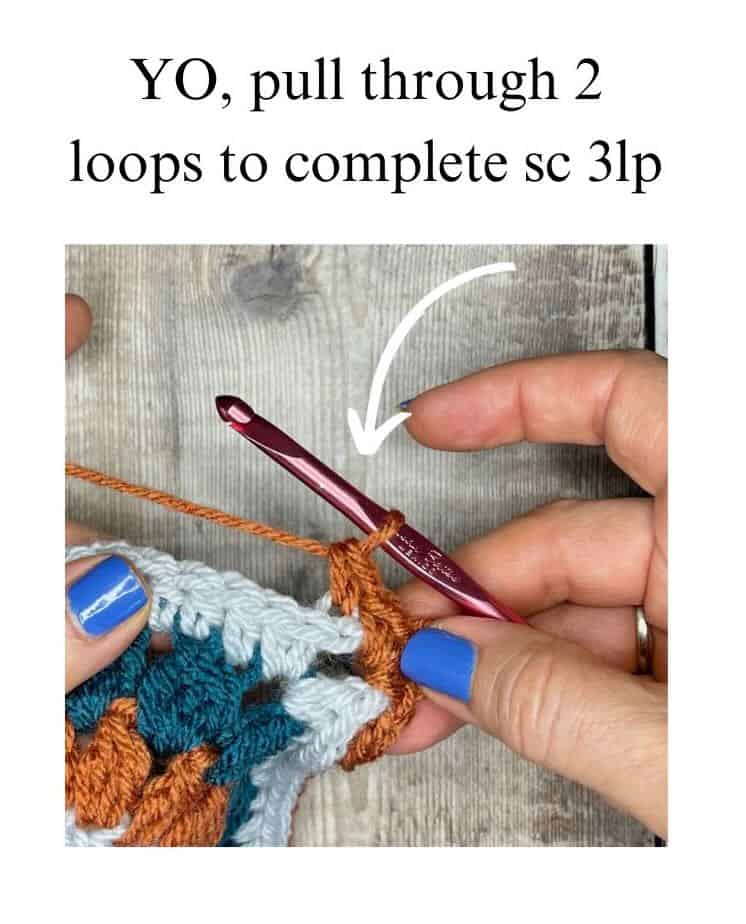
What is the hidden stitch in crochet? It’s the 1st stitch that follows each corner when working in the round. Oftentimes, because of the stitches worked in the corner space, that 1st stitch will be hidden and tucked underneath the corner stitches. In this pattern, the hidden stitch may be included in a stitch count or worked as part of the sc 3lp. I’ve included photos on p. 5 for the sc 3lp that’s hidden.
Special Stitches
2 double crochet cluster (2dc cl) – YO, insert hook in indicated st, YO, draw up a loop, YO, pull through 2 loops, YO, insert hook in same st, YO, draw up a loop, YO, pull through 2 loops, YO, pull through all 3 loops on hook.
3 double crochet cluster (3dc cl) – YO, insert hook in indicated sp, YO, draw up a loop, YO, pull through 2 loops, [YO, insert hook in same sp, YO, draw up a loop, YO, pull through 2 loops] twice, YO, pull through all 4 loops on hook.
Granny stitch (GS) – 3 dc in the same sp.
Single crochet in the 3rd loop (sc 3lp) – Instead of working the sc in the loops that sit on top of the st, this sc is worked in the loop that sits on the back side just below the top loops.
Stacked single crochet (STsc) – (This stitch is used at the beginning of a row or round to replace the traditional turning ch-3. It has the appearance of a dc.) – Insert hook in same st as loop, YO, draw up loop, YO, pull through 2 loops (bottom sc made), insert hook in left vertical bar of bottom sc, YO, draw up loop, YO, pull through 2 loops (top sc made).
The pattern for the Sunburst granny stitch afghan square
Pattern Notes
- Each new rnd, beginning with Rnd 4, is started in a corner.
- Do not turn after any rnd.
- Ch 1 at beg of rnd does not count as a st.
- A ch-3 may be substituted for the STsc at any time without altering the look of the square.
- Beginning with Rnd 7, the GS are worked in the sp where the “ch-1” would normally be.
- To avoid having all of the ends in one corner to weave in and add bulk, attach the new color to a different corner than the one you started in. Space them out so the ends will be evenly distributed throughout the square.
Pattern Instructions
With CA, ch 4, join with slip st to form ring. (Or, you may use a magic ring instead. Close the ring at the end of Rnd 1.)
Rnd 1: STsc, 15 dc in the ring, join with slip st to beg st. (16 dc) Fasten off.
Rnd 2: Attach CB to any st, (ch 2, dc) in the same st (counts as 2dc cl), [ch 1, 2dc cl in next st] 15 times, ch 1, join with slip st to beg 2dc cl. (16 2dc cl, 16 ch-1 sp) Fasten off.
Rnd 3: Attach CC to any ch-1 sp, (ch 2, 2dc cl) in the same sp (counts as 3dc cl), [ch 2, 3dc cl in the next ch-1 sp] 15 times, ch 2, join with slip st to beg 3dc cl. (16 3dc cl, 16 ch-2 sp) Fasten off.
Rnd 4: Attach CA to any ch-2 sp, ch 1, (2 hdc, ch 2, 2 hdc) in the same sp, {[hdc in top of 3dc cl, 2 hdc in the ch-2 sp] 3 times, hdc in the top of the 3dc cl, (2 hdc, ch 2, 2 hdc) in the next ch-2 sp} 3 times, [hdc in top of 3dc cl, 2 hdc in the ch-2 sp] 3 times, hdc in the top of the 3dc cl, join with slip st to beg st. (56 hdc, 4 ch-2 sp) Fasten off.
Note: Be sure to work a sc 3lp in the hidden st (the 1st st) after each corner.
Rnd 5: Attach CB to any corner sp, ch 1, (2 sc, ch 2, 2 sc) in the same sp, [sc 3lp in each st across to next corner sp, (2 sc, ch 2, 2 sc) in corner] 3 times, sc 3lp in each st across to 1st corner, join with slip st to beg st. (16 sc, 56 sc 3lp, 4 ch-2 sp) Fasten off.
Rnd 6: Attach CC to any corner, (STsc, 2 dc, ch 2, GS) in the same corner, {[sk 3 sts, GS in the next st] 4 times, (GS, ch 2, GS) in the next corner} 3 times, [sk 3 sts, GS in the next st] 4 times, join with slip st to beg st. (24 GS, 4 ch-2 sp) Fasten off.
Rnd 7: Attach CA to any corner, (STsc, 2 dc, ch 2, GS) in the same corner, [GS in each sp to next corner sp, (GS, ch 2, GS) in corner] 3 times, GS in each sp across to 1st corner sp, join with slip st to beg st. (28 GS, 4 ch-2 sp) Fasten off.
Rnd 8: Attach CC to any corner, rep Rnd 7. (32 GS, 4 ch-2 sp) Fasten off.
Rnd 9: Attach CB to any corner, ch 1, (2 hdc, ch 2, 2 hdc) in the same corner, [hdc in the next st and in each st across to next corner sp, (2 hdc, ch 2, 2 hdc) in corner] 3 times, hdc in the next st and in each st across to 1st corner sp, join with slip st to beg st. (112 hdc, 4 ch-2 sp)
Note: Be sure to work a sc 3lp in the 1st st after each corner.
Rnd 10: Attach CA to any corner, ch 1, (2 sc, ch 2, 2 sc) in the same corner, [sc 3lp in next st and in each st across to next corner sp, (2 sc, ch 2, 2 sc) in corner] 3 times, sc 3lp in next st and in each st across to 1st corner sp, join with slip st to beg st. (16 sc, 112 sc 3lp, 4 ch-2 sp) Fasten off.
Note: Remember to count the hidden st after each corner when skipping 4 sts.
Rnd 11: Attach CC to any corner, (STsc, 2 dc, ch 2, GS) in same corner, {ch 1, sk 4 sts, GS in the next st, [ch 1, sk 3 sts, GS in the next st] 6 times, ch 1, (GS, ch 2, GS) in corner} 3 times, ch 1, sk 4 sts, GS in the next st, [ch 1, sk 3 sts, GS in the next st] 6 times, ch 1, join with slip st to beg st. (36 GS, 32 ch-1 sp, 4 ch-2 sp) Fasten off.
Rnd 12: Attach CA to any corner sp, (2 hdc, ch 2, 2 hdc) in same corner, [hdc in each st and ch-1 sp across to next corner sp, (2 hdc, ch 2, 2 hdc) in corner] 3 times, hdc in each st and ch-1 sp across to 1st corner, join with slip st to beg st. (156 hdc, 4 ch-2 sp) Fasten off.
Note: Be sure to work a sc 3lp in the hidden st (the 1st st) after each corner.
Rnd 13: Attach CB to any corner sp, ch 1, (2 sc, ch 2, 2 sc) in the same sp, [sc 3lp in each st across to next corner sp, (2 sc, ch 2, 2 sc) in corner] 3 times, sc 3lp in each st across to 1st corner, join with slip st to beg st. ( 16 sc, 156 sc 3lp, 4 ch-2 sp) Fasten off.
Rnd 14: Attach CA to any corner sp, ch 1, [3 sc in corner, sc in the next st and in each st across to next corner sp] 4 times, join with slip st to beg st. (184 sc)
Fasten off and weave in all ends.
Your Sunburst granny stitch afghan square is complete! Use it for your own blanket creation or consider this the start of your very own Granny Stitch Sampler Blanket.





On rnd 6, I’m struggling with the stitch count between the corners. On the previous row, I believe there are 14 sc 3lp stitches between the corners plus 2 sc on each corner between the corners chains. That would be 18 stitches. If you skip 3 and then do a GS 4 times, you would need 19 stitches. Unless I am missing something or misunderstanding. Thanks for any clarification!
Juni,
At the end of each side, just before the next corner, you’ll only be skipping 2 sts before you work (GS, ch 3, GS) in the corner. That equals 18 sts instead of 19.
Hope that helps!
-Debbie
Thank you! Does the pattern indicate the skipped stitches at the end of each row before the corner. On rnd 6 and rnd 11 I am not seeing skipped stitches at the end of the row before the corner. Or perhaps I am reading the pattern incorrectly? Thanks again! I am loving the square!
Because the next instruction at the end of each side was to work in the corner space, I didn’t see a need to note the skipped sts before the corner.
Oh, I see! The next part jumps to the corner so it can be assumed you skip the remaining stitches. Duh….it’s obvious! Thank you!