An elegant granny stitch shawl will add a touch of handmade love to any outfit!
This extra long granny stitch shawl features a unique variation of the classic granny stitch, giving it a modern twist. Perfect for adding a touch of coziness and style to any outfit. Handmade with love, this versatile accessory is a must-have for any crochet lover!

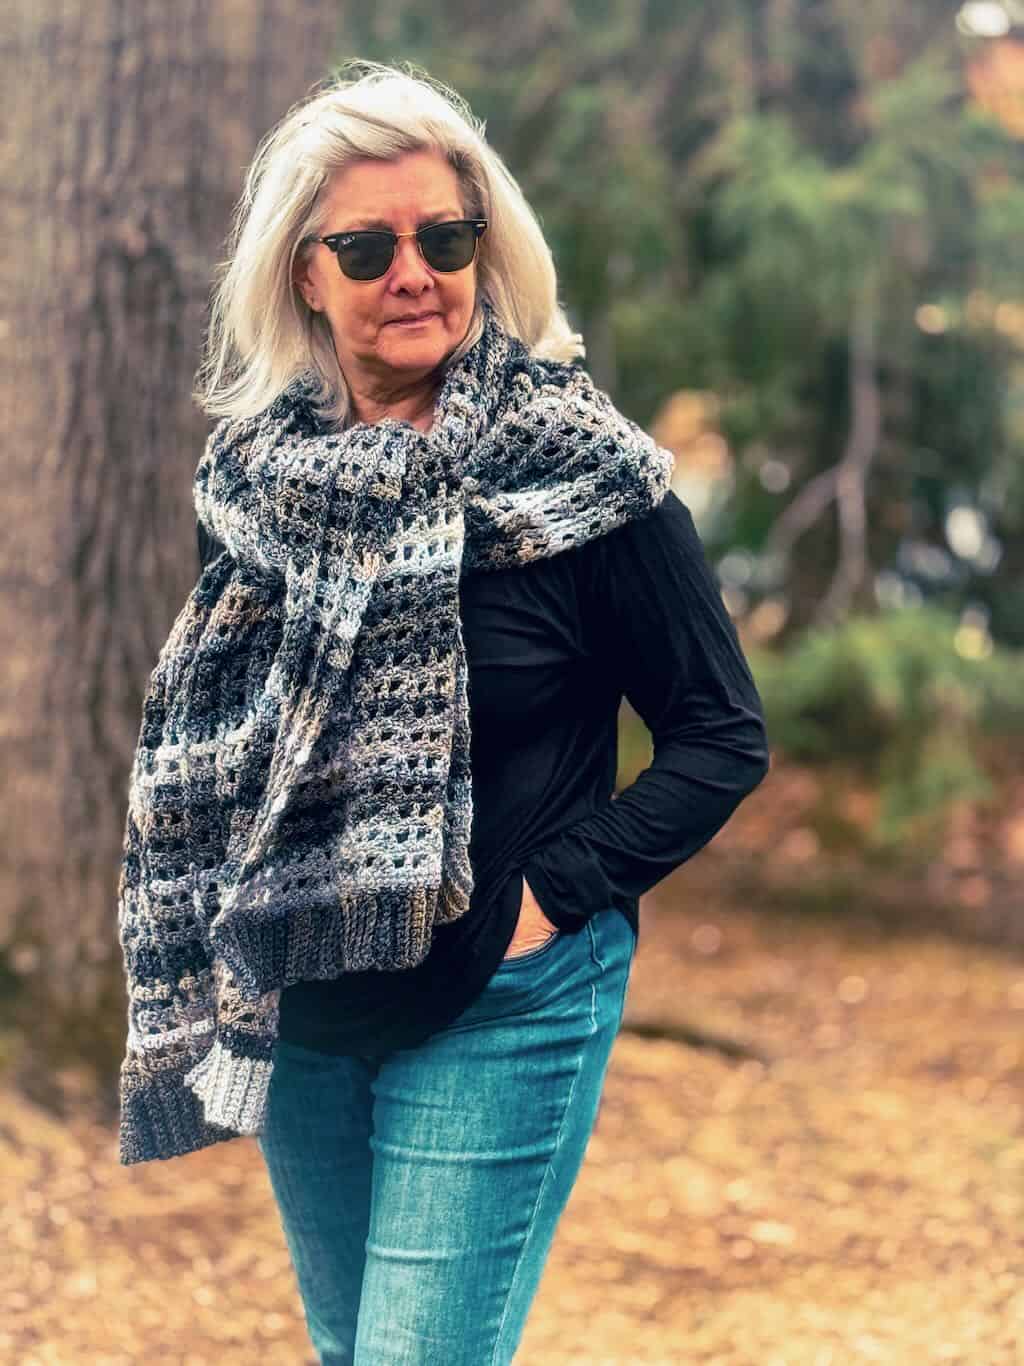
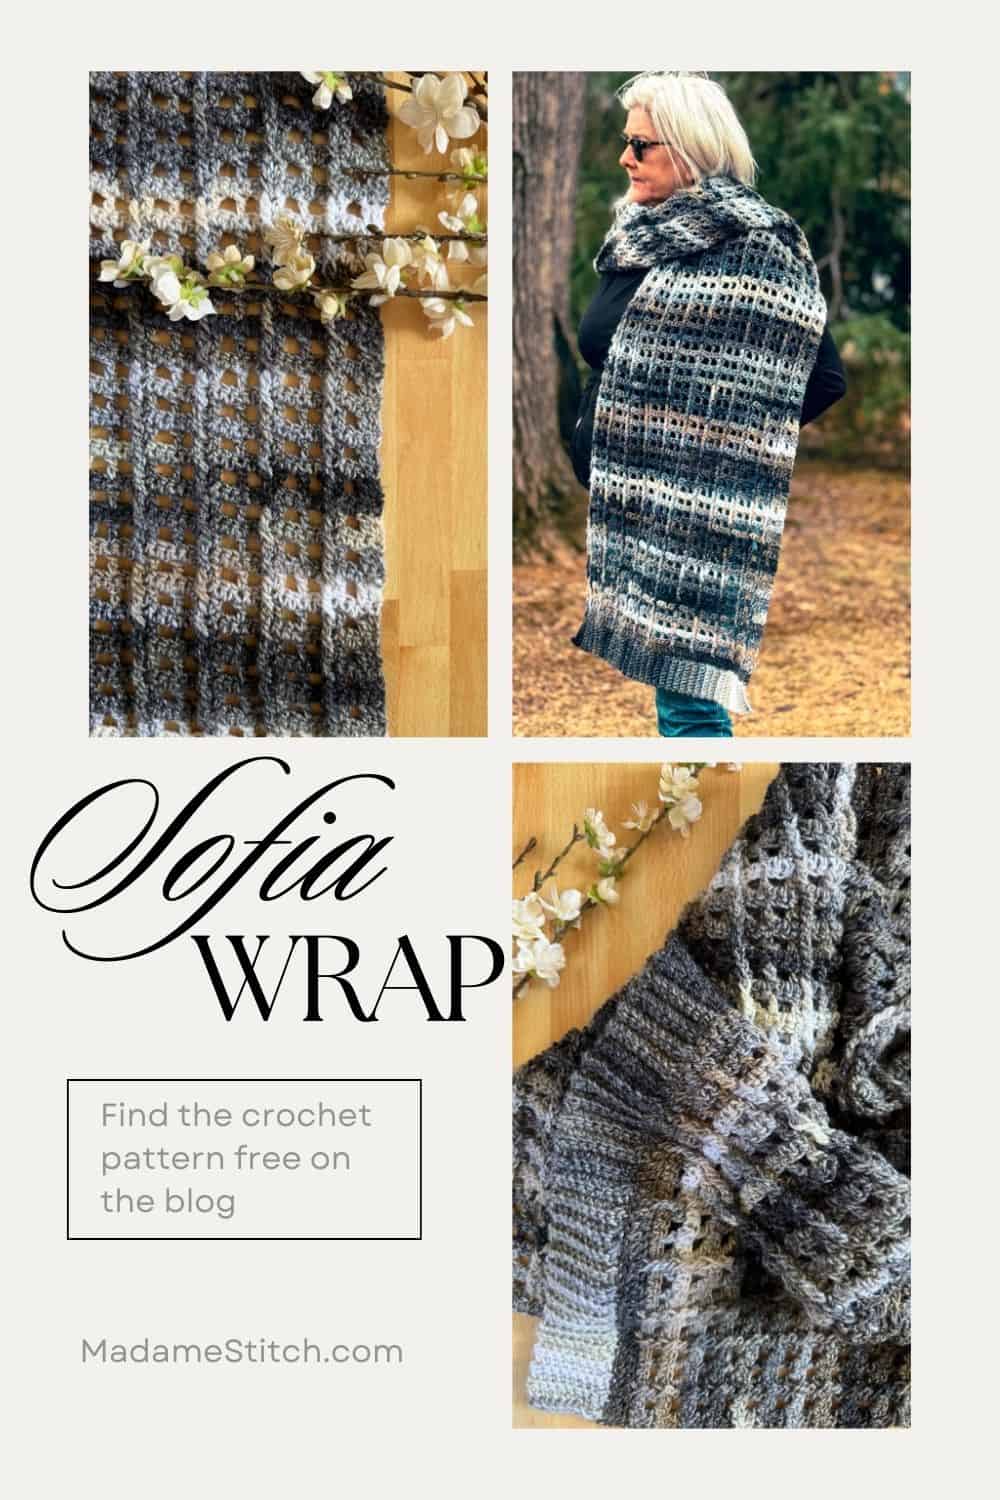
The Sofia Wrap granny stitch shawl
Have you ever started crocheting a scarf, only to realize you might want something a little more… versatile? That’s where a granny stitch shawl comes in!
It’s the perfect alternative—lightweight, stylish, and oh-so-cozy. Unlike a traditional scarf, a shawl gives you more ways to wear it, whether draped over your shoulders, wrapped around your neck, or even covering your legs on a chilly evening.
And let’s be honest—crocheting one is just as enjoyable as wearing it. The granny stitch is simple, repetitive, and meditative, making it the perfect project to work on while binging your favorite show. Plus, it adds that effortless boho touch to any outfit, whether you’re pairing it with jeans or using it as a beach cover-up.
So if you’re looking for a go-to layering piece that feels like a cozy hug and works for every season, a granny stitch shawl might just be your next favorite make!
Design + Construction
The Sofia Wrap granny stitch shawl is a beautifully simple yet elegant design, perfect for crocheters looking for a mindful and rewarding project. Worked in one piece, its straightforward construction allows you to get into a relaxing rhythm while creating something truly special.
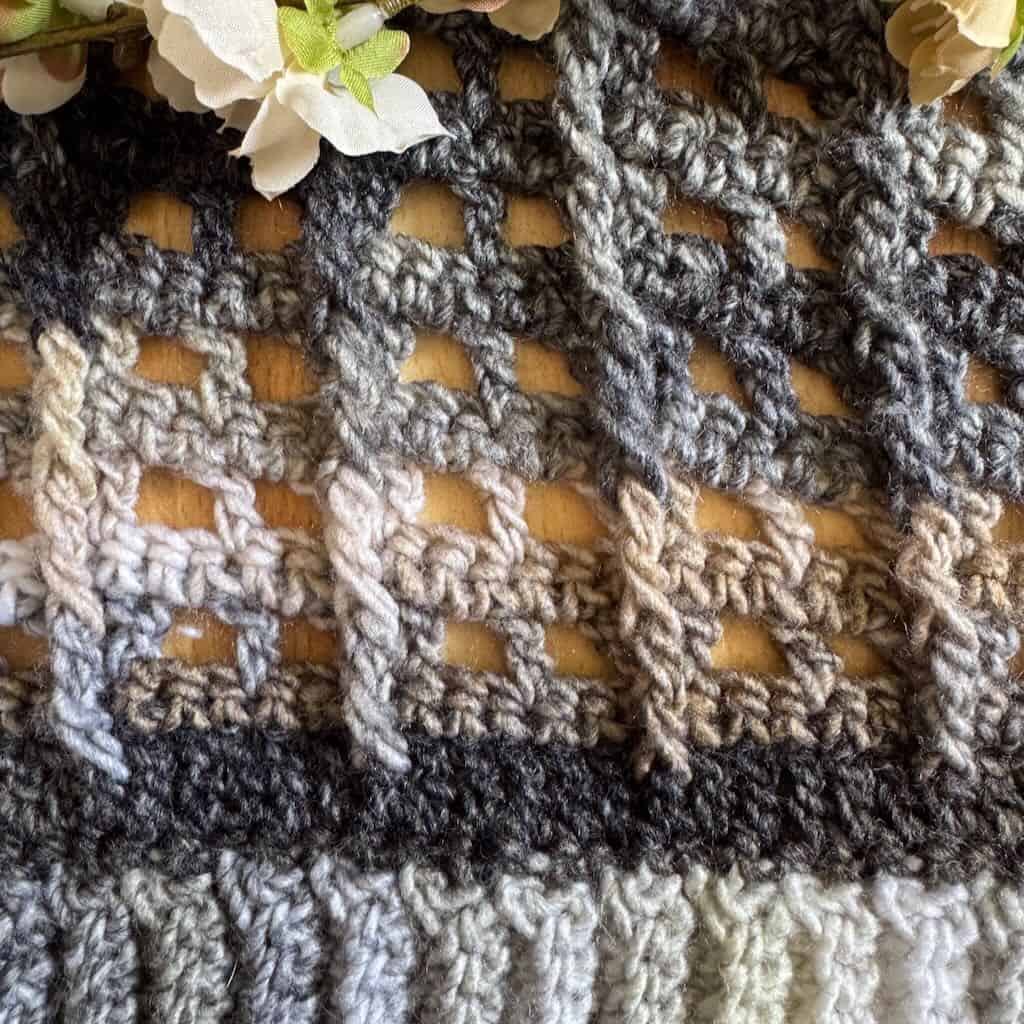
The stitch pattern is a unique variation of the classic granny spike stitch, incorporating an elongated center stitch that wraps around the identical stitch below. This subtle twist adds depth and texture, making the design stand out while still maintaining the ease of a two-row repeat.
The combination of basic stitches creates a mesmerizing interplay of columns and arches, reminiscent of the grand architecture of Greece. This inspiration is reflected in the name “Sofia,” meaning wisdom, a nod to both the stitch design and the timeless beauty of Grecian structures.
A distinctive ribbing detail at each end of the granny stitch shawl frames the pattern beautifully, giving it a polished and sophisticated finish.
Originally designed for the 2-Stitch Roundup hosted by Christine of Sweet Potato 3, the Columns and Arches stitch pattern is a perfect blend of simplicity, texture, and elegance—ideal for crocheters who love a rhythmic, meditative project with a meaningful design.
You’ll love pairing this beautiful granny stitch shawl with your favorite outfit as much you’ll adore spending time in your favorite crochet spot working the stitches!
Skill Level
Because of the 2-stitch, 2 row repeat, I’ve classified this granny stitch shawl as an Advanced Beginner pattern. This places the skill level somewhere between beginner and Intermediate.
The elements beyond an absolute beginner are working a back loop only ribbing and working with a stitch (the granny spike stitch) that’s a little unusual. If you’ve had some experience with stitches and techniques beyond just the basics, this pattern should be fine for you.
The Yarn
I discovered Sirdar’s “Jewelspun” when I did a pattern test for one of my favorite designers. I had never worked with this yarn but instantly fell in love with it, so much so that I designed the Scarlet Snowberry Scarf out of it!
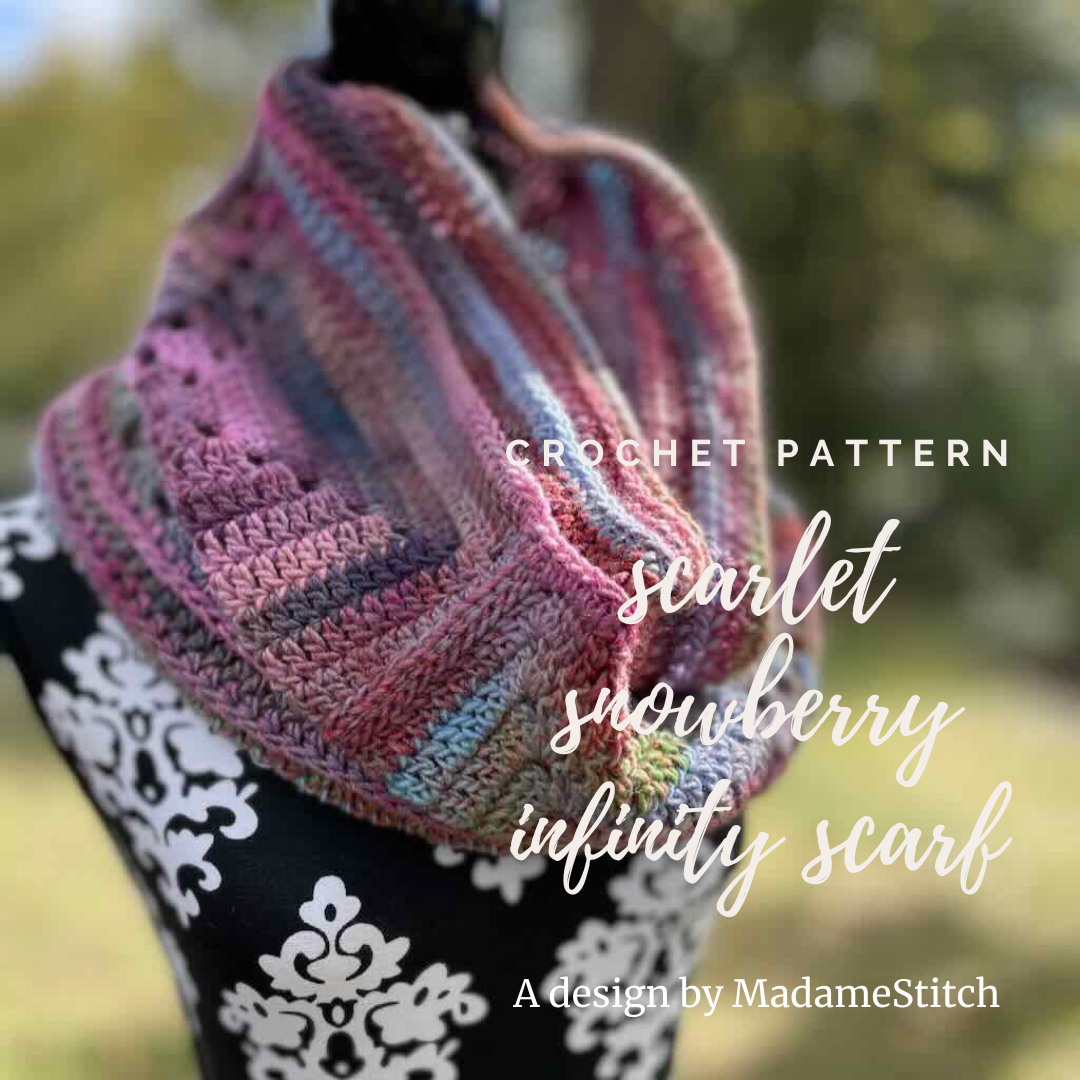
I chose Crystal Quartz colorway for a neutral palette that would go with a wide variety of outfits. The self-striping acrylic yarn has frequent color shifts that add extra fun and dimension to the overall design of the granny stitch shawl.
With generous yardage (546 yds per ball) and an inexpensive price point (around $15 per ball), your finished granny stitch shawl will be a budget-friendly addition to your accessories collection.
Any worsted weight yarn will work for this granny stitch shawl. However, if you want your finished wrap to look like the sample, the characteristics of the yarn you choose to substitute for the Jewelspun should be very similar.
Yarn Substitute
You may have another choice in mind for the Sofia Wrap. To find the very best substitution for the Jewelspun, click here to see what YarnSub recommends.
Or, use my free downloadable Yarn Substitution Worksheet to see if the yarn you’ve chosen will give you the results you want.

Two Lengths, One Pattern
I happened to have 3 balls of the Crystal Quartz in my yarn stash so I made my granny stitch shawl a generous 80″ long. This longer length creates a breathtaking statement piece.
If you’re looking for something a little less dramatic, you’ll find instructions for a shorter length. That way, if you prefer to purchase only 2 cakes of Jewelspun, or you don’t have quite enough of another yarn choice, you’ll have the option for something that fits your yarn needs.

Where to get the PDF for the Sofia Wrap
The Sofia Wrap is a free crochet granny stitch shawl pattern in this blog post, exclusively for blog subscribers. Scroll down to view the free version.
Upgrade your experience with a premium PDF that’s printer friendly and downloadable that can be uploaded to your favorite mobile device. Take your Sofia Wrap project with you to work on whenever you’re out and about.
The premium PDF includes detailed written instructions and a crochet chart showing stitch placement. It’s easy to read and beautifully formatted without ads for a great experience.
Get your copy today!


The Sofia Wrap free pattern
General Information
Yarn
Sirdar “Jewelspun” 100% acrylic aran weight (547yds/7.06oz; 500m/200g) – Color Crystal Quartz (694)
- Shorter version: 2 skeins or approx. 1050 yds
- Longer version: 3 skeins or approx. 1300 yds.
Hook
US size I-9 (5.5mm) or size needed for gauge
Finished Measurements
- Shorter version: Approx. 19″ wide x 63″ long
- Longer version: Approx. 19″ wide x 80″ long
Gauge
15 sts x (4 repeats of Rows 5-6) + 1 more repeat of Row 5 = 4″ (Gauge is not critical; because of the 2-row repeat, you can stop at any length you wish)
Abbreviations – US crochet terminology
- BLO – back loop only
- ch – chain
- dc – double crochet
- FP – front post
- rep – repeat
- sc – single crochet
- sk – skip
- sp – space
- st(s) – stitch(es)
- tr – treble crochet
- RS – right side
- WS – wrong side
- YO – yarn over
Special Stitches
Granny spike stitch – The granny spike stitch is the same as a traditional granny stitch with the exception of the center dc. [Dc in the indicated st, FPtr around the FPtr 2 rows below, dc in the same st as the 1st dc]
Stacked single crochet (STsc) – (This stitch is used at the beginning of a row or round to replace the traditional turning ch-3. It has the appearance of a dc.) – Insert hook in the same st as the loop, YO, pull up a loop, YO, pull through 2 loops (bottom sc made), insert hook in the left vertical bar of the bottom sc, YO, pull up a loop, YO, pull through 2 loops (top sc made).
Video Tutorial
The video tutorial walks you through each step to complete this granny stitch shawl.
Unlock Exclusive Subscriber Content
To unlock Exclusive Subscriber Content, click on the button in the box below. The Grow.me app window will pop up where you can either create an account or sign in if you already have one.
To create an account, sign in with your existing Google or Facebook account. You can also create an account with an email address and new password.
If you forget your password, simply click the “Forgot my Password”button. I have no access to your Grow account so I’m unable to retrieve or reset your password.
Remember, once you’ve created a Grow account, you never have to do it again. Your Grow account unlocks all the exclusive content created by Grow
Thank you for being a loyal blog subscriber. I hope you enjoy the exclusive content!
Pattern Notes
- A ch-1 at the beginning of a row does not count as a st.
- A ch-2 or ch-3 may be substituted for the STsc at any time without altering the construction of the wrap. However, the STsc creates a beautifully even edge.
Pattern Instructions
Ribbing
Ch 10.
Row 1: Ch 1, sc in the 2nd ch from the hook and in each ch across, turn. < 9 sc >
Rows 2-69: Ch 1, sc BLO in the same st and in each st across, turn. < 9 sc BLO >
At the end of Row 69, do not turn. Rotate to work in the row ends of the ribbing.
Body
Row 1 (WS): Ch 1, sc in the same row end and in each row end across, turn. < 69 sc >
Row 2 (RS): STsc, dc in the next st and in each st across, turn. < 69 dc >
Row 3 (WS): Ch 1, sc in the same st and in each st across, turn. < 69 sc >
Row 4 (RS): STsc, dc in the next st, ch 1, sk 2 sts, [granny spike stitch in the next st, ch 1, sk 2 sts, dc in the next st, ch 1, sk 2 sts] across to the last 5 sts, granny spike stitch in the next st, ch 1, sk 2 sts, dc in the last 2 sts, turn. < 14 dc, 11 granny spike stitches, 22 ch-1 sp >
Row 5 (WS): Ch 1, sc in the same st and in each st and ch-sp across, turn. < 69 sc >
Note for Row 6: The FPtr of each granny spike stitch beginning with Row 6 is worked around the FPtr 2 rows directly below.
Row 6: STsc, dc in the next st, ch 1, sk 2 sts, [granny spike stitch in the next st, ch 1, sk 2 sts, dc in the next st, ch 1, sk 2 sts] across to the last 5 sts, granny spike stitch in the next st, ch 1, sk 2 sts, dc in the last 2 sts, turn. < 14 dc, 11 granny spike stitches, 22 ch-1 sp >
Rows 7 – 142 (174): Rep Rows 5-6 68 (84) times.
Rows 143 (175) – 144 (176): Rep Row 5 twice.
At the end of Row 144 (176), do not turn and do not fasten off. Proceed to the ribbing.
Ribbing
Note: The 1st slip st at the end of odd numbered rows connects the ribbing row to the body of the wrap. The 2nd slip st raises the hook to the height of the sc that will be worked in the next row of the ribbing.
Row 1: Ch 10, sc in the 2nd ch from the hook and in each ch across. At the body, slip st in the same st as the ch-10 and in the next st. Turn. < 9 sc >
Row 2: Ch 1, sc BLO in the same st and in each st across, turn. < 9 sc BLO >
Row 3: Ch 1, sc BLO in the same st and in each st across. In Row 144 (176) of the body, slip st in the next 2 unworked sts. Turn. < 9 sc >
Rows 4-69: Rep Rows 2-3 33 times.
At the end of Row 69. join with a slip st to the last st of Row 144 (176) of the body.
Fasten off and weave in ends.
Block the body of the wrap to open up the stitches. To maintain the natural shape and spring of the ribbing, do not pin or block the ribbing sections.