The Polka Dot Dreams Granny Square Baby Blanket – the perfect handmade gift
Create a beautiful, cozy polka dot granny square baby blanket with this easy-to-follow crochet pattern. Perfect for gifting or keeping for your own little one.
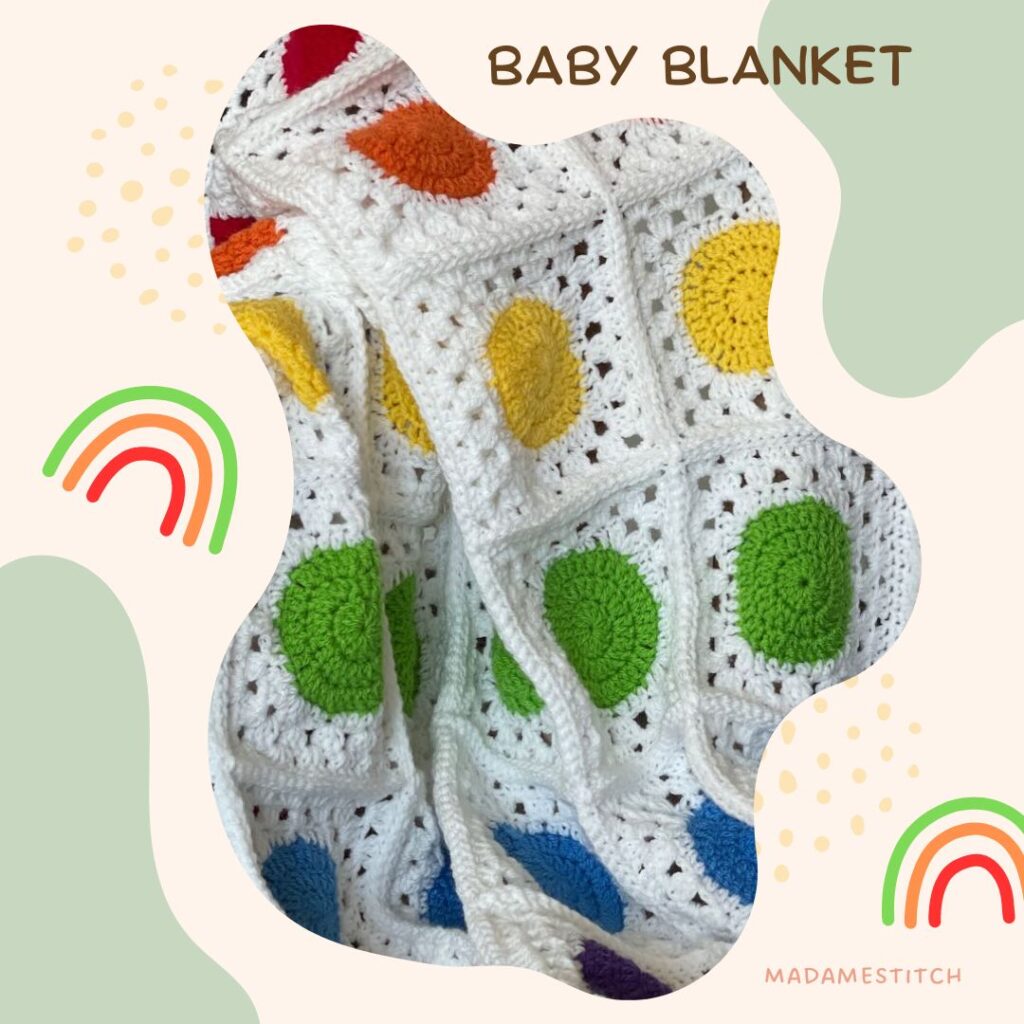
All about the Polka Dot Dreams granny square baby blanket…
If you follow me at all, you know my favorite project to crochet is granny squares. Just about any project that includes granny squares is one I’ll happily make!
I love using granny squares for baby blankets because you can do so much with them. They’re one of the most versatile crochet design elements I know.
I thought you might have fun adding some polka dots to the traditional granny square. That’s how the Polka Dot Dreams granny square baby blanket came to be!
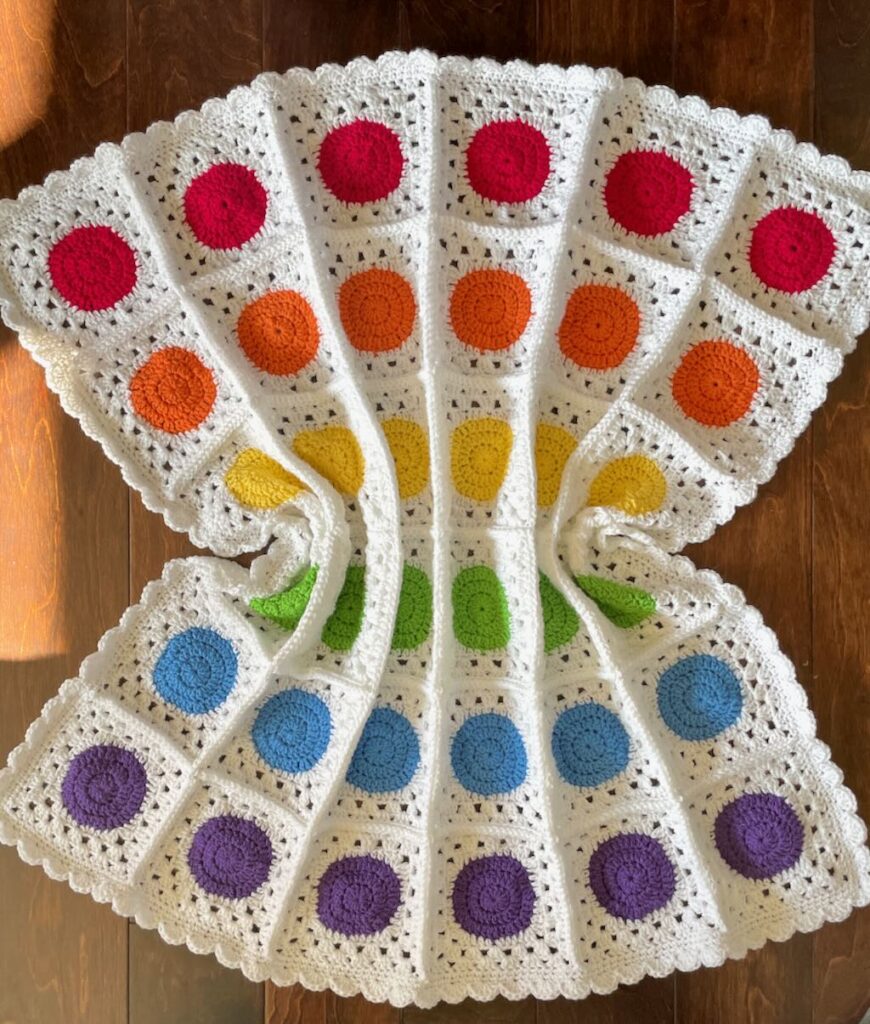
Design + Construction
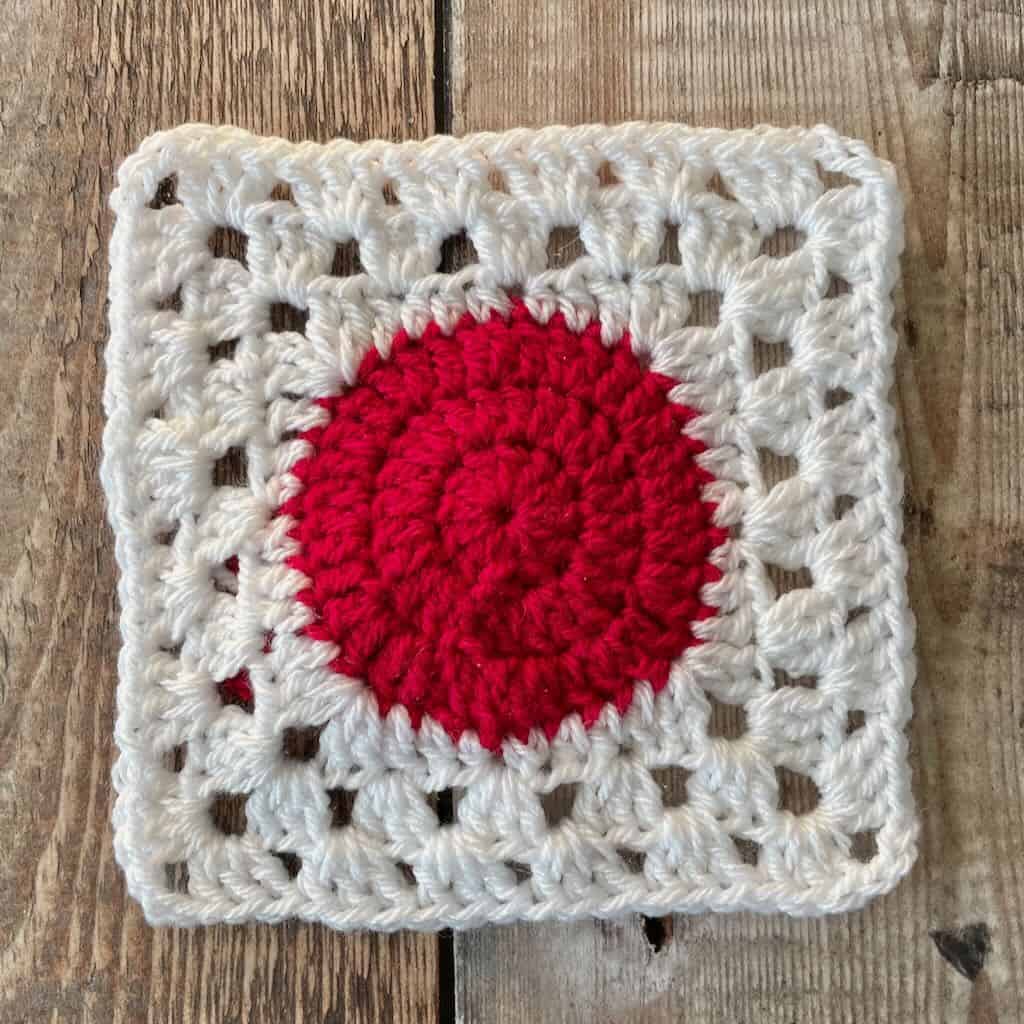
I love to take the traditional granny square and give it a little variety. The polka dot granny square is an easy to work, fun adaptation of the traditional granny square. Starting with a flat circle, the granny square section is added for a cute granny square variation.
The blanket construction starts by making the flat circles, worked in a traditional continuous spiral. Once the circles are made, the main blanket color is joined for the granny square section.
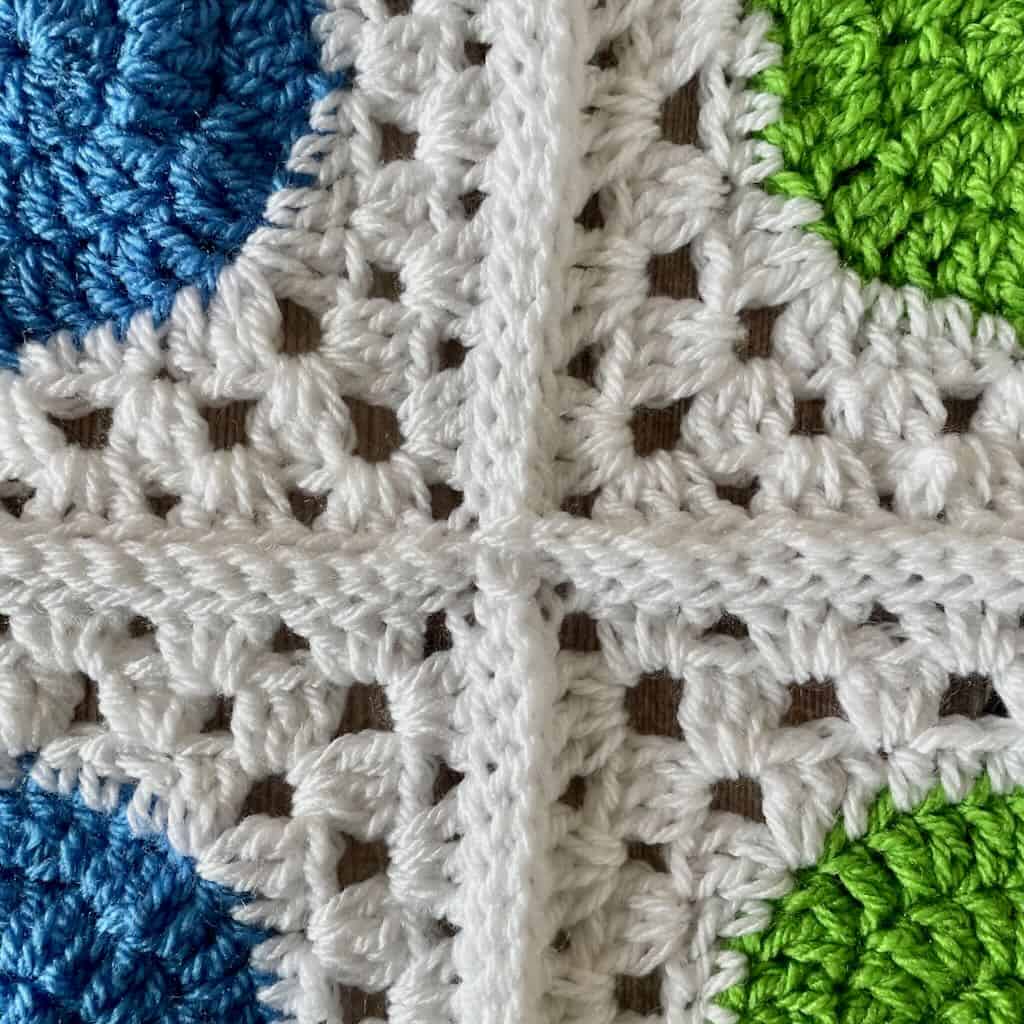
Once all of the granny squares are made, they’re sewn together using a slip stitch join. I really love the extra texture the slip stitch join adds to the right side of the blanket. However, if you prefer the look of an invisible join instead, you can always work the slip stitch join on the wrong side of the fabric or simply whip stitch the squares together.
After all the squares are joined together, you’ll add a simple shell stitch border. Again, you can crochet your favorite border instead if you like. I love the option of working a single crochet border using the polka dot colors around the edge for a little variety.
The Polka Dot Dreams granny square baby blanket is a fabulous travel project because you can work on the circles and squares just about anywhere you happen to be. I love poking my yarn and hook in a bag and whipping out those granny squares on the go when I have a few minutes!
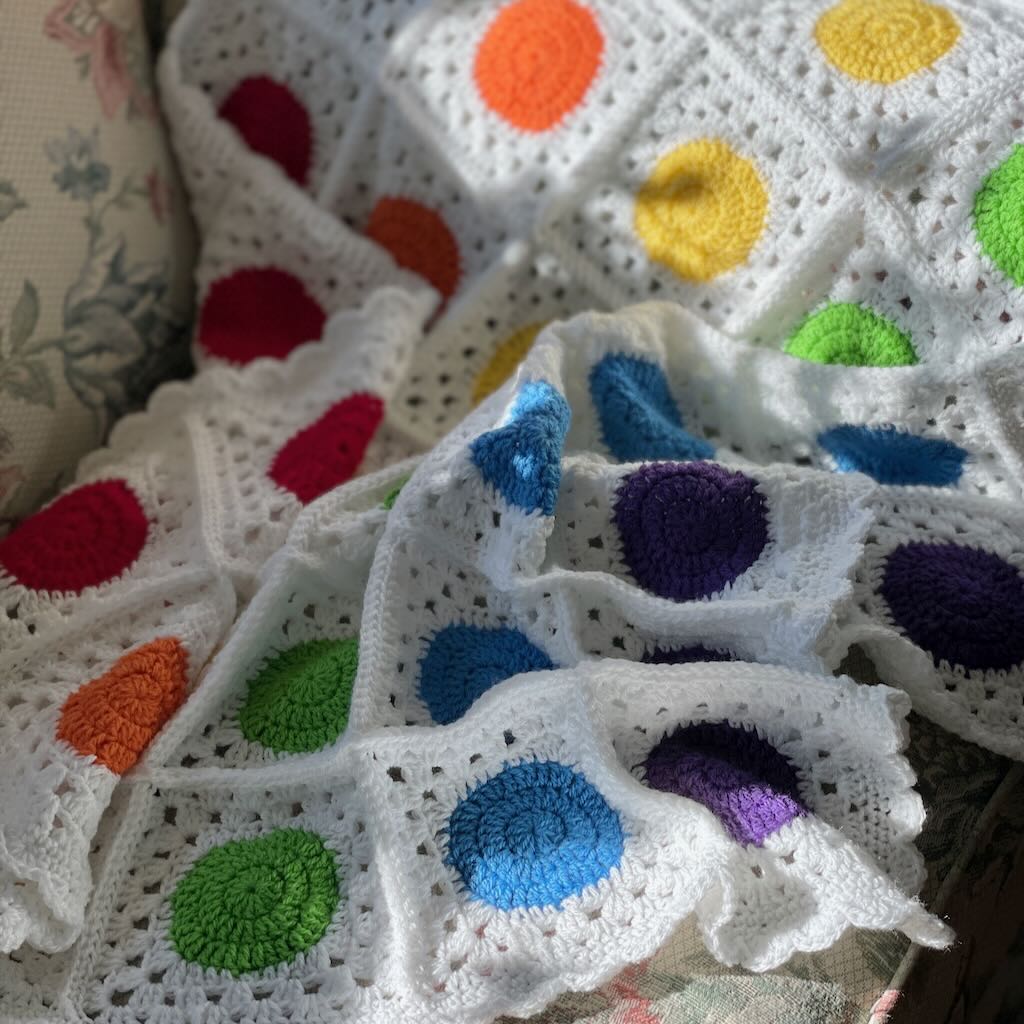
Let’s choose the colors for your very own granny square baby blanket!
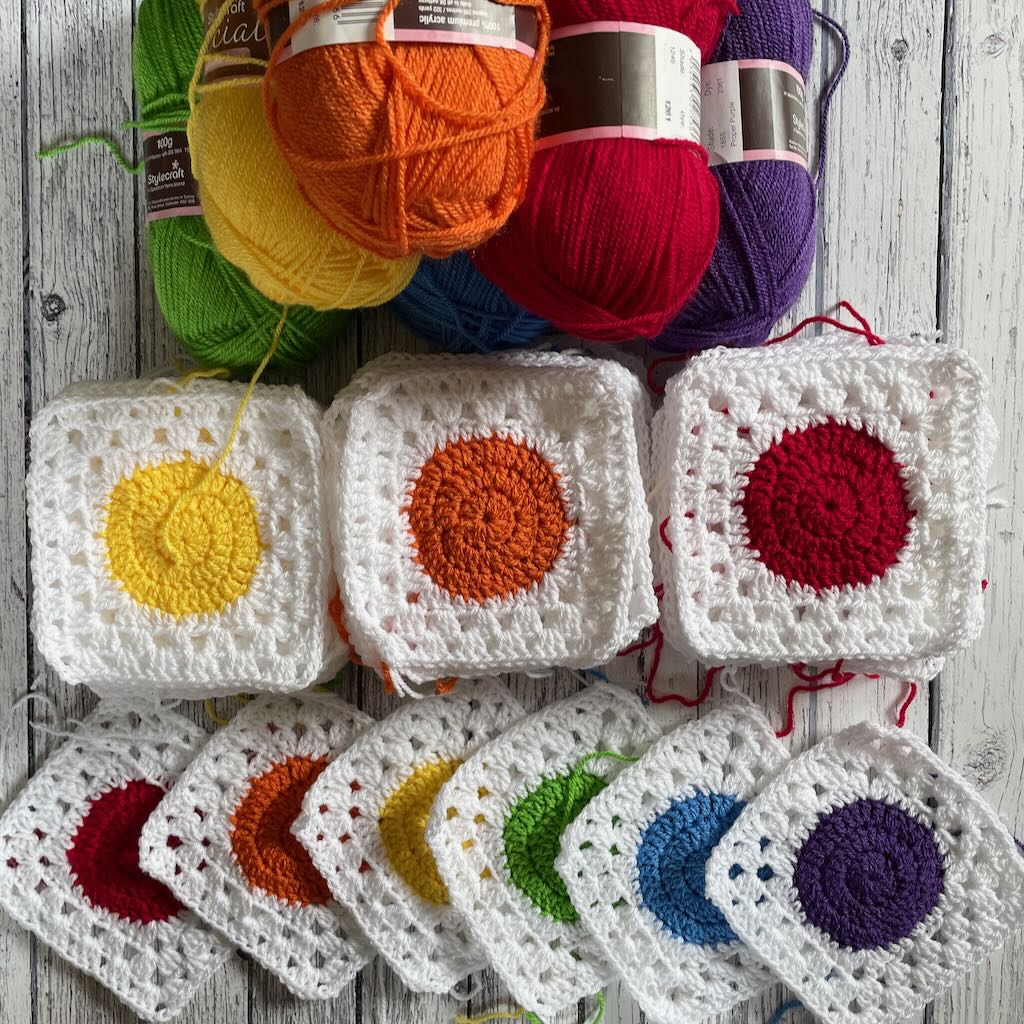
I chose 6 colors of the rainbow for my polka dots and a white yarn to make those colors pop. You can make your own choices for a unique baby blanket no one else will have!
Here are a few suggestions for your granny square baby blanket:
- Make all of the circles in the same color.
- Choose a dark main color and contrast the circles by working them in a light color.
- Make all of the circles in lighter and darker versions of the same color.
- Instead of working all of the same color circles in one row, mix them up for a more random look.
Those are just a few suggestions. Figure out what you want the look of your granny square baby blanket to be, then let your imagination run wild!
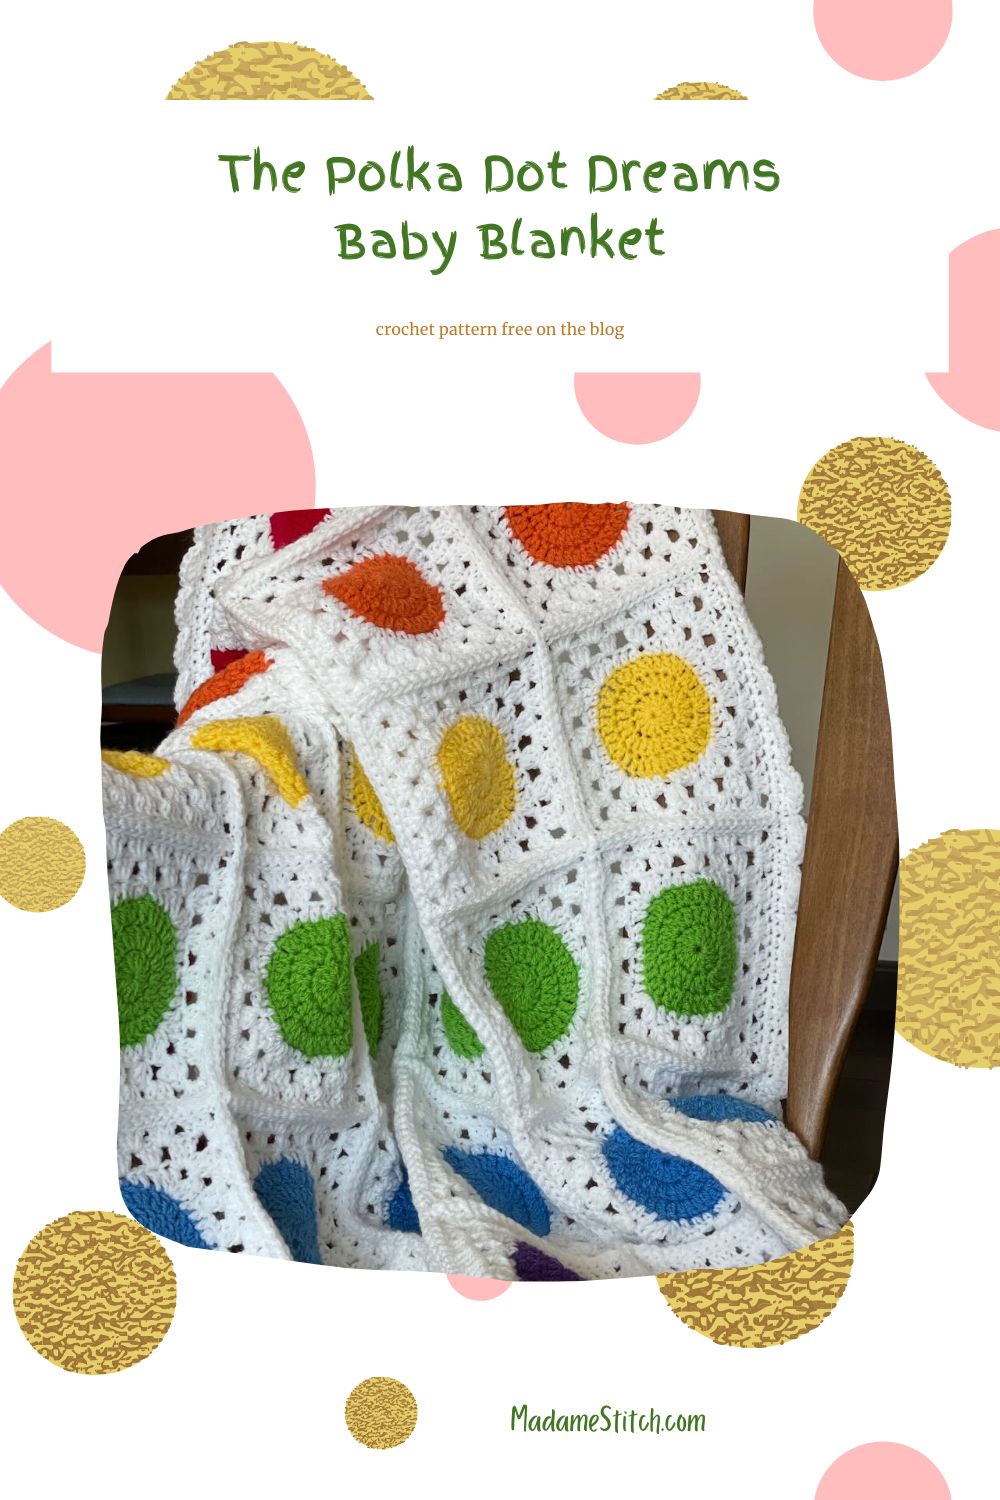
Gather your yarn
This post contains affiliate links. That means, if you purchase something using the link, I receive a small commission. You don’t pay any extra and your information is safe. Thanks for supporting my small business.
My go-to choice for baby blankets is DK weight because it’s lightweight while still providing adequate warmth for the little ones. Babies don’t necessarily need something heavy to keep them warm but they do often need protection from the elements. The lighter weight granny square baby blanket can be used almost year round, making it a must-have for all seasons.
One of my favorite DK weight yarns is Stylecraft “Special DK”. It comes in a wide variety of colors, giving you lots of options for choosing just the perfect colors for your granny square baby blanket.
The best color selection comes from the Wool Warehouse in the UK. I’ve always had good luck getting my yarn from them in a reasonable amount of time. You’ll also find some colors available through LoveCrafts, a UK based company that has US distribution. I’ve ordered from both.
Here are other companies that offer great baby yarn choices:
Why buy the PDF when the pattern is free here on the blog?
Sometimes it’s just nice to have an ad-free copy to download to your favorite electronic device. I love to take my crochet wherever I go so I need a portable version of the pattern loaded on my phone. You may want a copy to print out to make notes on. Whatever the reason, I’ve got your back!
When you buy the PDF, you get a beautifully formatted pattern with everything you need to make this beautiful granny square baby blanket. And, you won’t have to keep refreshing this page or scroll through ads.
Here’s what you need to know to make your granny square baby blanket.
Thank you for staying on this post and reading my patterns right here on the blog, without copy/pasting. When you stay here to follow the free version of my pattern, I am compensated for my time and energy. This is a great, free way to support a designer. If you would like to save this for later, bookmark the page to save it in your mobile browser.
Yarn
Stylecraft “Special DK” 100% premium acrylic (322yd/295m)
Main color (MC) – White #1001 – 3-4 skeins
For the circles:
- Contrasting color A (CA) – Lipstick #1246
- Contrasting color B (CB) – Spice #1711
- Contrasting color C (CC) – Citron #1263
- Contrasting color D (CD) – Grass Green #1821
- Contrasting color E (CE) – Aster #1003
- Contrasting color F (CF) – Proper Purple #1855
Any DK weight yarn appropriate for babies will work for this granny square baby blanket.
Hook
US size G-6 (4mm)
Finished size: Approx. 36″ square
Gauge: Each square measures approx. 5.5″ square
Skill level: Confident beginner
Abbreviations – US crochet terminology
- beg – beginning
- ch – chain
- dc – double crochet
- dc inc – double crochet increase – 2 dc in the same st
- hdc – half double crochet
- rep – repeat
- rnd(s) – round(s)
- sc – single crochet
- sc dec – single crochet decrease – a single crochet worked over 2 sts to decrease by 1
- sk – skip
- sp – space
- st(s) – stitch(es)
- YO – yarn over
Special Stitches
Granny stitch (GS) – 3 dc in the same sp
Magic ring (MR) – Using a MR creates a tighter hole and a slightly smaller circle (Here’s a great tutorial for the MR.)
5-dc shell – 5 dc in the same st (worked along the sides)
7-dc shell – 7 dc in the same st (worked in the corners)
Stacked single crochet (STsc) – (This stitch is used at the beginning of a row or round to replace the traditional turning ch-3. It has the appearance of a dc.) – Insert hook in same st as loop, YO, draw up loop, YO, pull through 2 loops (bottom sc made), insert hook in left vertical bar of bottom sc, YO, draw up loop, YO, pull through 2 loops (top sc made).
Find the video tutorial for the Stacked single crochet here.
Pattern Instructions for the Polka Dot Dreams granny square baby blanket
Thank you for staying on this post and reading my patterns right here on the blog, without copy/pasting. When you stay here to follow the free version of my pattern, I am compensated for my time and energy. This is a great, free way to support a designer. If you would like to save this for later, bookmark the page to save it in your mobile browser.
Pattern Notes
- Ch-1 or ch-2 at beg of a rnd does not count as a st and should be skipped when joining the rnd.
- Pull up the initial ch-1 of Rnds 2 & 3 slightly to avoid pulling the 1st dc short.
- Do not turn after any rnd.
- Granny square section – the beg st of Rnd 1 works better as an STsc. It fills in the space between sts more efficiently than a ch-3. However, a ch-3 can be substituted for the STsc at any time.
- The GS of Rnd 3 in the Granny Square section are worked in the sp between GS in Rnd 2 where the ch-1 spaces would normally be.
Written Instructions
Granny Squares – Make 36
Center circle – Make 6 of each contrasting color for a total of 36 circles.
MR (or, if using a chain instead for Rnd 1, ch 2, 12 dc in the 2nd ch from the hook, join with slip st.)
Rnd 1: Ch 2, work 12 dc in the ring, pull tight to close the ring, join with slip st to 1st dc. (12 dc)
Rnd 2: Ch 1, dc inc in same st and in each st around, join with slip st to 1st dc. (24 dc)
Rnd 3: Ch 1, dc inc in same st, dc in next st, (dc inc in next st, dc in next st) around, join with slip st to 1st dc. (36 dc)
Fasten off and weave in ends.
Granny square section (For all 36 squares)
Attach MC to any st.
Rnd 1: STsc, hdc in the next 2 sts, sc dec over the next 2 sts, hdc in the next 2 sts, dc in the next st, (2 dc, ch 2, 2 dc) in the next st (first corner), [dc in the next st, hdc in the next 2 sts, sc dec over the next 2 sts, hdc in the next 2 sts, dc in the next st, (2 dc, ch 2, 2 dc) in the next st] 3 times, join with slip st to beg STsc.
Note: When finding the st where the 1st GS is worked after a corner in Rnd 2, the first st to sk may be hidden under the last dc made. Be sure to count it.
Rnd 2: (STsc, 2 dc) in the same st, [sk 2 sts, GS in the next st] twice, sk 2 sts, (GS, ch 3, GS) in the corner sp, [(sk 2 sts, GS in the next st) 3 times, sk 2 sts, (GS, ch 3, GS) in the corner sp] 3 times, join with slip st to beg STsc.
Rnd 3: Slip st in next 2 sts and into sp between GS, (STsc, 2 dc) in the same sp, GS in the next 2 sp, (GS, ch 3, GS) in the corner sp, [GS in the next 4 sp, (GS, ch 3, GS) in the corner sp] 3 times, GS in the next sp, join with slip st to beg STsc.
Fasten off and weave in ends.
Assembly and Seaming
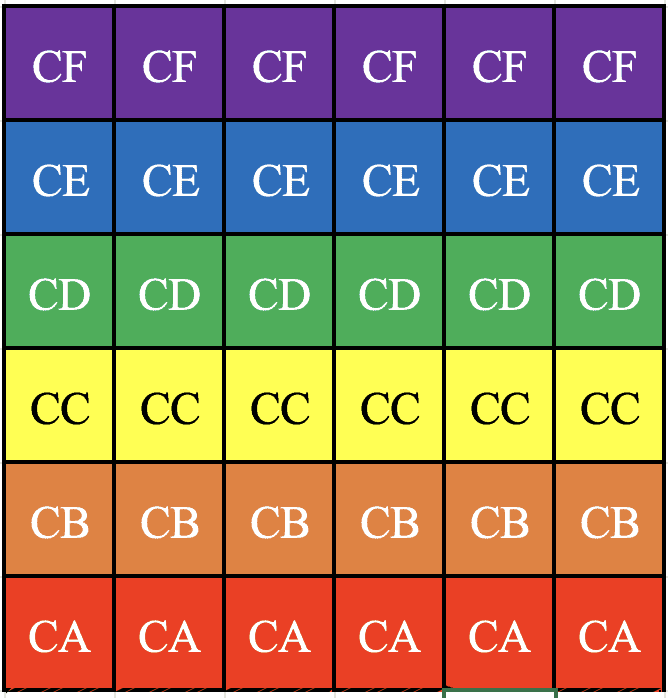
Lay out the squares in the order indicated by the assembly chart below.
Choose your favorite seaming method to join the squares together. The sample was joined with a slip st seam worked through one loop of each square. Other options: mattress or whip stitch.
Border
Attach MC to any corner sp.
Rnd 1: Ch 1, 2 sc in the corner sp, sc in each st around the blanket edge, working 2 sc in the spaces on either side of each seam and 3 sc in each of the ch-3 corner sp, ending with 1 sc in the 1st corner sp to complete the corner. (128 sc along each side, 3 sc in each corner sp)
Note: In Rnds 2 & 3, the corner is identified as the middle st of the 3 sc worked at each corner.
Rnd 2: Ch 1, 2 sc in the same st (partial 1st corner), sc in each st around, working 3 sc in each corner, ending with 1 sc in the same st as the 2 sc worked at the beg to complete the 1st corner, join with slip st to beg st.
Rnd 3: Ch 2, 4 dc in the same st (partial 7-dc shell), sk 1 st, sc in next st, (sk 1 st, 5-dc shell in next st, sk 1 st, sc in next st) across to next corner, 7-dc shell in corner, sk 1 st, sc in next st, [(sk 1 st, 5-dc shell in next st, sk 1 st, sc in next st) across to next corner, 7-dc shell in corner] twice, sk 1 st, sc in next st, (sk 1 st, 5-dc shell in next st, sk 1 st, sc in next st) across to 1st corner, 3 dc in the same st as the beg 4 dc to complete the 7-dc shell, join with slip st to beg st.
Fasten off and weave in ends.
Congratulations! You’ve finished your beautiful Polka Dot Dreams granny square baby blanket! I hope you enjoy gifting it or using it for your special little one!




I’m looking forward to making the Polka dot granny square blanket as I will need to make several.
I love the look of this blanket, since these babies will be born this summer. Thank for this great pattern.
Dawn,
I’m so happy you like the blanket! Those babies are very lucky indeed.
Best,
Debbie