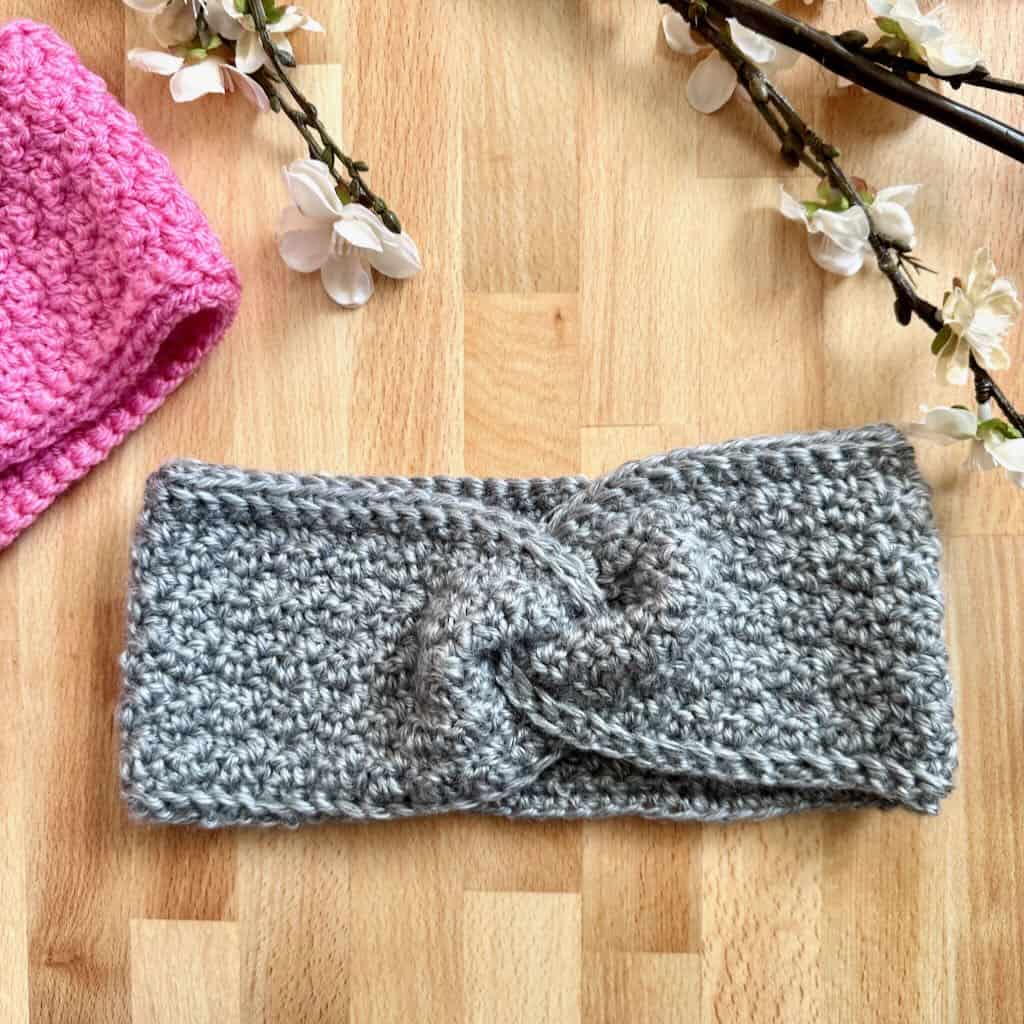
A crochet twisted ear warmer that shows off your incredible chic!
Nothing beats a crochet twisted ear warmer. Whether out for a winter walk or meeting friends, this versatile accessory is the perfect blend of warmth and style.
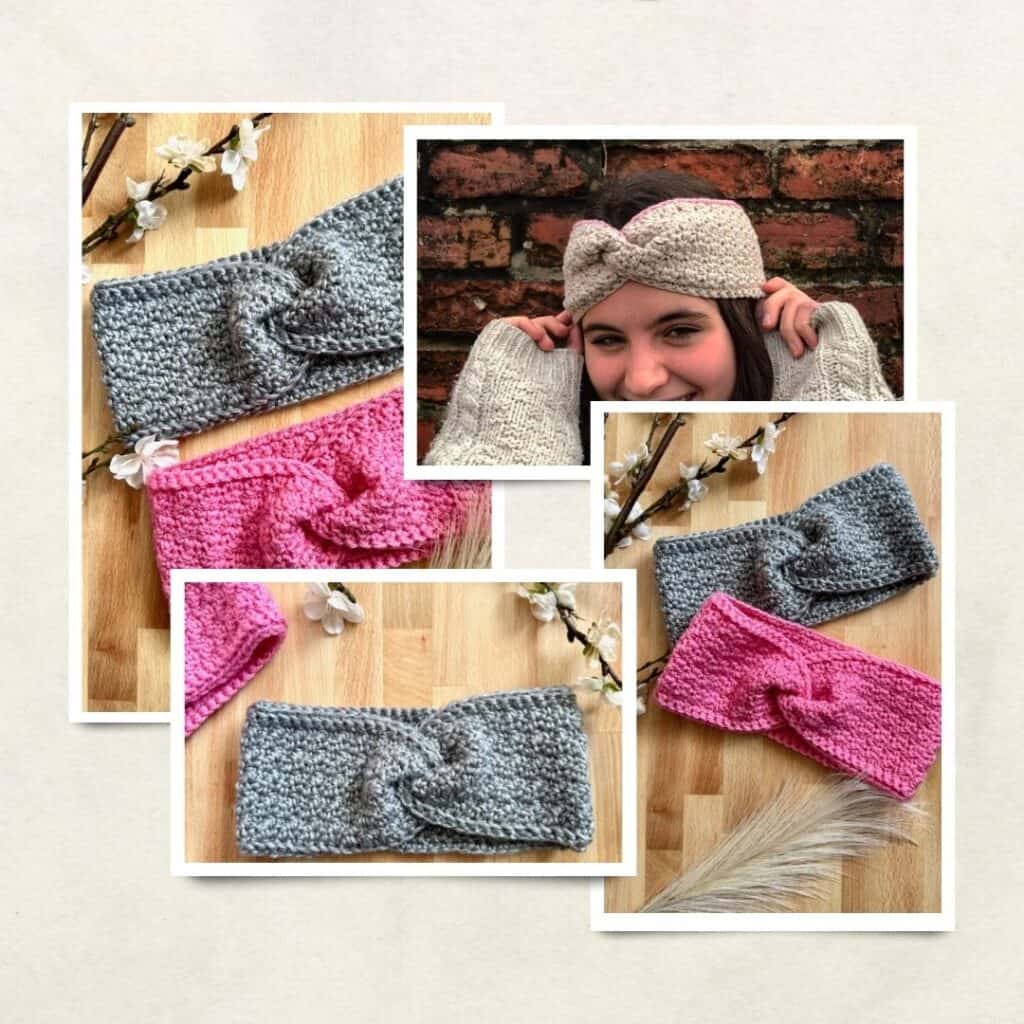
The Twisted Sister Ear Warmer
I’ve been fascinated with the twisted headband trend. So, I decided it was time for me to design one for myself!
If you’re looking for a stylish, practical alternative to a hat, a twisted ear warmer is your perfect solution! Its chic design means you’ll be stylish while keeping your ears toasty warm on chilly days.
It’s ideal for anyone who loves to wear their hair in a bun or ponytail because it won’t interfere with your hairstyle like a hat will.
A fun, trendy twisted ear warmer is quick and easy to make so it’s great for last-minute gifts. Think stocking stuffers, hostess gifts, “just because I like you” gift.
Make one (or two) for yourself. Using yarn from your very own stash, you can make one this evening and wear your Twisted Sister Ear Warmer tomorrow!
Design + Construction
I don’t normally jump on the trendy bandwagon. And I don’t really wear head coverings in the winter because…who needs hat hair, amiright?! But, this particular design had me fascinated and I just had to give it a try.
Because I decided to work the ear warmer from side to side, I needed a flexible edge that would stretch enough to fit comfortably around the head. Every time I tried to work a traditional foundation chain and a row of single crochet, I just couldn’t get the edge to stretch enough for the rest of the ear warmer. So, I decided to give the foundation single crochet a try. What a difference it made!
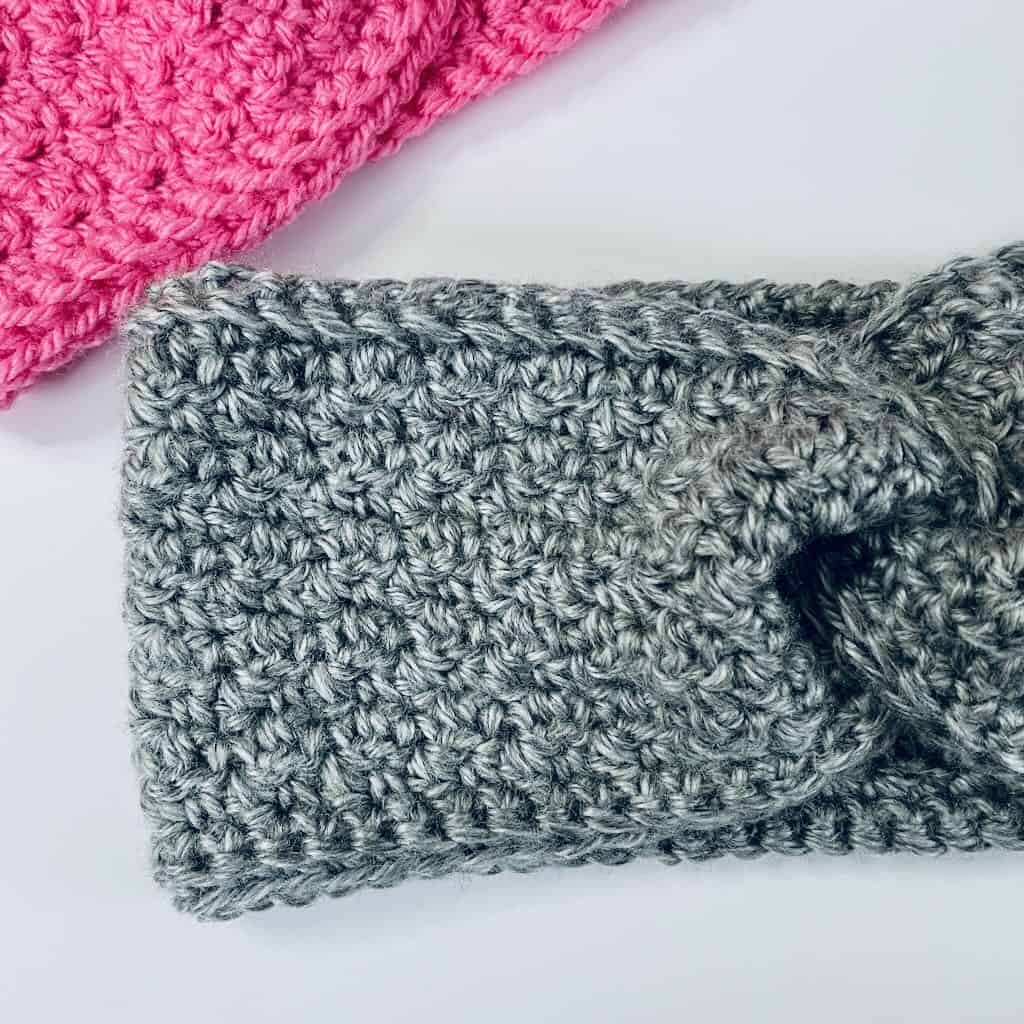
I know a lot of crocheters haven’t ever tried foundation single crochet (Fsc). Even if you have, you may not like it because it can be difficult to follow the steps or get the tension right. For that reason, I’ve done a photo/video tutorial that will walk you through all the steps and make you an Fsc expert! Head over to my handy Foundation Single Crochet tutorial for all the details!
However, if Fsc just doesn’t work for you, I’ve included instructions to start your ear warmer with a traditional foundation chain followed by a row of single crochet. No worries!
After the 1st 2 rows of the rectangle are worked, the body is crocheted in the seed stitch, a simple 2 stitch (single crochet, double crochet) one-row repeat. This is where the subtle texture magic happens.
The seed stitch provides just the right amount of coverage for your ear warmer without being thick and lacking flexibility. What makes this ear warmer so quick is the fact that you can easily memorize the pattern.
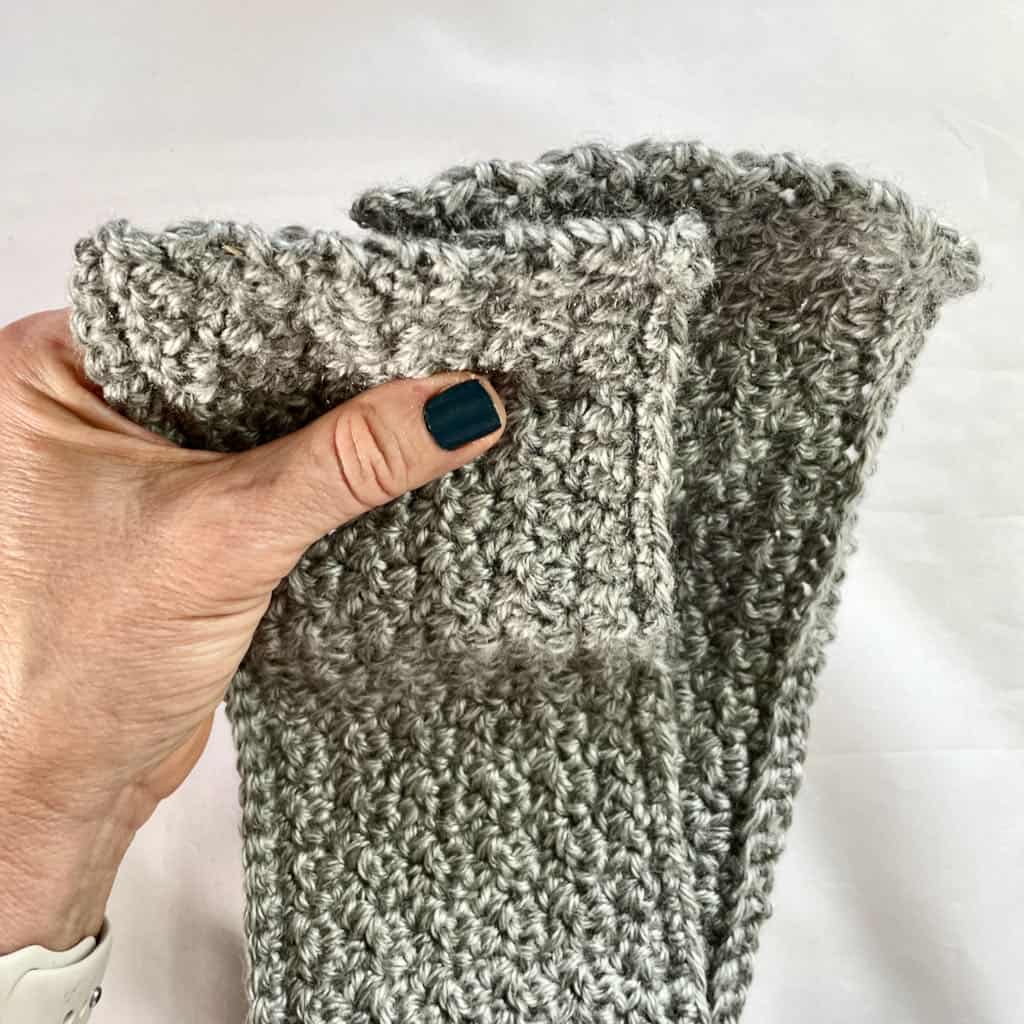
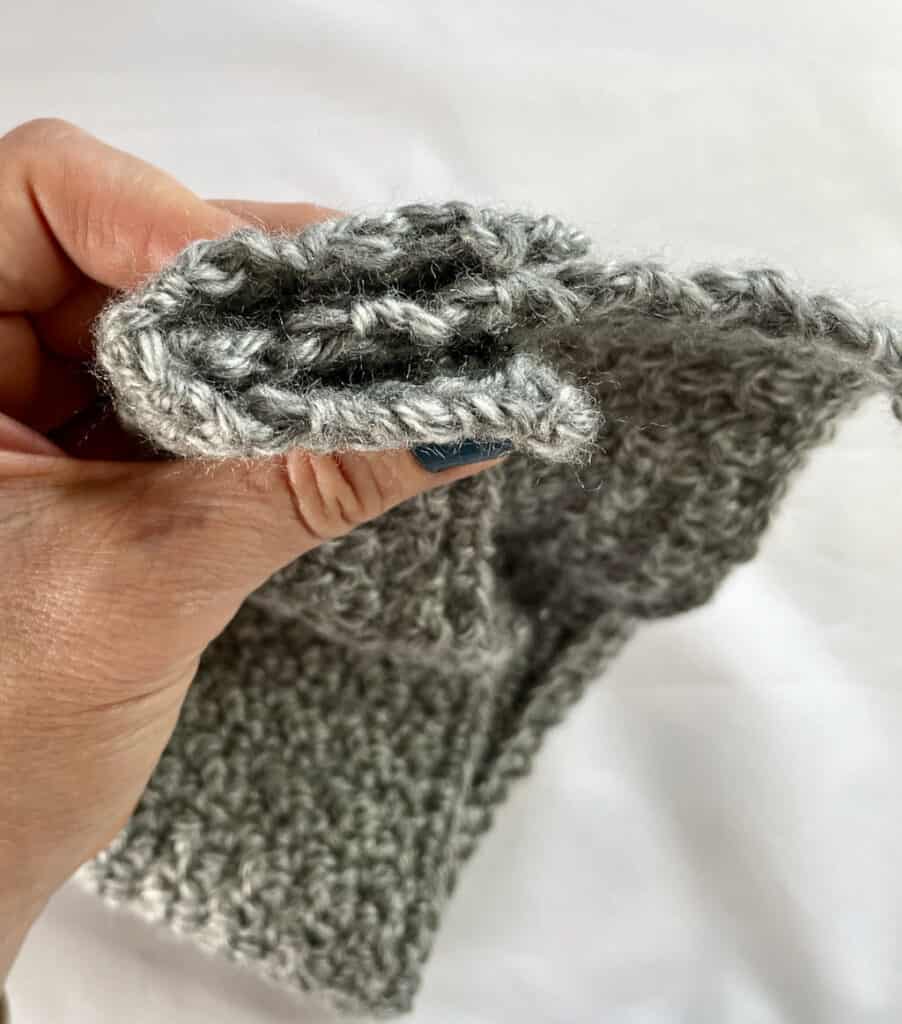
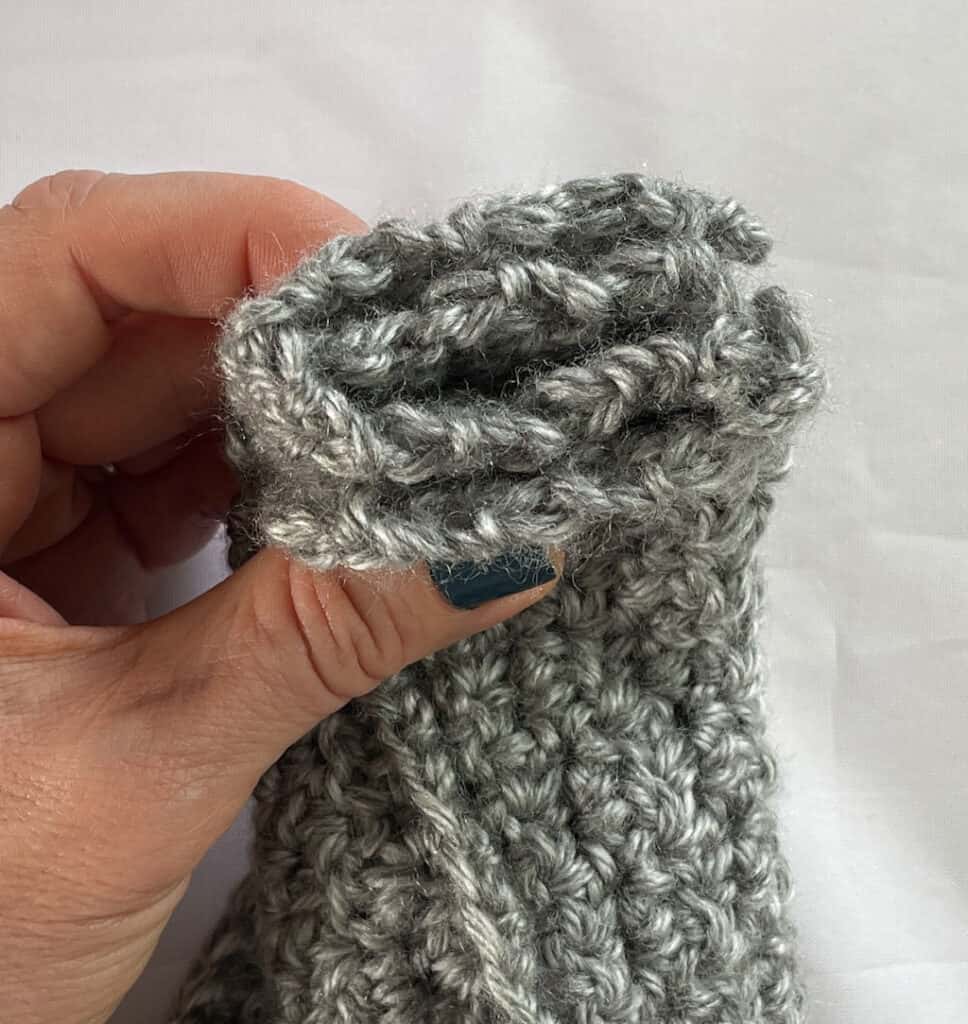
The rectangle is folded and stitched in a way that forms a fun twist. If you’ve never made a twisted ear warmer, no worries! I’ve included a photo tutorial to walk you through the steps.
The simple design plus the easily memorized repetitions make this the perfect project when you need something quick.
The pattern gives you 5 size options ranging from Child to Adult Large.
What’s to love about the Twisted Sister Ear Warmer pattern?
- The pattern comes with sizing for Toddler, Child, Teen/Adult S, Adult M and Adult L. And, if none of those sizes work for you, I’ve included instructions on how to make the size absolutely perfect just for you!
- It’s beginner friendly. In the written instructions I provide photo instructions for how to seam the ear warmer to get the twist (if you’ve never done one). You’ll get a chart that shows you the placement of the seed stitch pattern.
- This ear warmer can be made up super quick – it takes only an evening or a weekend.
- It’s economical because you’ll probably be able to find just the right yarn in your stash.
The Yarn
This post contains affiliate links. That means, if you purchase something using the link, I receive a small commission. You don’t pay any extra and your information is safe. Thanks for supporting my small business.
I chose worsted weight yarn because I wasn’t a fan of all of the bulky ear warmers I was seeing. What I found was that worsted weight keeps the ear warmer cozy and warm without adding the bulk of the heavier yarns.
Because this pattern only calls for about 2 oz. of yarn, it’s likely you’ll have what you need in your yarn stash! Pick something snugly soft to keep those ears toasty warm and comfy.
Acrylic yarn is a perfect choice. I’m not a fan of wool (scratchy). Plus, acrylic is durable and easy to care for.
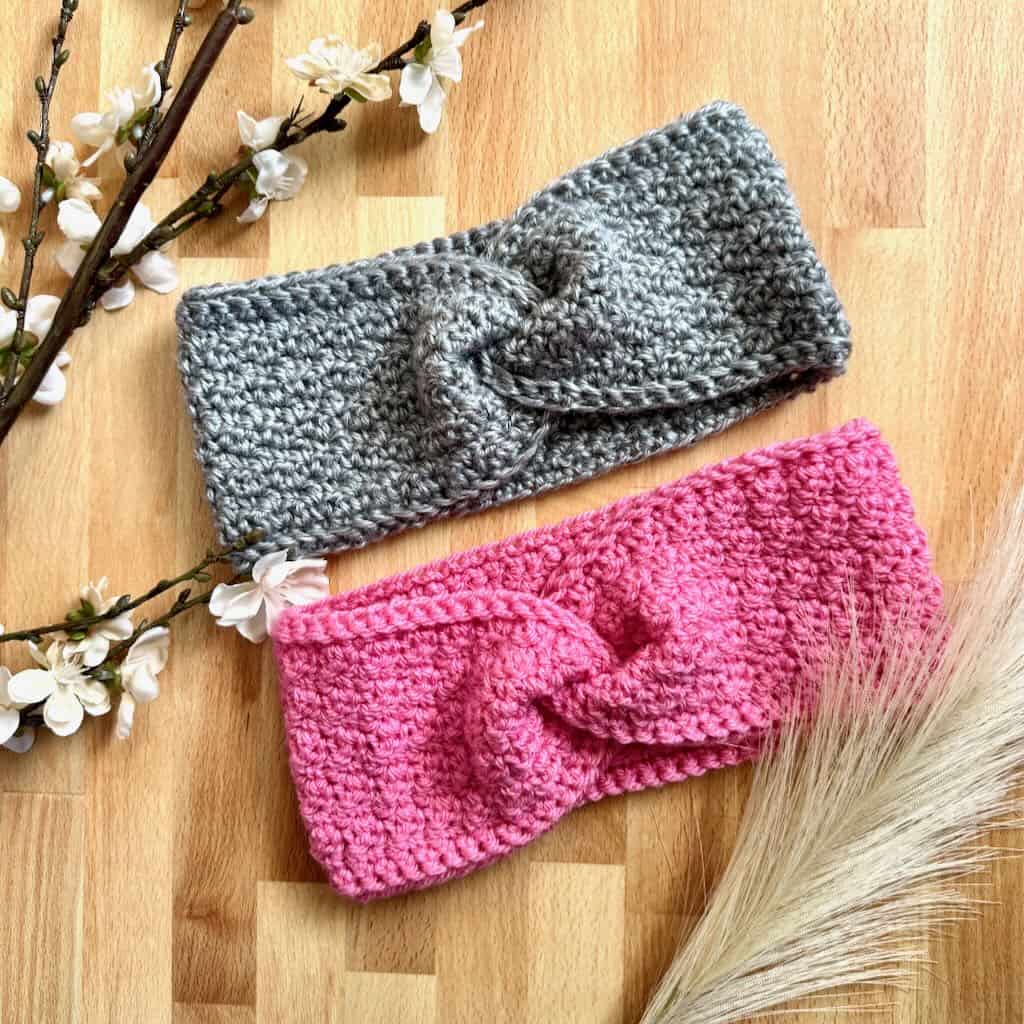
The gray sample is made with Lion Brand’s “Heartland”. It’s such a soft yarn with a slight halo and beautiful sheen. This color is called “Mount Rainier” and is one of the gorgeous colors you can choose from.
The pink sample is made with Paintbox “Simply Aran”, a wonderfully soft, lightweight acrylic yarn. The color is Bubblegum Pink, so much fun!
If you substitute yarn, be sure to pick something that has enough flexibility and sturdiness to fit snugly without being restrictive. You want it to be pretty and functional at the same time.
Where to get the premium PDF for the Twisted Sister Ear Warmer
The Twisted Sister Ear Warmer is a free crochet pattern in this blog post for blog subscribers. Scroll down to view the free pattern.
Upgrade to the premium PDF and you get a printer friendly, downloadable PDF that you can purchase from one of the shops below.
The premium PDF can be uploaded to your favorite mobile device so you can take you Twisted Sister Ear Warmer project with you to on whenever you’re out and about.
The PDF is easy to read and beautifully formatted without ads for a great experience.
Get your copy today!
The Free Pattern Starts Here
General Information
Yarn
Any soft, comfy worsted weight yarn – approx. 120 yds.
Samples:
- Pink: Paintbox “Simply Aran” 100% acrylic worsted weight yarn (3.5oz/201yd; 100g/184m): Color #250 – Bubblegum Pink
- Gray: Lion Brand “Heartland” 100% acrylic worsted weight yarn (5oz/251yd; 142g/230m): Color #150 – Mount Rainier
Hook
US size H-8 (5mm) or size needed for gauge
Tool
Tapestry needle for sewing the seam and weaving in ends
Gauge
12 rows x 14 sts = 4” (in seed stitch)
Skill Level: Advanced Beginner
Finished Measurements + Sizes
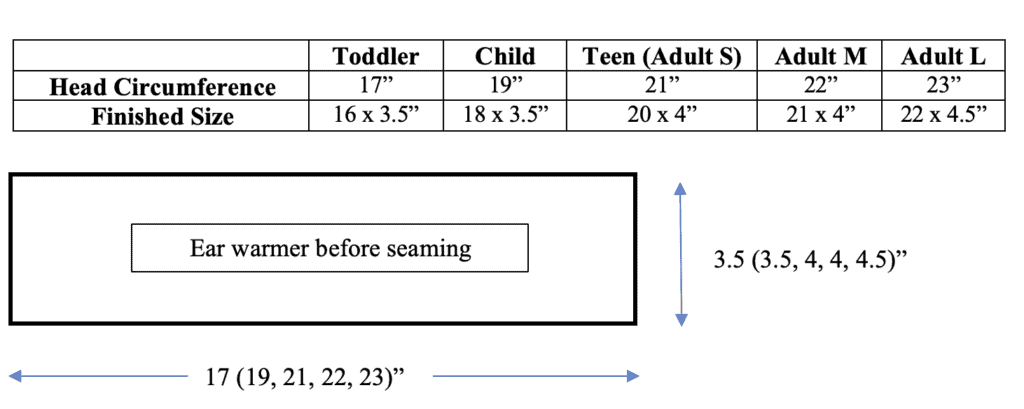
Stitch counts are listed as follows: < Toddler (Child, Teen, Adult M, Adult L) >
How to customize the size
If you want a size or measurement different from the sizes listed in the pattern, here’s how to customize to your personal taste. Keep in mind that adjusting the length will change the fit around the head. Adjusting the width will change the fit over the ears.
Length (must be an even number of sts in each row): Increase the number of Fsc to lengthen, decrease the number to shorten. (If using the alternate instructions for row 1, the number of ch must be an odd number)Width (must be an even number of seed stitch rows): Increase (for wider) or decrease (for narrower) the number of rows of seed stitch.
Abbreviations – US crochet terminology
- BLO – back loop only
- ch – chain
- dc – double crochet
- rep – repeat
- sc – single crochet
- st(s) – stitch(es)
- RS – right side
- WS – wrong side
- YO – yarn over
Special Stitches
Foundation single crochet (Fsc): Make a slip knot and ch 2. Insert hook in the 2nd ch from the hook, YO, pull up a loop (2 loops on the hook), YO, pull through the 1st loop only (ch made). YO, draw through both loops on hook (sc made). The 1st Fsc is complete.
For 2nd and all subsequent sts: Insert hook under both loops of the ch made in the previous st. YO, pull up aloop (2 loops on the hook). YO, pull through the 1st loop only (ch made), YO, pull through both loops on the hook (sc made).
You can find a photo/video tutorial on the MadameStitch website here.
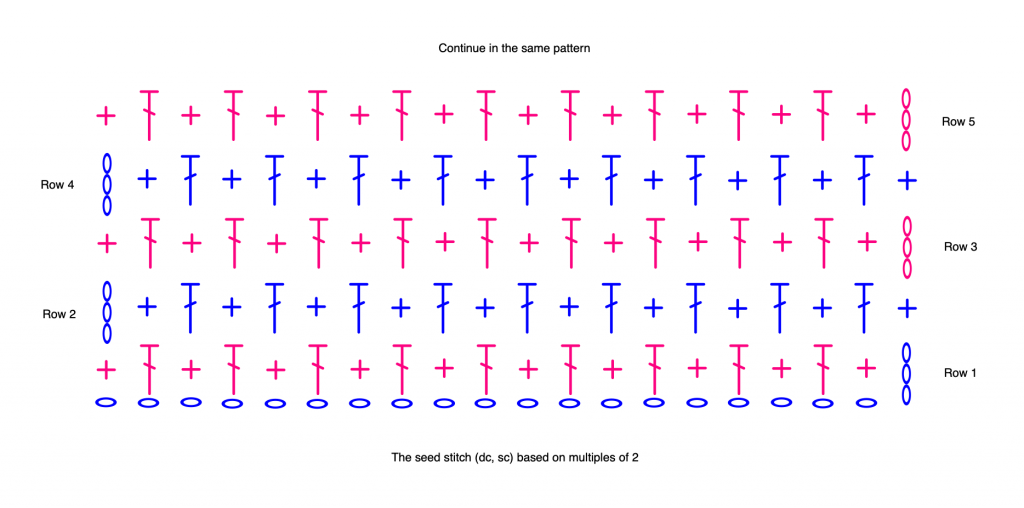
Seed Stitch: (Dc in next st, sc in next st) across.
Description: Crochet seed stitch is worked the same for every row, repeating the pattern of dc followed by sc across the row. When working subsequent rows, all dc will be worked in the sc from the previous row; likewise, all sc will be worked in the dc from the previous row. Refer to the chart on the next page 👇 for stitch placement. (While this chart is NOT specifically for the ear warmer, it can be used for reference.)





Hi there. Just wanted to say thanks for the opportunity to join in on the blog hop. Unfortunately, I’m not sure how to get the pattern. In the main hidden treasure page it says no code is needed, but when I go to Ravelry it asks for me to pay. Thanks again
Wendy,
The pattern is not a direct download from Ravelry but from my website. On the Twisted Sister Ear Warmer post, scroll down to the Hidden Treasures section. There you’ll find a picture of the Ear Warmer on a graphic with Day 2. Click on that graphic to go to the page where you’ll find the download.
Best,
Debbie
I can’t get pattern either.
Unfortunately it is no longer available as a free download.
The feature link expired at 8am ET Dec. 3rd.