A stylish market tote perfect for outdoor markets
This post contains affiliate links. That means, if you purchase something using the link, I receive a small commission. You don’t pay any extra and your information is safe. Thanks for supporting my small business.
This market tote will quickly become your go-to favorite when heading out to the farmer’s markets. Read on to see why!

The Pathways Market Tote
One of the most common New Year’s resolutions I hear every year is the desire to reduce waste and save the environment. For most of us, that means getting rid of plastic bags and disposable items that won’t break down in landfills.
Market totes and bags have become a popular choice for replacing plastic bags. It’s a stylish way to do your part to reduce unnecessary waste.
The Pathways Market Tote ticks all the boxes. It’s reusable, easy care and durable for repeated uses. It’s fashionable AND functional at the same time. It’s perfect for farmer’s markets because you can be confident it will bear the weight of all that precious produce!
Design + Construction
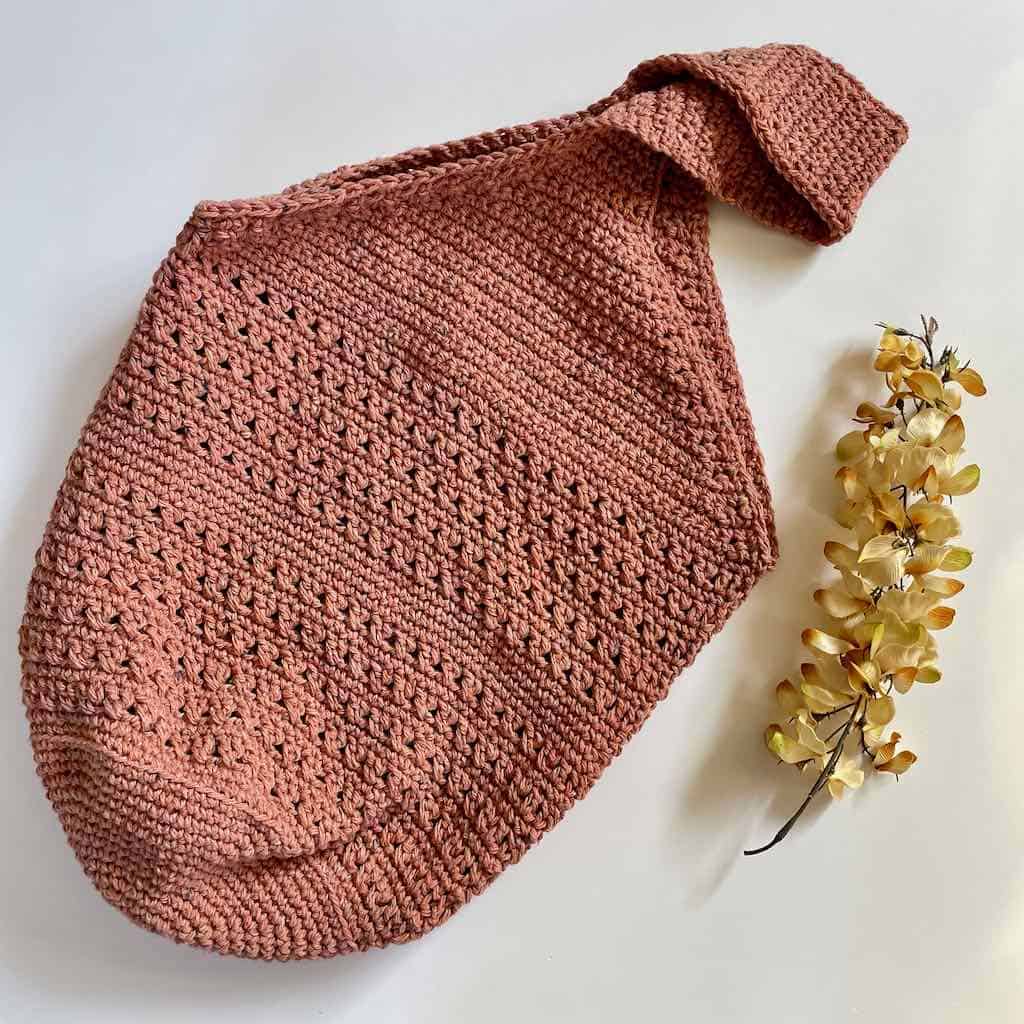
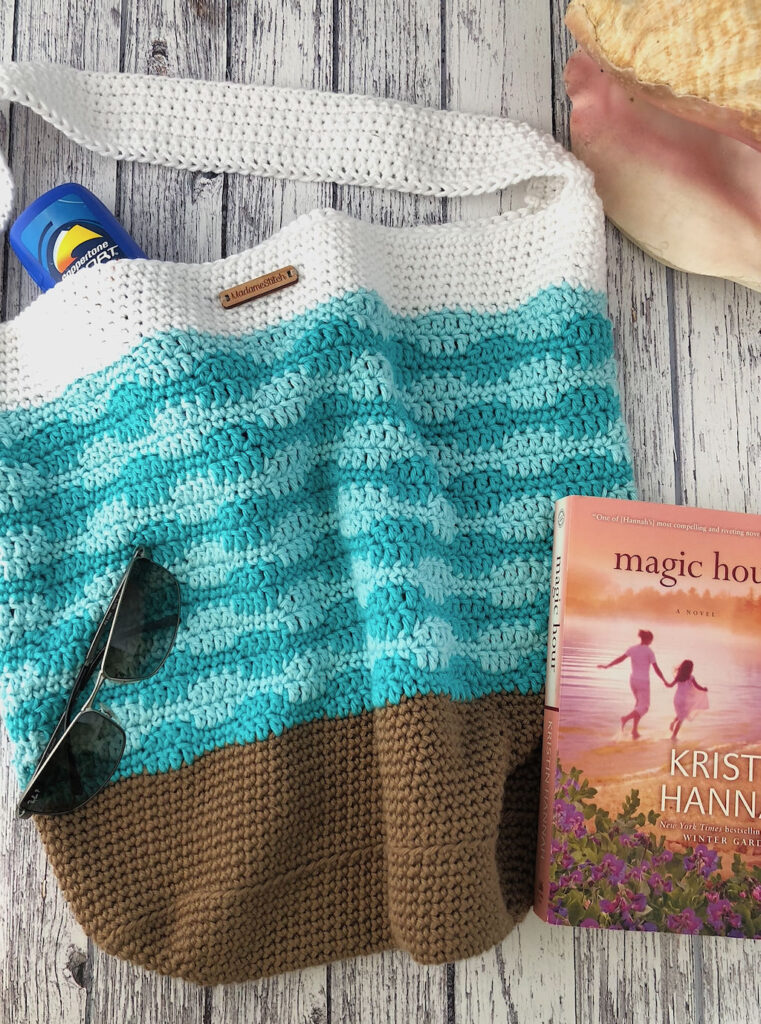
The Pathways Market Tote is designed to be easily slung over one shoulder, freeing your hands for other things. Its generous size and sturdy construction mean you can carry heavy produce with confidence. Plus, I designed it to be stylish and fashionable – turn some heads!
The construction of the market tote is pretty straightforward.
- The flat circle bottom is worked in continuous rounds without joining.
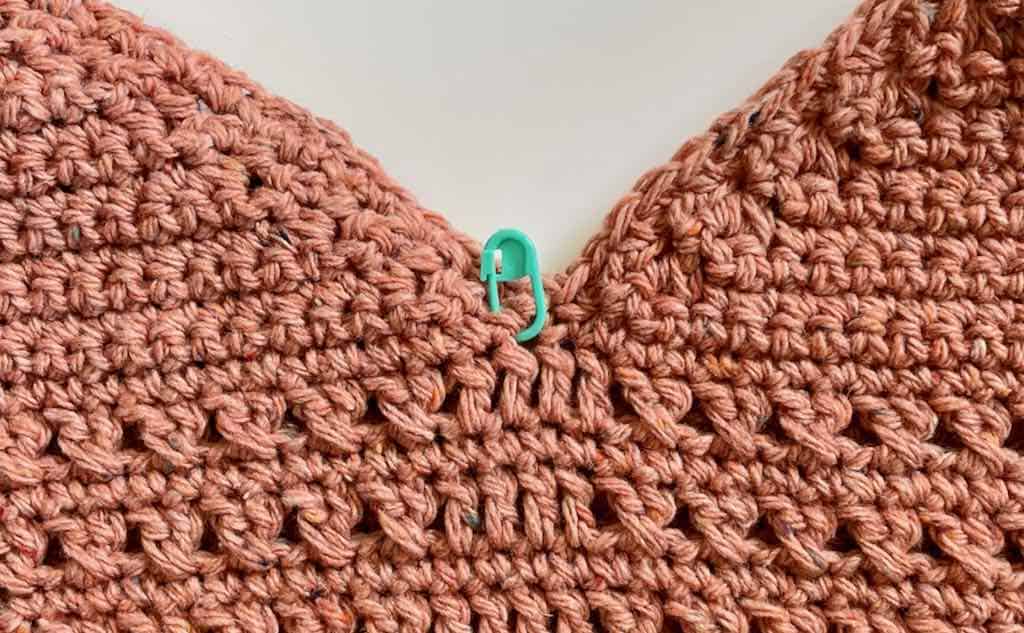
- The body of the market tote is worked in alternating sections of solid single crochet and the crossed double crochet, one of my all-time favorite stitches.
- The single strap is worked from both sides of the top of the body and joined in one seam at the center of the strap.
- The edges of the strap are finished off in a row of single crochet to prevent the strap from stretching.
About the Yarn
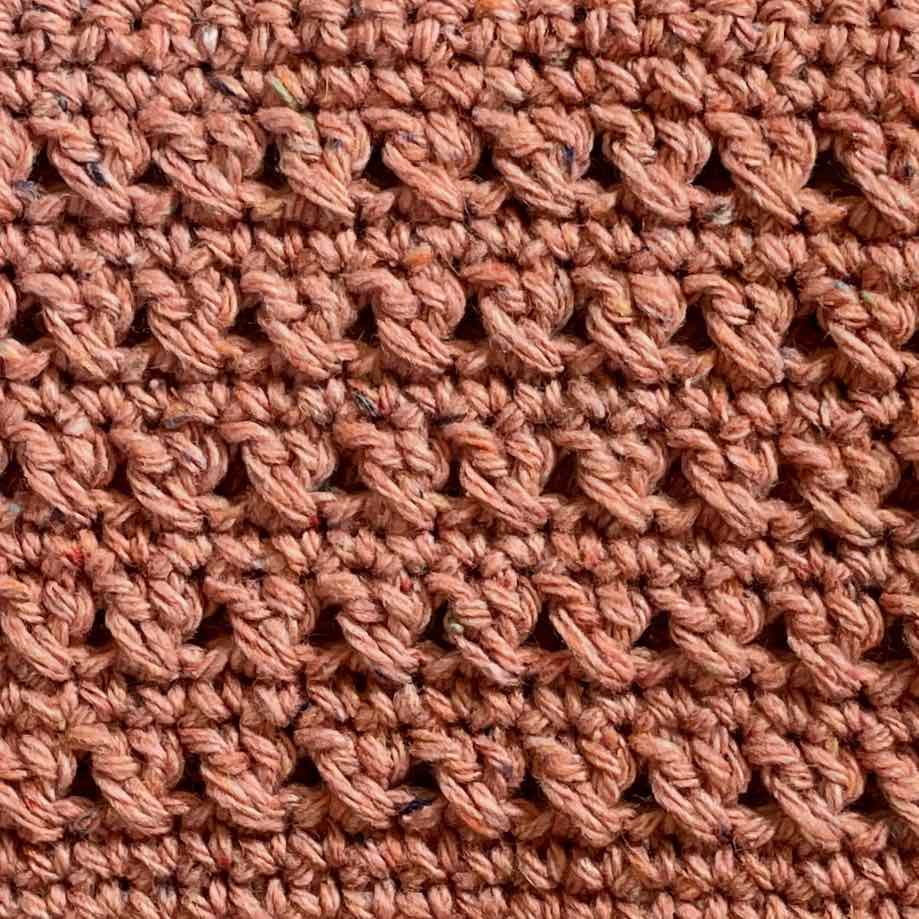
Typically, I choose a mercerized cotton for a tote like this because it’s sturdy, it doesn’t stretch with repeated use, and it retains its beautiful color and definition with repeated washing.
However, for this one I wanted to try Lion Brand’s “Re-Tweed” because the colors were just so beautiful. Instead of being cotton, this yarn is 40% wool, 40% polyester and 20% acrylic. The wool gives it a bit of a scratchy feel but that shouldn’t be a problem because this isn’t a garment. And, each skein comes in a generous 3.5oz size. It also has a bit of stretch which is different from cotton.
Any worsted weight yarn that has a lot of stability and is easy to care for. You want to be able to launder your beautiful market tote!
The medium to large size of the tote means you’ll need 3 skeins of Lion Brand’s “Re-Tweed”. But, it won’t feel like you have a massive bag on your shoulder even though you’ll be able to carry plenty of groceries.
Where to get the PDF for the Pathways Market Tote
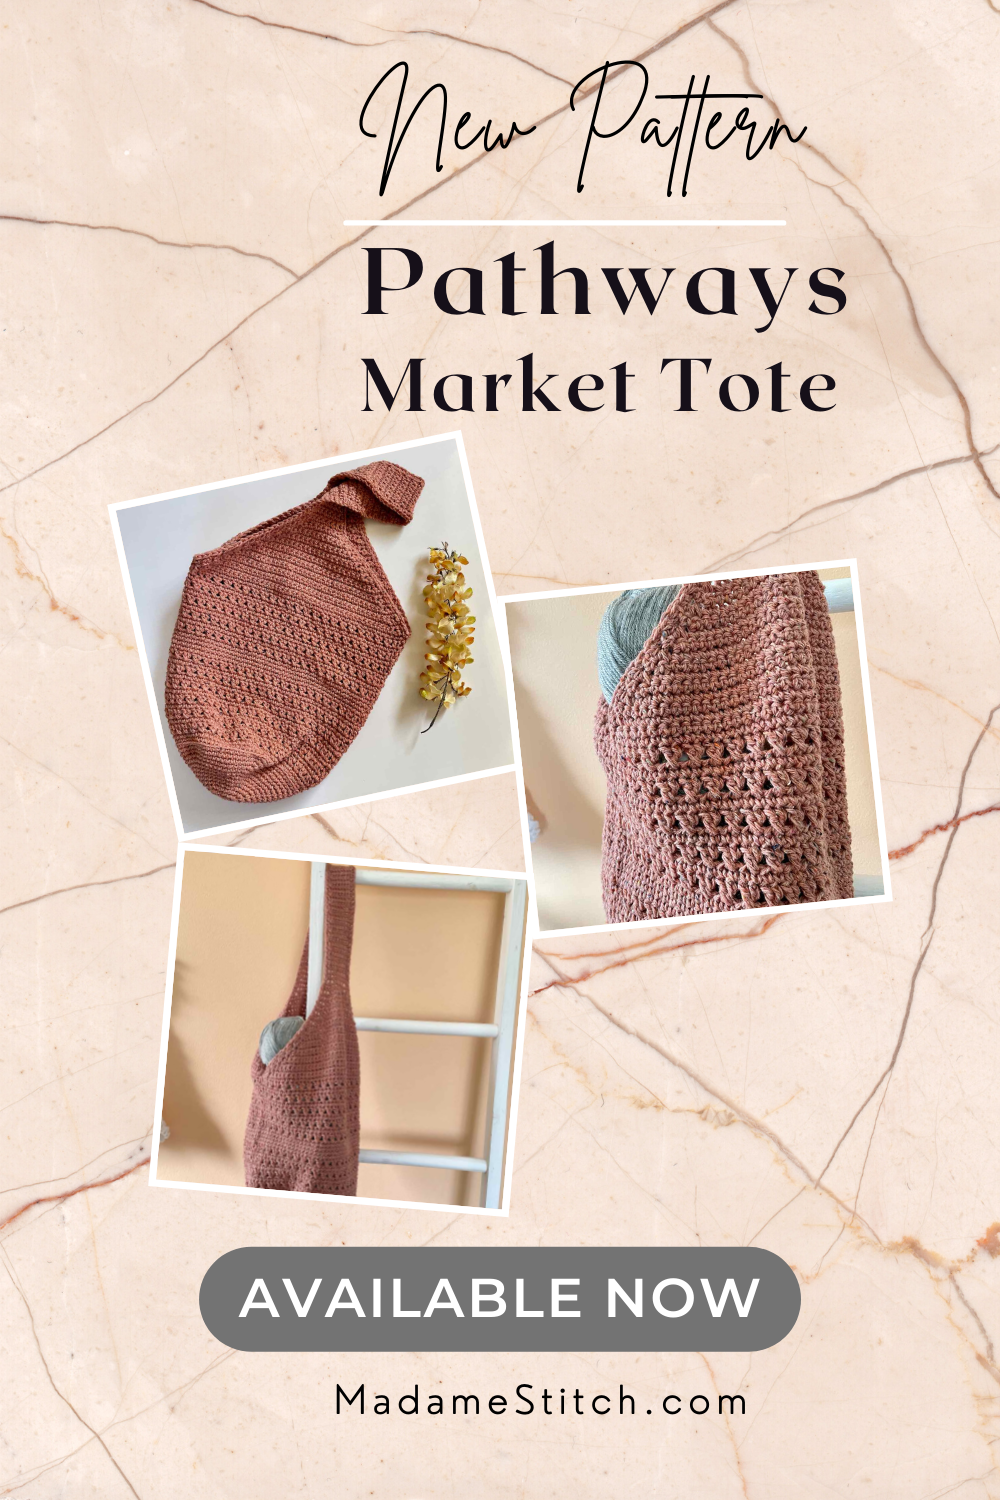
The Pathways Market Tote is a free crochet pattern in this blog post. If you’re a blog subscriber, scroll down to view the free version.
However, if you’d like a printer friendly and downloadable version of the PDF, I recommend you purchase it from one of my shops.
The purchased PDF can be uploaded to your favorite mobile device so you can take your Pathways Market Tote project with you to work on whenever you’re out and about.
The PDF is easy to read and beautifully formatted without ads for a great experience. Along with detailed written instructions, the PDF includes a schematic for getting just the right measurements and a crochet chart to show stitch placement in the body section.
Get your copy today!
The Pathways Market Tote Free Pattern
Materials
Yarn
Lion Brand “Re-Tweed” 40% wool/40% polyester/20% acrylic worsted weight 4 (3.5oz/202yd; 100g/185m) – 3 skeins in Grapefruit (#104)
Hooks
- US size H-8 (5mm) for the bottom of the tote
- US size I-9 (5.5mm) for the rest of the tote
Tools
- Removable stitch markers
- Tapestry needle for weaving in ends
General Information
Finished Measurements
- Width of body (measured from side to side with tote laid flat) – Approx. 15” across
- Height of body (measured from beg of body to base of straps) – Approx. 10”
- Straps (measured from top of body to center strap seam) – Approx. 14.25”
Gauge: 13 sc x 16 rows = 4”
Skill Level: Advanced beginner (because of various construction techniques and finishing details)
Abbreviations – US crochet terminology
- beg – beginning
- BLO – back loop only
- ch – chain
- dc – double crochet
- rep – repeat
- rnd(s) – round(s)
- RS – right side
- sc – single crochet
- sk – skip
- st(s) – stitch(es)
- YO – yarn over
- sc dec – single crochet decrease (work a decrease over 2 sts)
- sc inc – single crochet increase (work 2 sc in the indicated st)
Special Stitches
Crossed double crochet (crossed dc): Sk st, dc in next st, dc in skipped st.
In this stitch pattern, the double crochets are worked the same as usual. However, a stitch is skipped, and the first double crochet of the pair is worked in the next stitch. The second double crochet of the pair is worked in the skipped stitch, causing them to be crossed
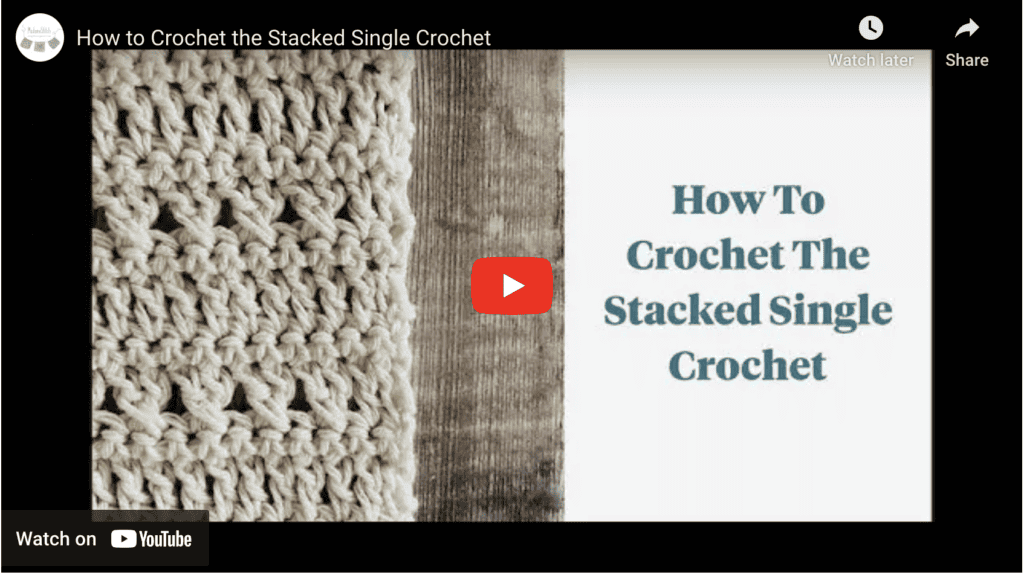
Stacked single crochet (STsc) – (This stitch is used at the beginning of a row or round to replace the traditional turning ch-3. It has the appearance of a dc.) – Insert hook in same st as loop, YO, draw up loop, YO, pull through 2 loops (bottom sc made), insert hook in left vertical bar of bottom sc, YO, draw up loop, YO, pull through 2 loops (top sc made).
Pattern Notes
- DO NOT TURN after any round.
- A ‘ch-3’ may be substituted for the STsc.
- The bottom of the tote is a flat circle worked in continuous rounds without joining. To keep track of where the beginning of the round is, place a marker in the first stitch of the round. After working the first stitch of the next round, move the marker up.
- Stitch counts will be indicated only when they change.
Unlock Exclusive Subscriber Content
To unlock Exclusive Subscriber Content, click on the button in the box below. The Grow.me app window will pop up where you can either create an account or sign in if you already have one.
To create an account, sign in with your existing Google or Facebook account. You can also create an account with an email address and new password.
If you forget your password, simply click the “Forgot my Password”button. I have no access to your Grow account so I’m unable to retrieve or reset your password.
Remember, once you’ve created a Grow account, you never have to do it again. Your Grow account unlocks all the exclusive content created by Grow
Thank you for being a loyal blog subscriber. I hope you enjoy the exclusive content!
Looking for more crochet bags?
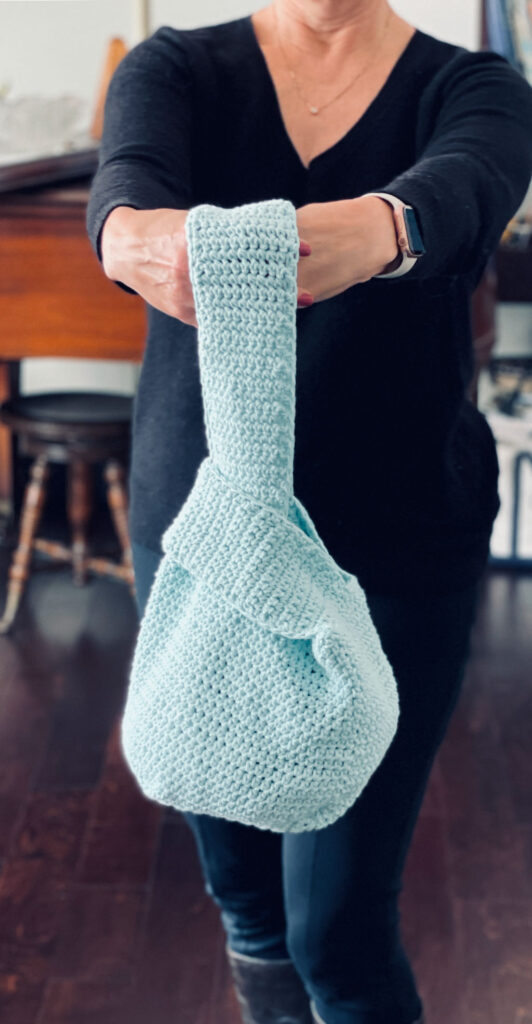
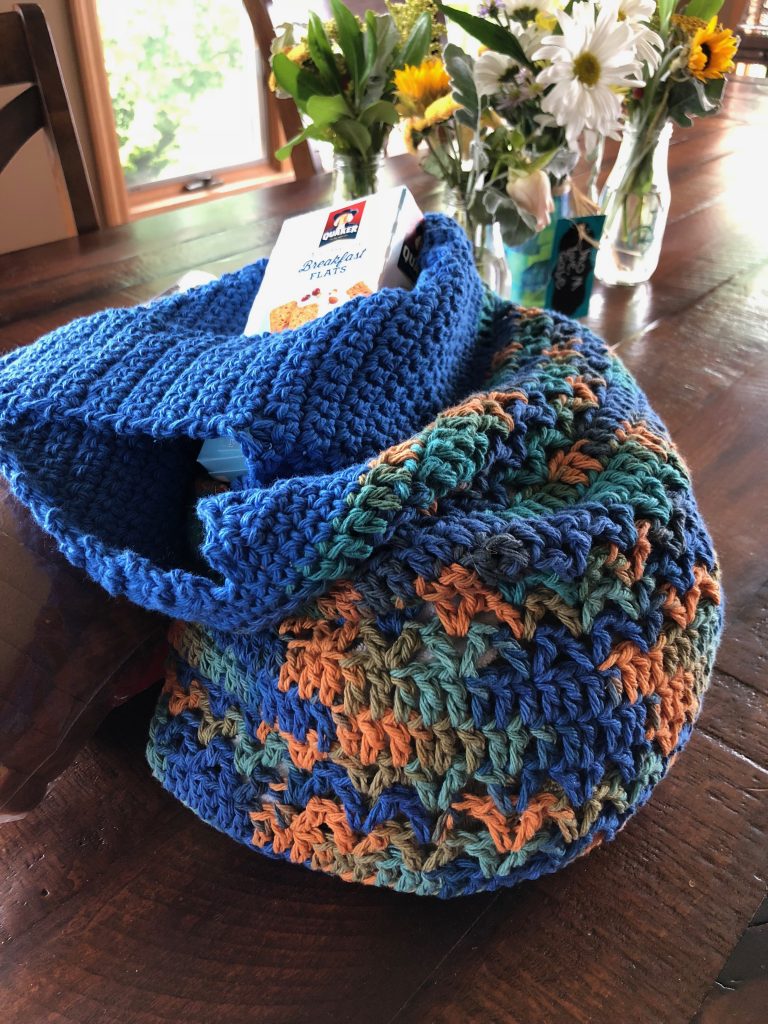
Check out these fabulous all-purpose totes and bags in my pattern shops.


One Comment