How to crochet the perfect C2C crochet border
C2C crochet is a very popular method of making blocks to create a picture or text pattern in a crochet piece. Instead of working back and forth along the horizontal or vertical, the pattern is worked on the diagonal from corner to corner. While C2C crochet can be worked in different colors or self-striping yarn, many times you can follow a chart to create a beautiful design.
The internet abounds with tutorials about the basics of C2C crochet, from how to make the basic blocks to increasing/decreasing. One of my favorites is by Make and Do Crew.
One thing that doesn’t get talked about is how to start the border once you’ve finished that wonderful C2C portion. Don’t you find that frustrating? Well, I’m here to help!
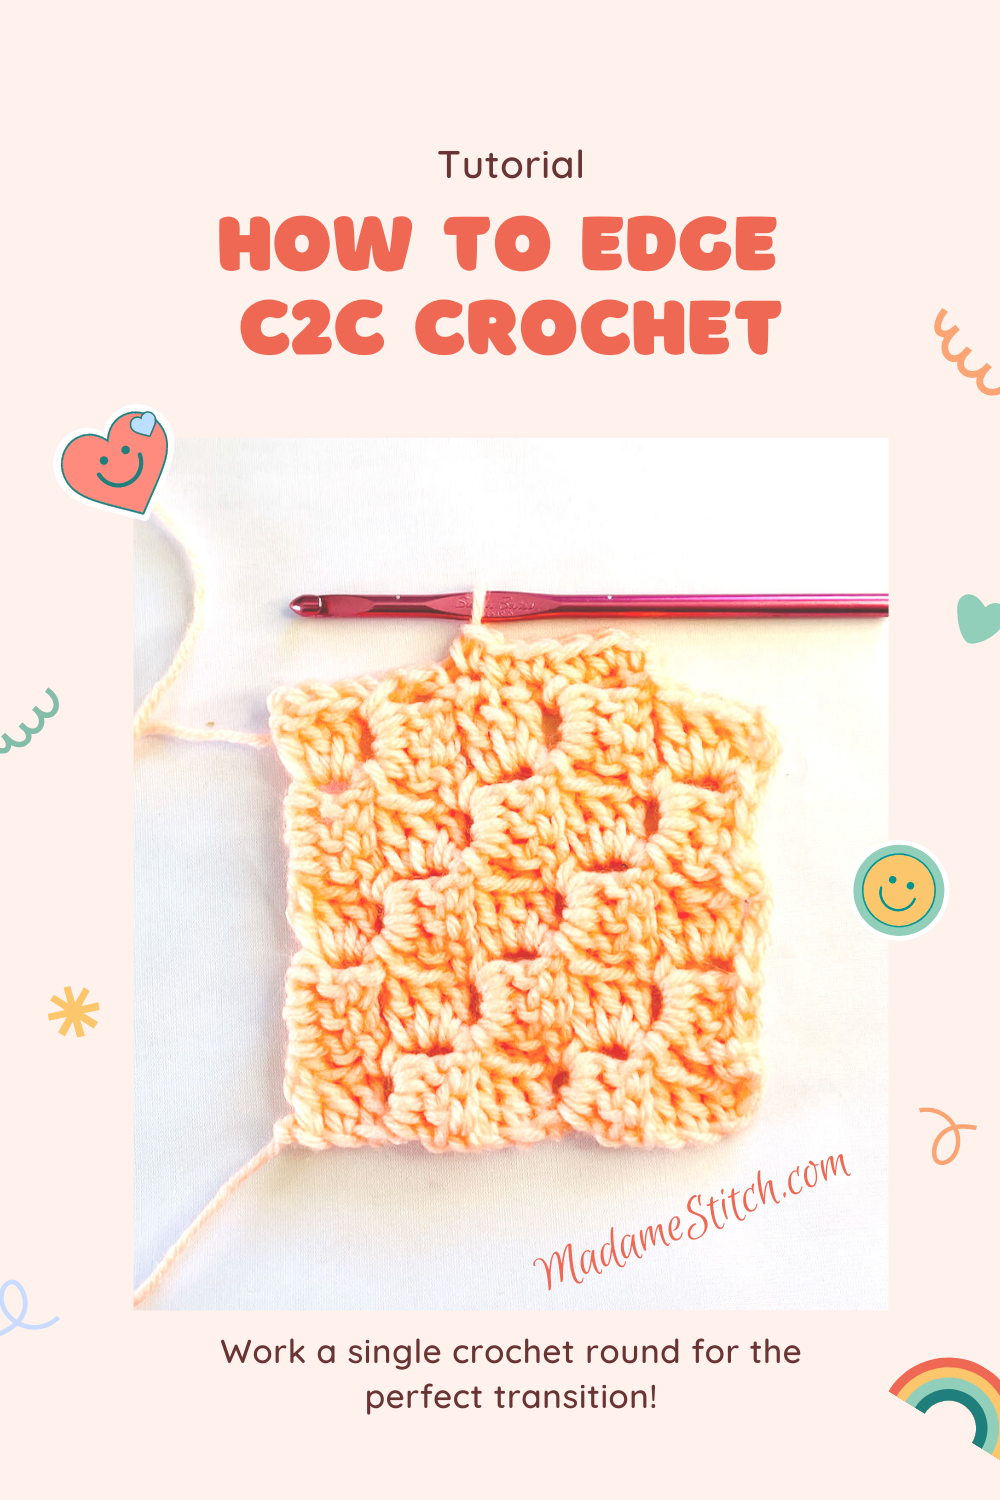
Your first round should be single crochet.
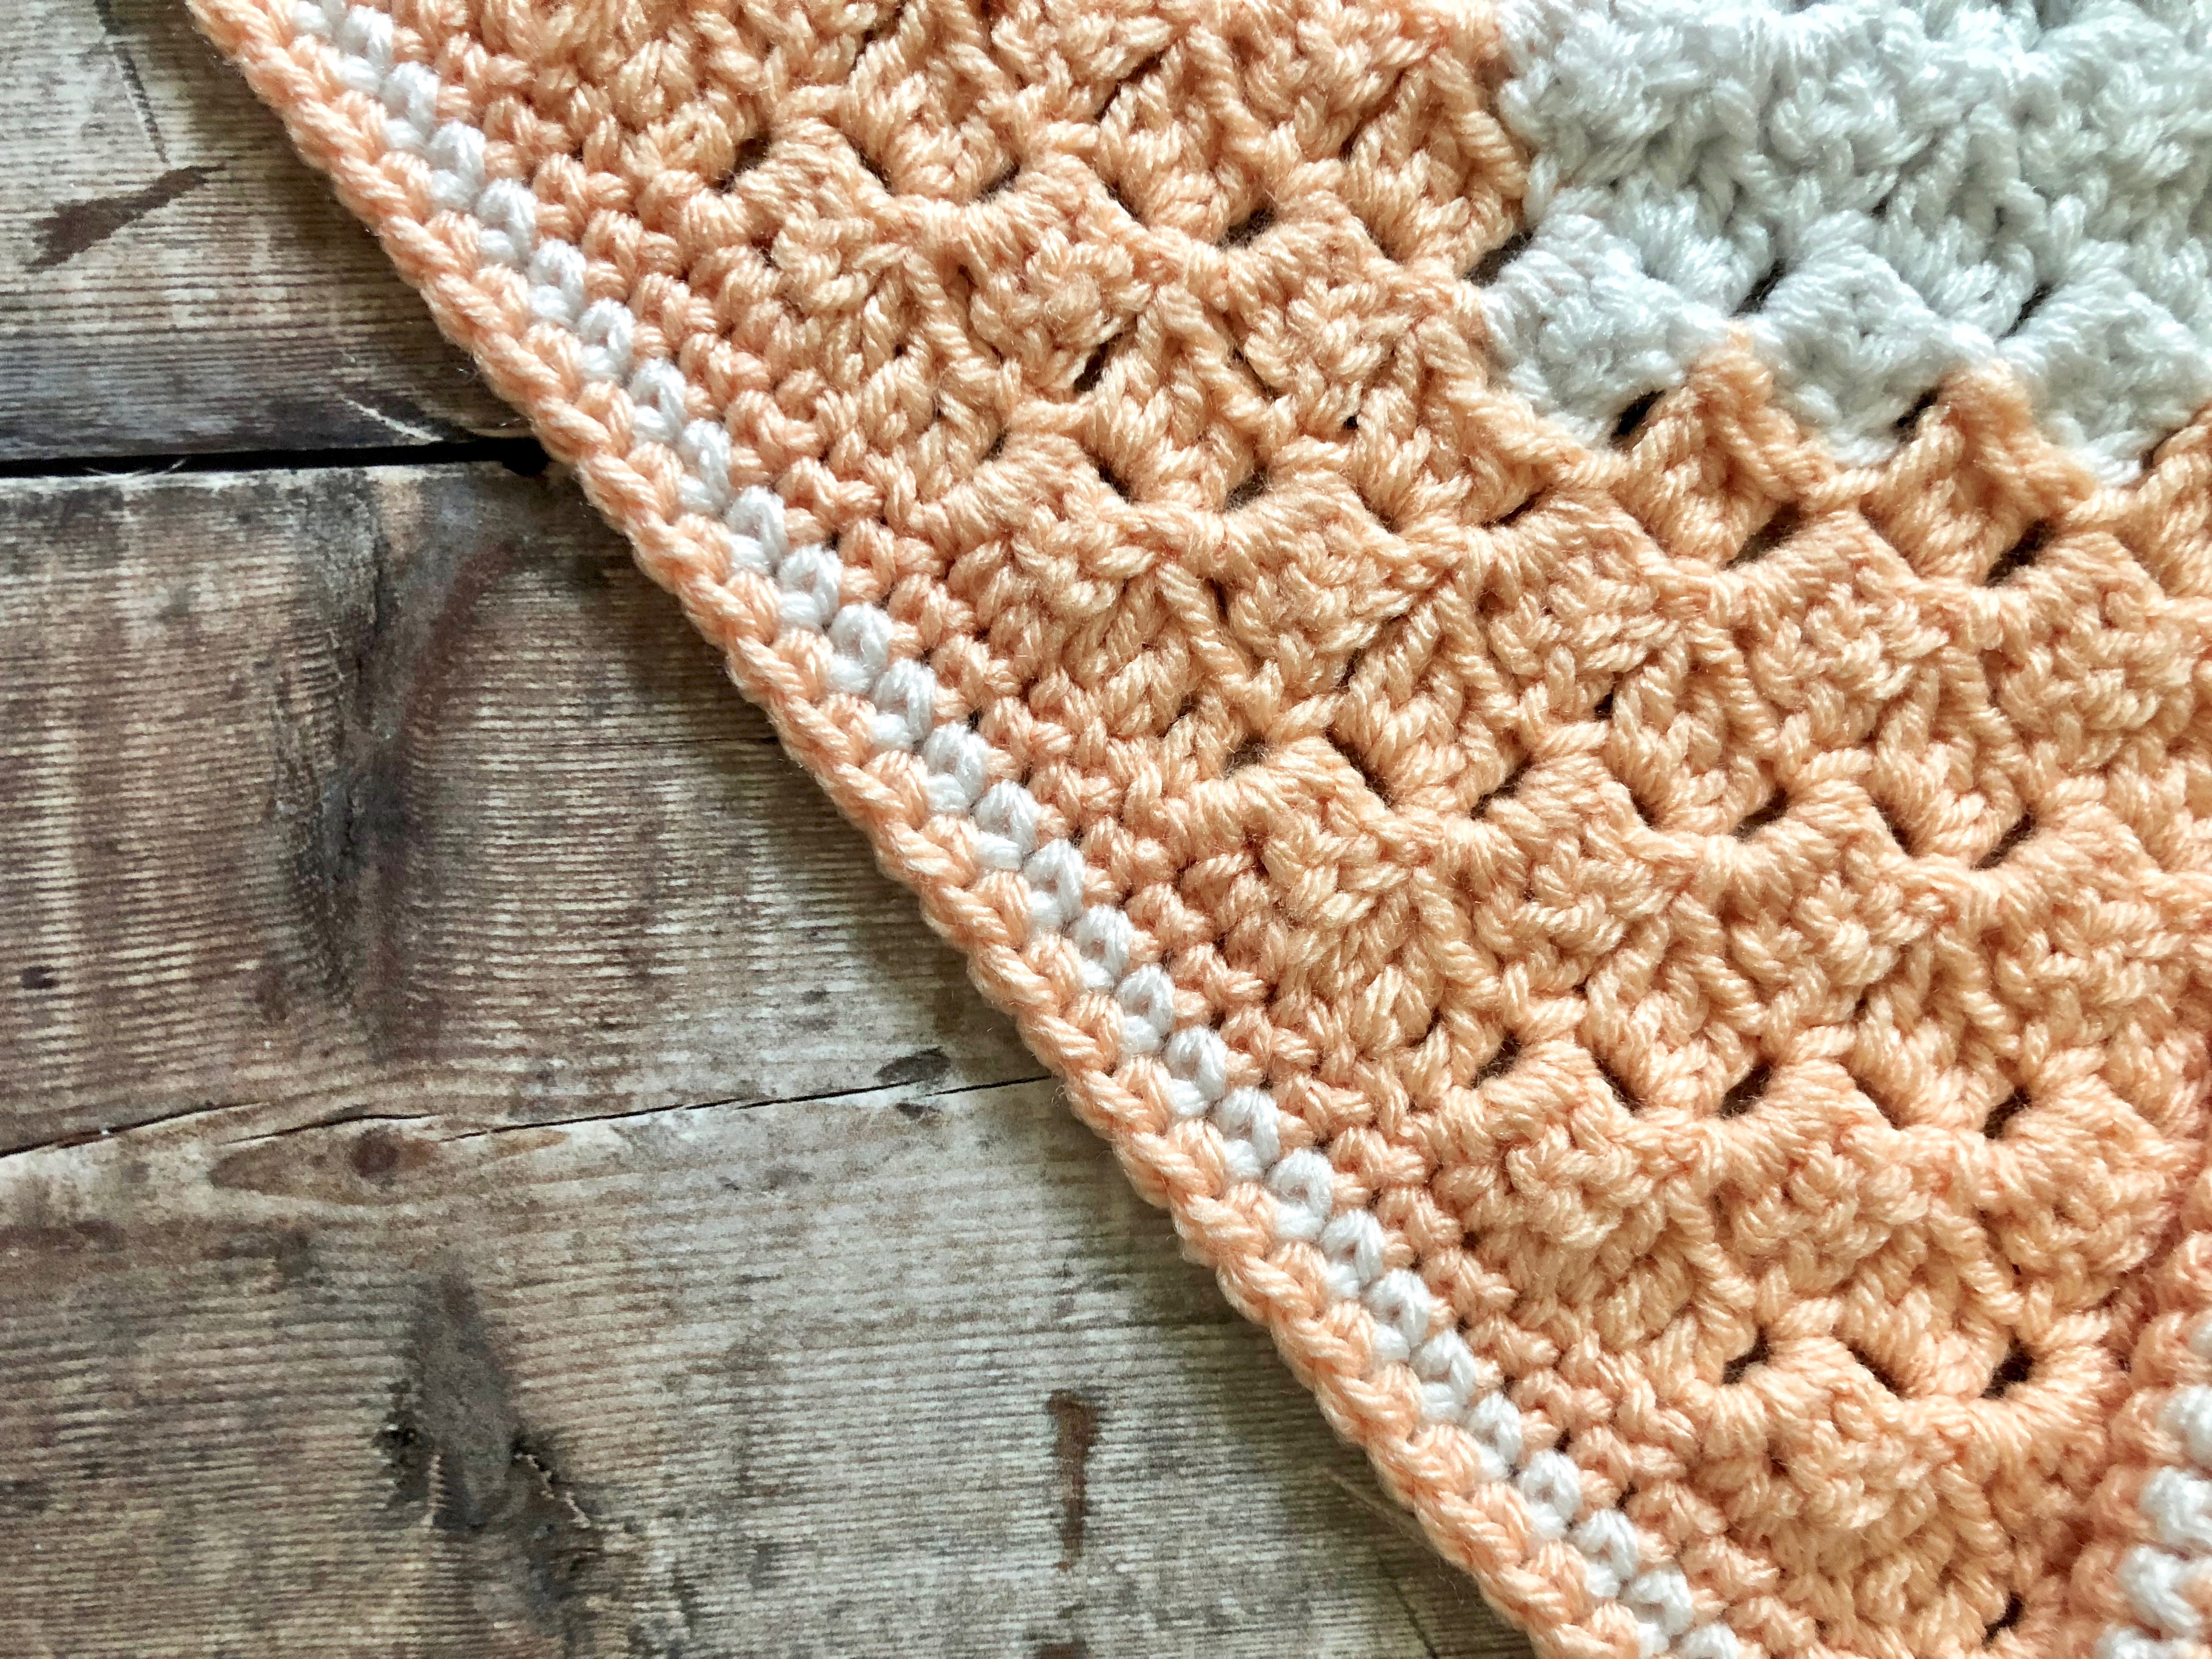
Each of my C2C pattern includes a border that always begins with a round of single crochet. Why? Well, single crochet in the main color is the best way I’ve found to provide the perfect transition from the body of the work to the border.
The edge of the C2C portion is a bit ragged looking. Using the same color as the outer edge of the C2C fills in all of the nooks and crannies and makes a nice clean border along the edge.
Abbreviations used in this tutorial: Ch – chain, dc – double crochet, sc – single crochet, st – stitch
How to begin a C2C crochet border
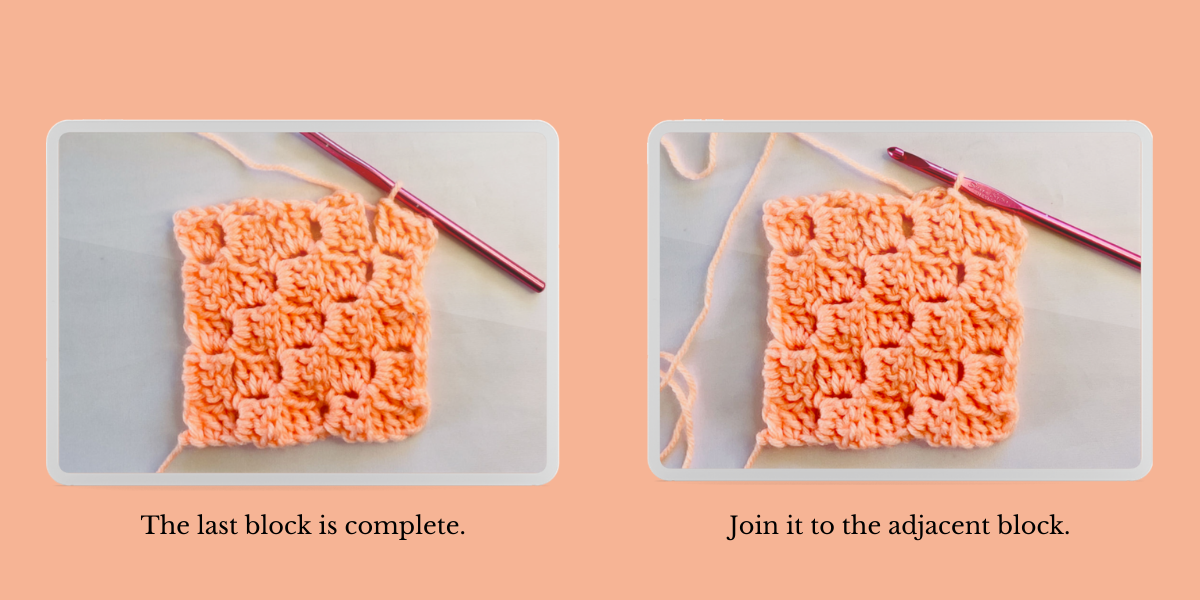
Most of the time, where you end up will not be at the corner. Instead, your hook will be between the corner block and the one just to the left of it. That’s OK. We’ll proceed from there.
At the end of the C2C portion of your project, do not fasten off.
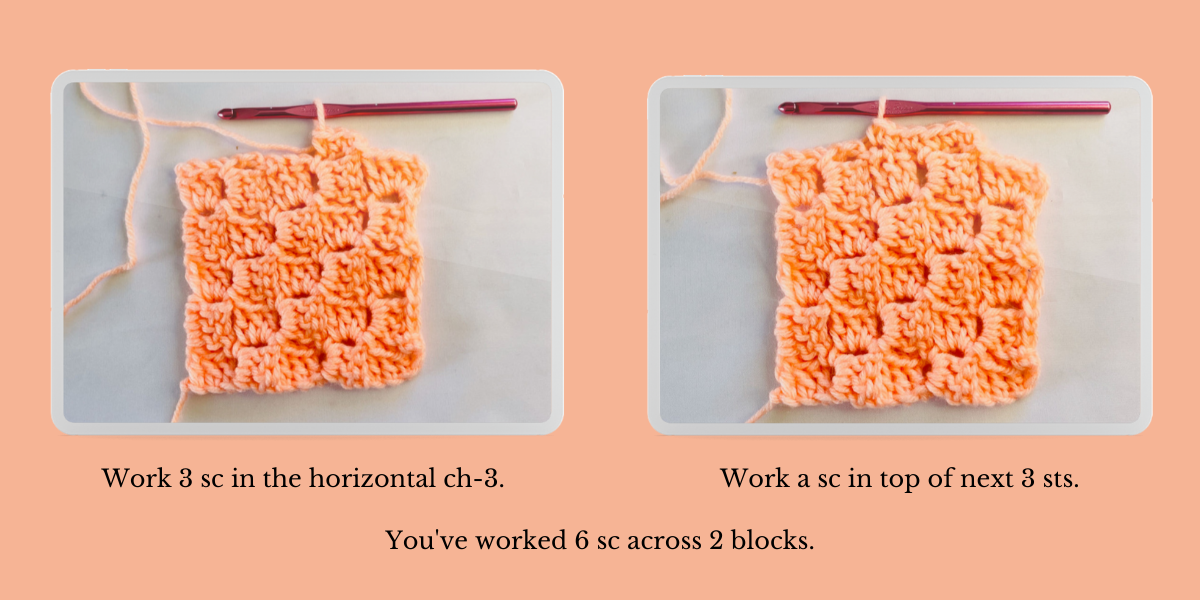
Along the edge: To begin working along the edge, ch 1 and sc in the same st. Work 3 sc in each horizontal dc or ch-3 and a sc in each of the vertical dc. You’ll be working 6 sc over 2 blocks.
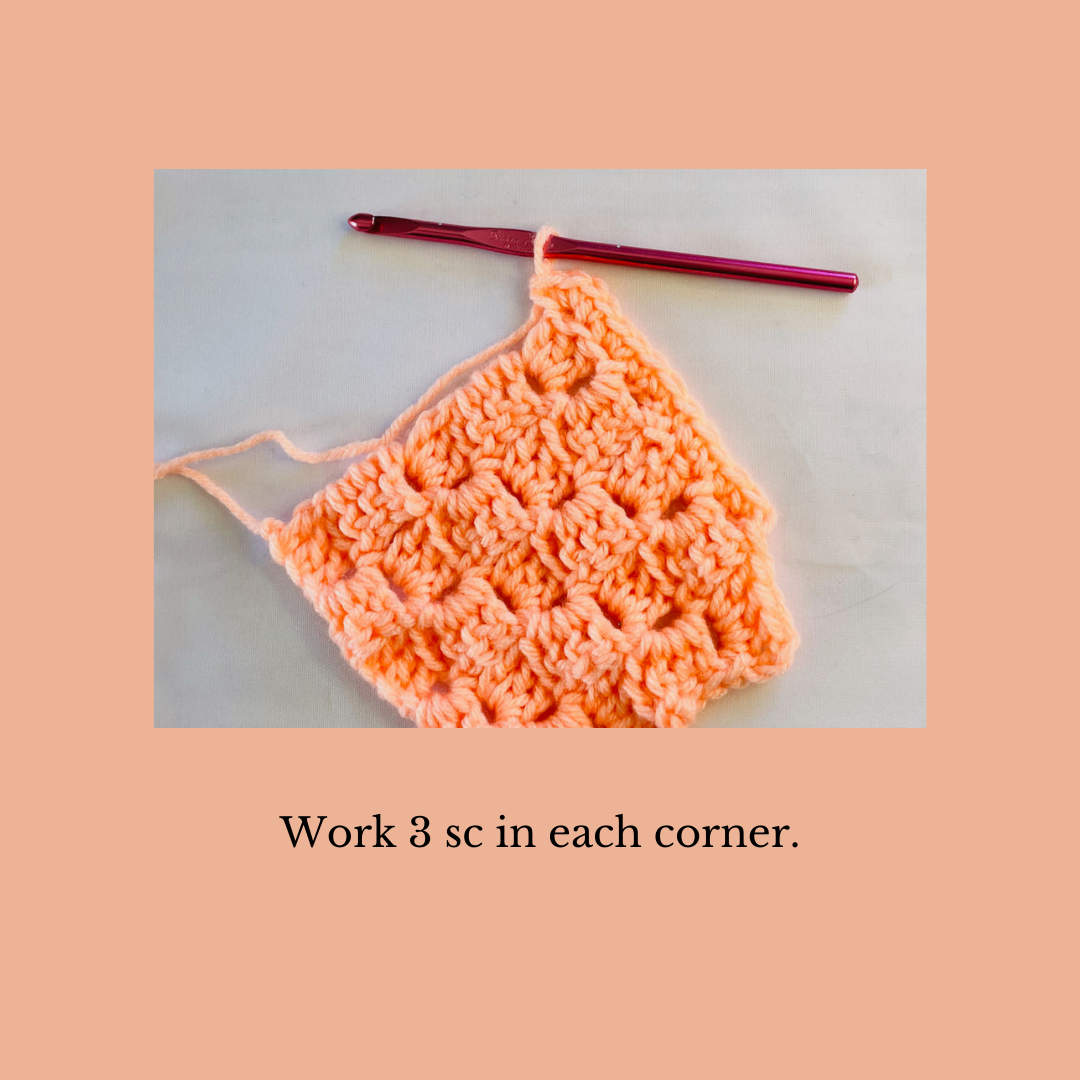
At each corner: Work 3 sc in each corner stitch. It may not be obvious where to place these 3 sc so try to get as close to the point of the corner as possible.
When you get to the end of the round: Simply join with a slip stitch to the beginning sc. Now you can proceed with whatever border you like.
Here’s a handy video tutorial!
Want to put your new skills to work?
These are C2C patterns in my shop that put this single crochet edge to work. You can find them in my Ravelry shop.
Thanks for stopping by!
Be sure to follow MadameStitch on Instagram, Facebook and Pinterest. And, sign up below so you don’t miss ANYTHING going on here at MadameStitch!


Thank you! This was a very helpful post.
I am finishing my first C2C and I had NO IDEA how to create a smooth border.
Thanks again!
Fantastic! I’m so glad the post helped you. And, congrats on your first C2C project!
Best,
Debbie