The perfect Granny Scarf to ward off the chilly temps
If you love granny squares, this granny scarf is a must-have in your winter accessories wardrobe. Be the talk of the town when you step out wearing it!
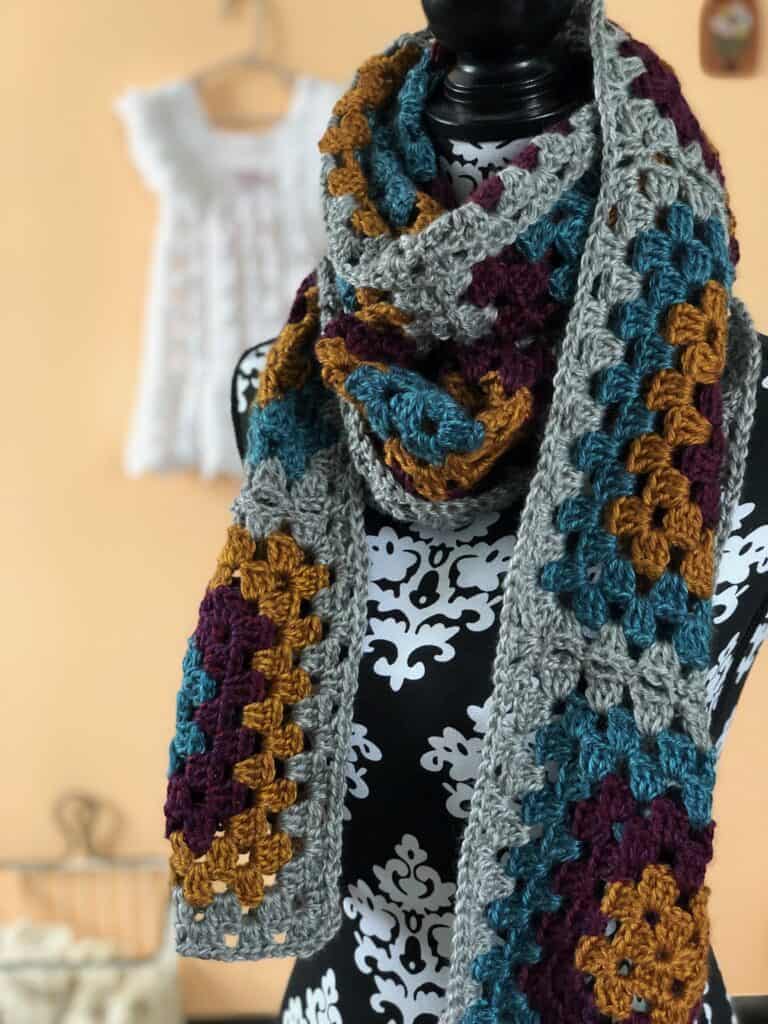
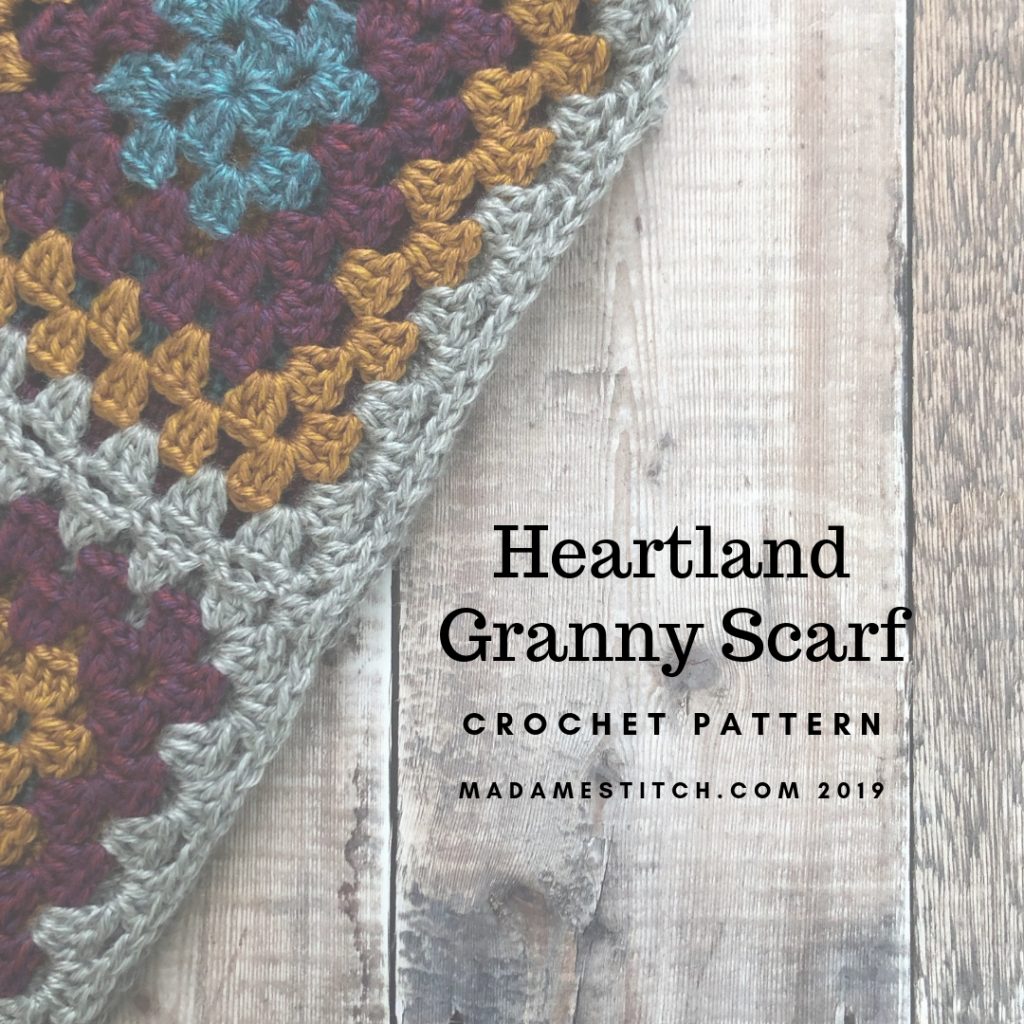
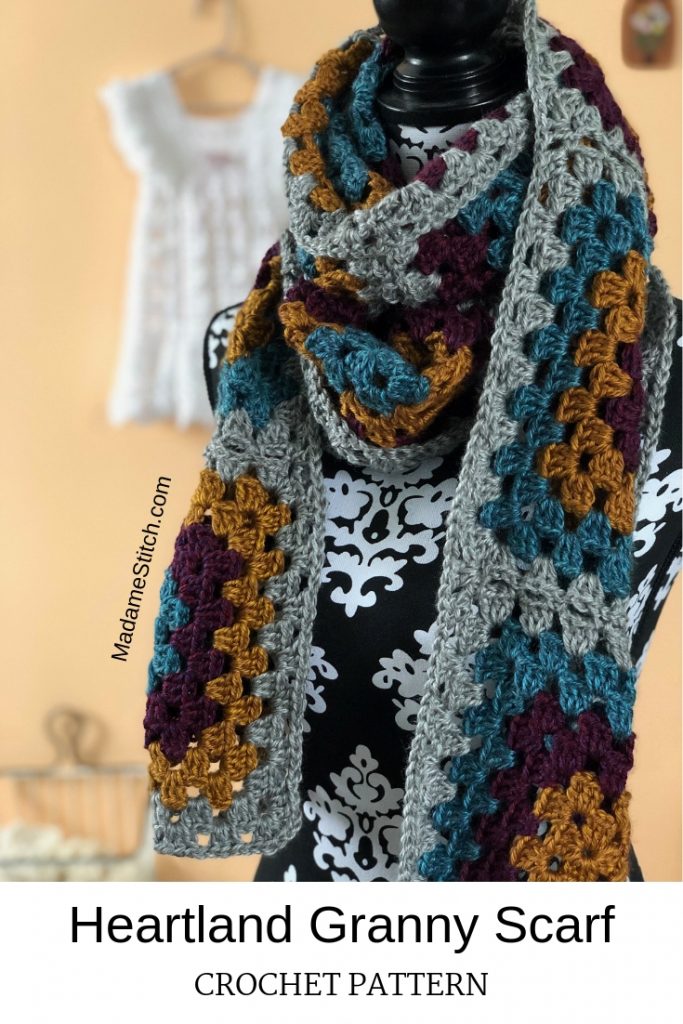
The Heartland Granny Scarf
You can never go wrong with a granny square. Let me say that again – you can never go wrong with a granny square! It’s the perfect go-to design element for just about any project. I find myself coming back to it constantly. And, it’s the ultimate portable project for that quick trip you have planned.
This beautiful granny scarf, made with Lion Brand’s “Heartland” yarn is an accessory that will get compliments every time you wear it. Whether you’re a beginner at crochet, or you’ve had lots of experience, you’ll find this traditional scarf a breeze to whip up!
Design + Construction
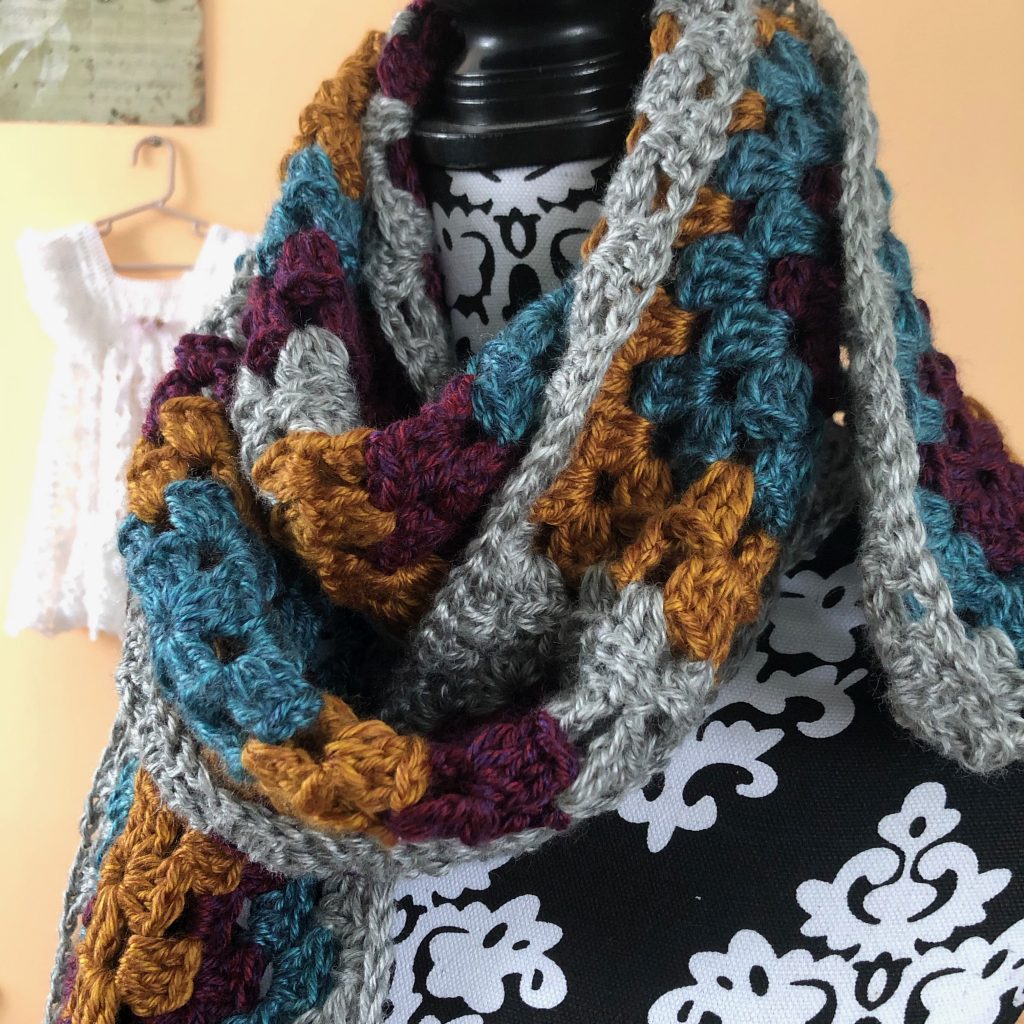
The scarf is made up of 10 7-round traditional granny squares. The squares are approximately 8″ square. When it’s all done, the scarf measures a very generous 80″+ long. The extra length makes it ideal for double wrapping on the coldest of days or one wrap around the neck for extra long tails.
Instead of sewing those squares together, “Join-as-you-go” using the slip stitch method to assemble the scarf as the squares are completed and eliminate many of the ends you’d have to weave in. That sounds like a win to me! If you’ve never tried join-as-you-go, this is the perfect project to have a first go at it because you’ll only need to join along one edge at a time. For a handy picture tutorial on this JAYGO method, visit Cherry Heart Crochet Corner.
To complete the scarf, a simple granny stitch border is worked around the entire scarf, just like the rounds of the granny squares.
The Yarn
This post contains affiliate links. That means, if you purchase something using the link, I receive a small commission. You don’t pay any extra and your information is safe. Thanks for supporting my small business.
I chose Lion Brand’s “Heartland” for this granny scarf. If you’ve never worked with Heartland before, you’ll be thrilled with it’s soft touch and durability. It really is one of the most gorgeous yarns I’ve ever worked with.
Heartland is a worsted weight acrylic yarn that comes in rich colors inspired by iconic natural American landmarks. It has a beautiful sheen with a slight halo so it looks as soft as it feels. The granny scarf in the photos was made in the fall so I chose colors that reflect the rich colors of the turning leaves.
What about blocking?
I’m not gonna lie…I hate to block stuff. And, I’ve found acrylic yarn to be resistant to blocking, although I have colleagues who swear by it. I didn’t block this scarf. Every time I wear it, the edges do tend to curl. As far as I’m concerned that just adds to the cozy charm. Besides, the scarf retains its shape after every wearing so I haven’t been too worried about not having blocked the squares.
Where to get the PDF for the Heartland Granny Scarf
The free pattern for the Heartland Granny Scarf is in this blog post. Scroll down to view the free version.
However, if you’d like a printer friendly and downloadable PDF, I recommend you purchase the premium PDF from one of my shops.
The purchased PDF can be uploaded to your favorite mobile device so you can take your Heartland Granny Scarf project with you to work on whenever you’re out and about.
The PDF is easy to read and beautifully formatted without ads for a great experience. You’ll also find detailed instructions and a helpful graphic for the Join-as-you-Go part of the process.
Get your copy today!
The Heartland Granny Scarf Free Pattern
Materials
Yarn
Lion Brand “Heartland” 100% acrylic worsted weight (5oz/251yd; 142g/230m)
- Main color (MC) – #150 Mount Rainier (lt. gray) – 2 skeins
- Color A – #130 Bryce Canyon (gold) – 1 skein
- Color B – #189 Isle Royale (burgundy) – 1 skein
- Color C – #105 Glacier Bay (turquoise) – 1 skein
Any worsted weight yarn will work for this scarf
Hook: US size I-9 (5.5mm)
General Information
Finished Size
- Granny Square – approx. 8.25″ square
- Scarf – approx. 82″ x 9″
Skill Level – Confident Beginner
Abbreviations – US crochet terminology
- beg – beginning
- ch – chain
- dc – double crochet
- rnd(s) – round(s)
- sp – space
- st(s) – stitch(es)
Special Stitches
Granny stitch (GS) – 3 dc worked in the same st or sp
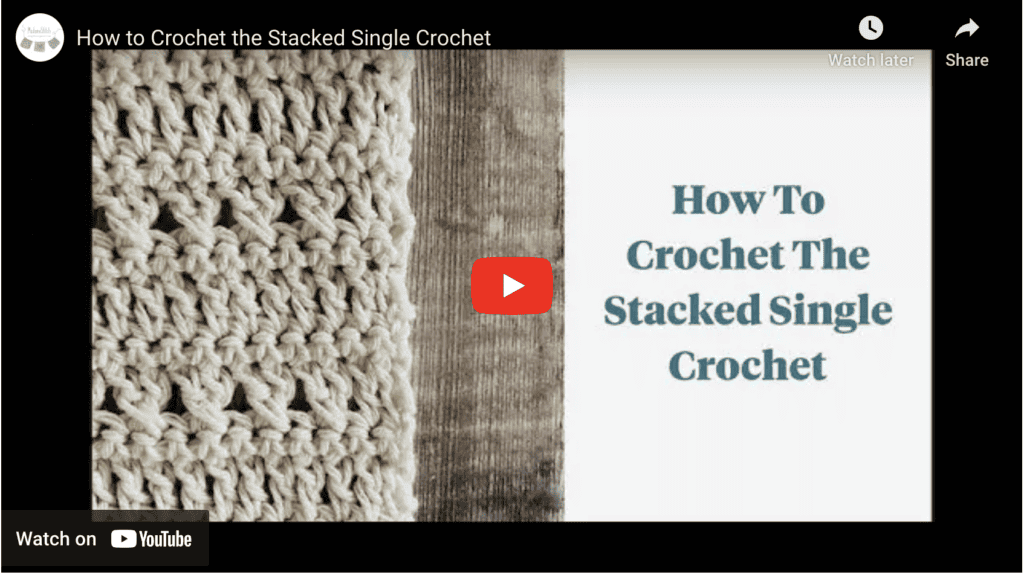
Stacked single crochet (STsc): (This stitch is used at the beginning of a row or round to replace the traditional turning ch-3. It has the appearance of a dc.) – Insert hook in same st as loop, YO, pull up loop, YO, pull through 2 loops (bottom sc made), insert hook in left vertical bar of bottom sc, YO, pu;; up loop, YO, pull through 2 loops (top sc made).
A note about the construction
This granny scarf is made with 10 granny squares that are joined as you go using the slip stitch method. In other words, along the side that’s joined to the previous square, you’ll work a slip stitch into the corresponding space instead of working the traditional ch-1 spaces. This method saves assembly time and eliminates many of the ends created by seaming.
Unlock Exclusive Subscriber Content
To unlock Exclusive Subscriber Content, click on the button in the box below. The Grow.me app window will pop up where you can either create an account or sign in if you already have one.
To create an account, sign in with your existing Google or Facebook account. You can also create an account with an email address and new password.
If you forget your password, simply click the “Forgot my Password”button. I have no access to your Grow account so I’m unable to retrieve or reset your password.
Remember, once you’ve created a Grow account, you never have to do it again. Your Grow account unlocks all the exclusive content created by Grow
Thank you for being a loyal blog subscriber. I hope you enjoy the exclusive content!



thanks for the share of this pattern! I am always looking for a way to stashbush my yarn scraps for my charity donation hats and scarves. I will be grabbing my hook and crocheting one soon. Again, thanks for a new way to use up scraps and make a lovely granny square♥
What a wonderful way to use this pattern! Thanks for choosing this scarf for such a worthy cause!
Best,
Debbie