Crochet the perfect granny square lovey for your special little one
Crochet a cozy and adorable granny square lovey for your preemie or newborn to provide just the comfort she needs. Free pattern on the blog.
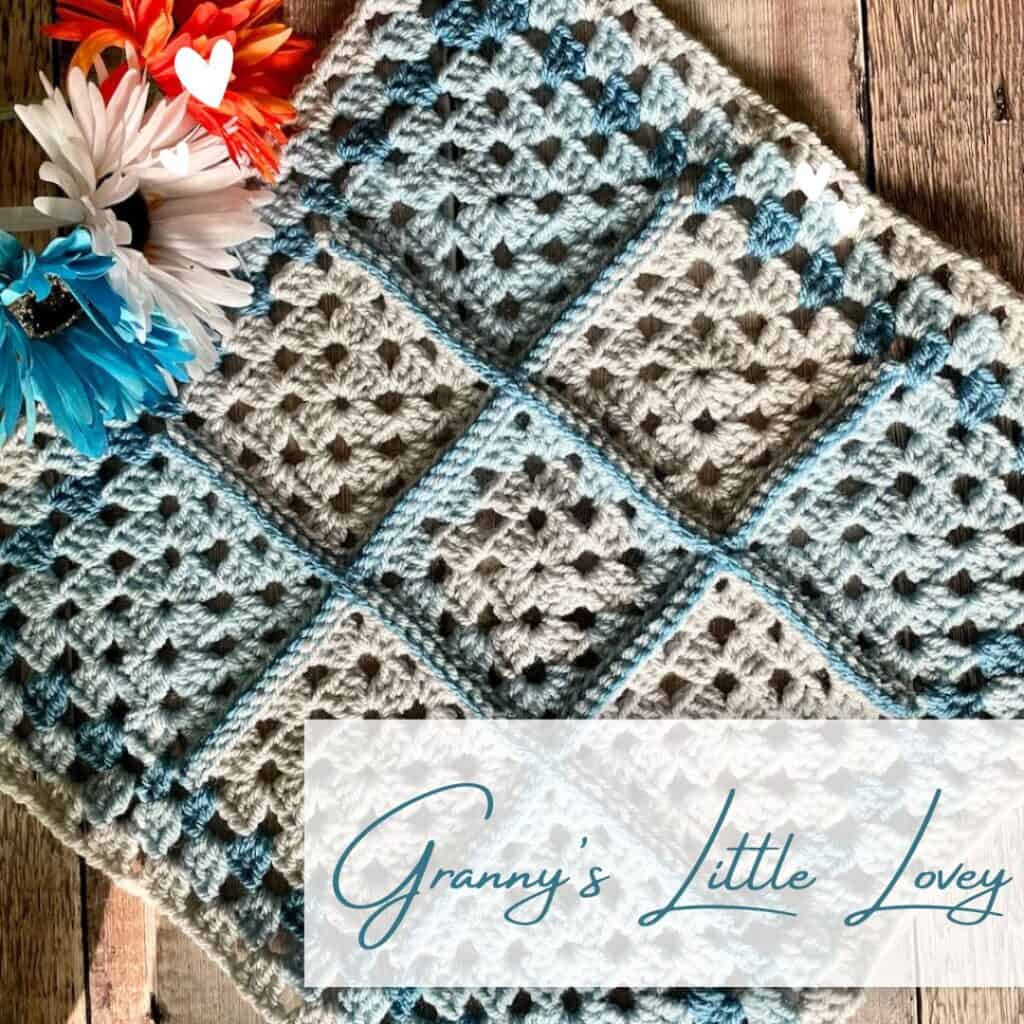
Granny’s Little Lovey – a granny square lovey crochet pattern
I love making baby blankets and loveys because of all the joy and comfort they bring to our precious little ones. They make a mindful crochet project for me and I know that when I’m finished I have a beautiful gift for someone special.
A granny square lovey ticks all the boxes for me. I love granny squares. Plus, that smaller version of a baby blanket can be a satisfying quick project, ideal for last minute gifts.
I designed this particular granny square lovey for my youngest grandson years ago when he was a baby. I never wrote out the pattern. But, for this year’s Preemie Crochet Challenge, I decided it was time to give this adorable granny square lovey a place in my design library.
If you’re looking for a sweet and cozy gift for a preemie or newborn, consider crocheting this granny square lovey. It’s an adorable, practical item that provides just the right amount of comfort and warmth for a little one.
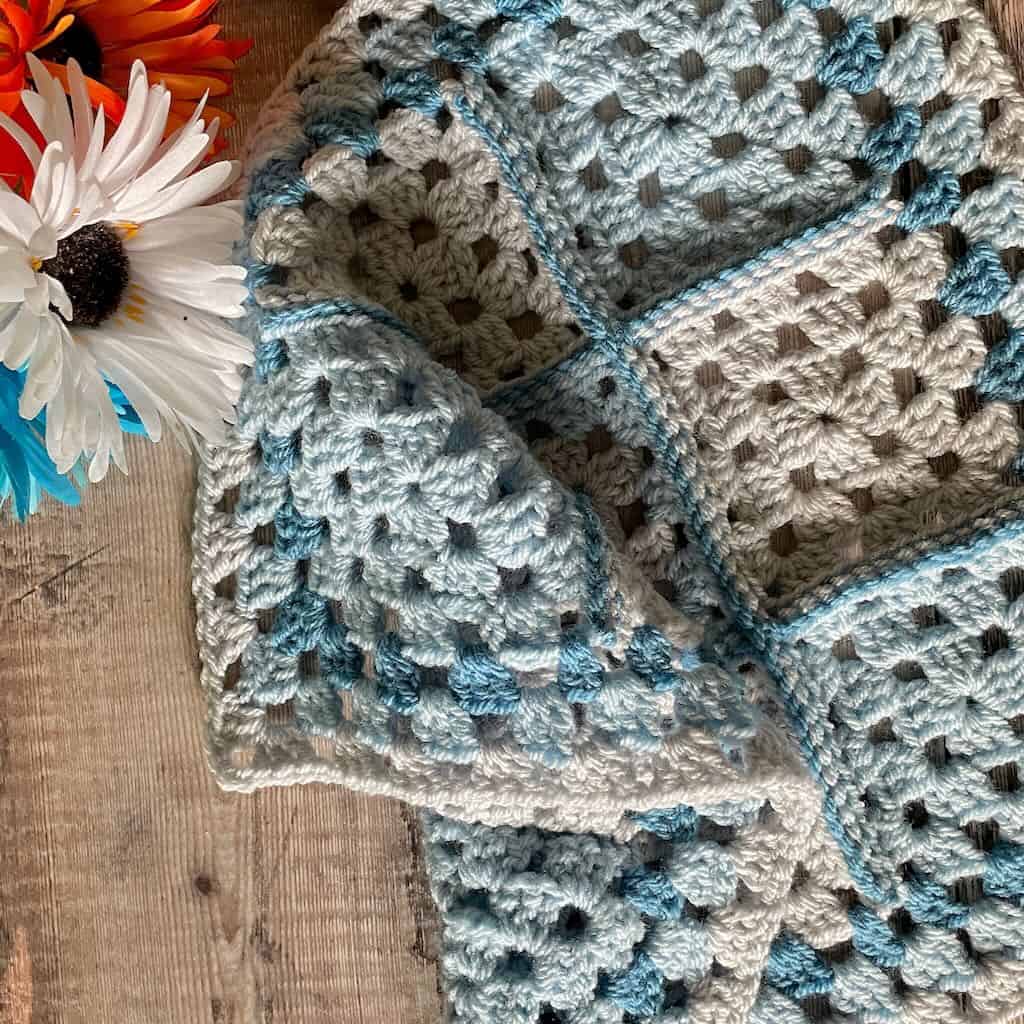
Inspiration for this granny square lovey
It’s no secret to anyone who knows me and my crochet that I absolutely adore granny squares. What you probably don’t know is that my younger grandson was born on Granny Square Day – August 15.
Over the years, we’ve formed quite a bond over granny squares. He loves celebrating the day with me. In fact, every birthday I start the day by dropping off whatever granny square themed gift I’ve designed for him that year and being one of the first to wish him a happy birthday. My grandson looks forward to and expects a unique granny square gift for his birthday.
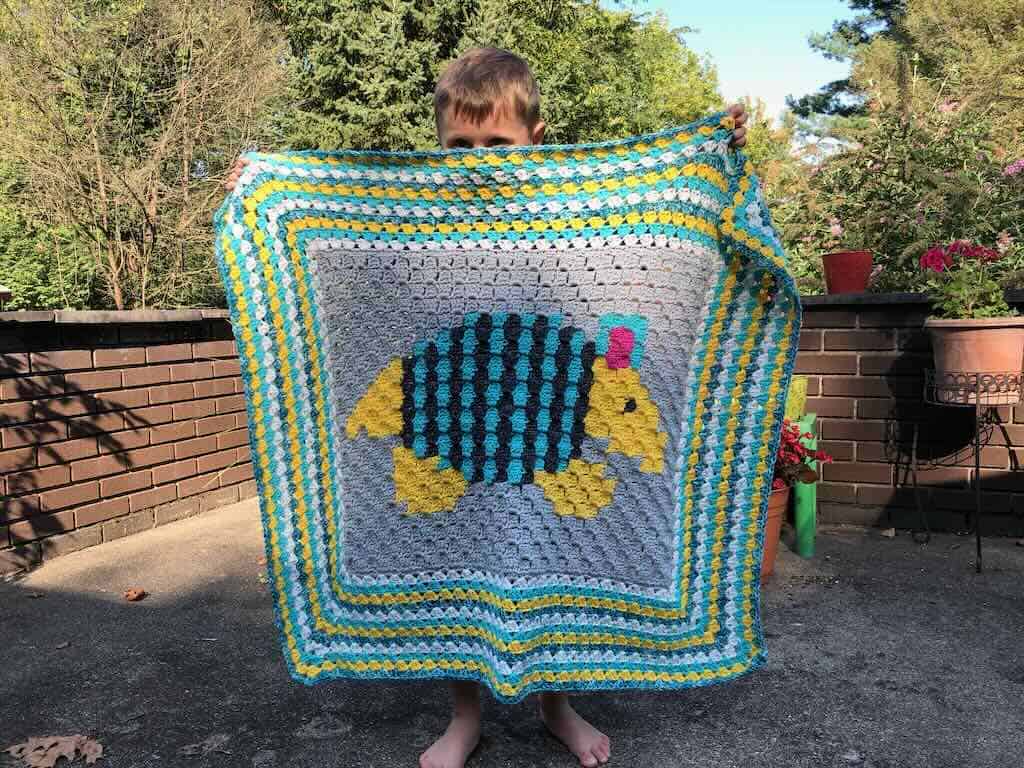
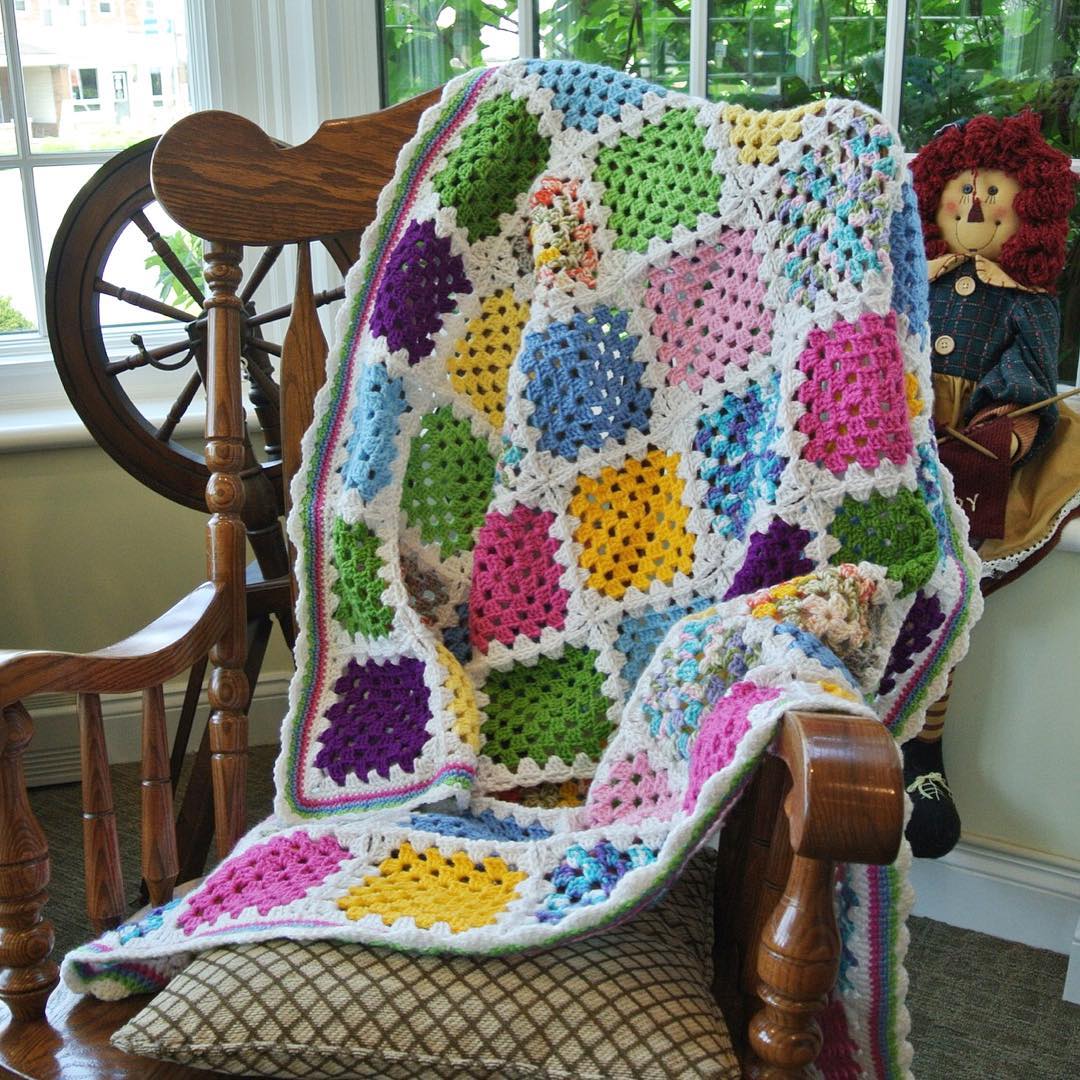
When he was a baby, I crocheted this granny square lovey for him in bright colors made with Hobby Lobby’s I Love This Yarn. It was a special little blanket that stayed at my house and he loved snuggling with it when he came to visit.
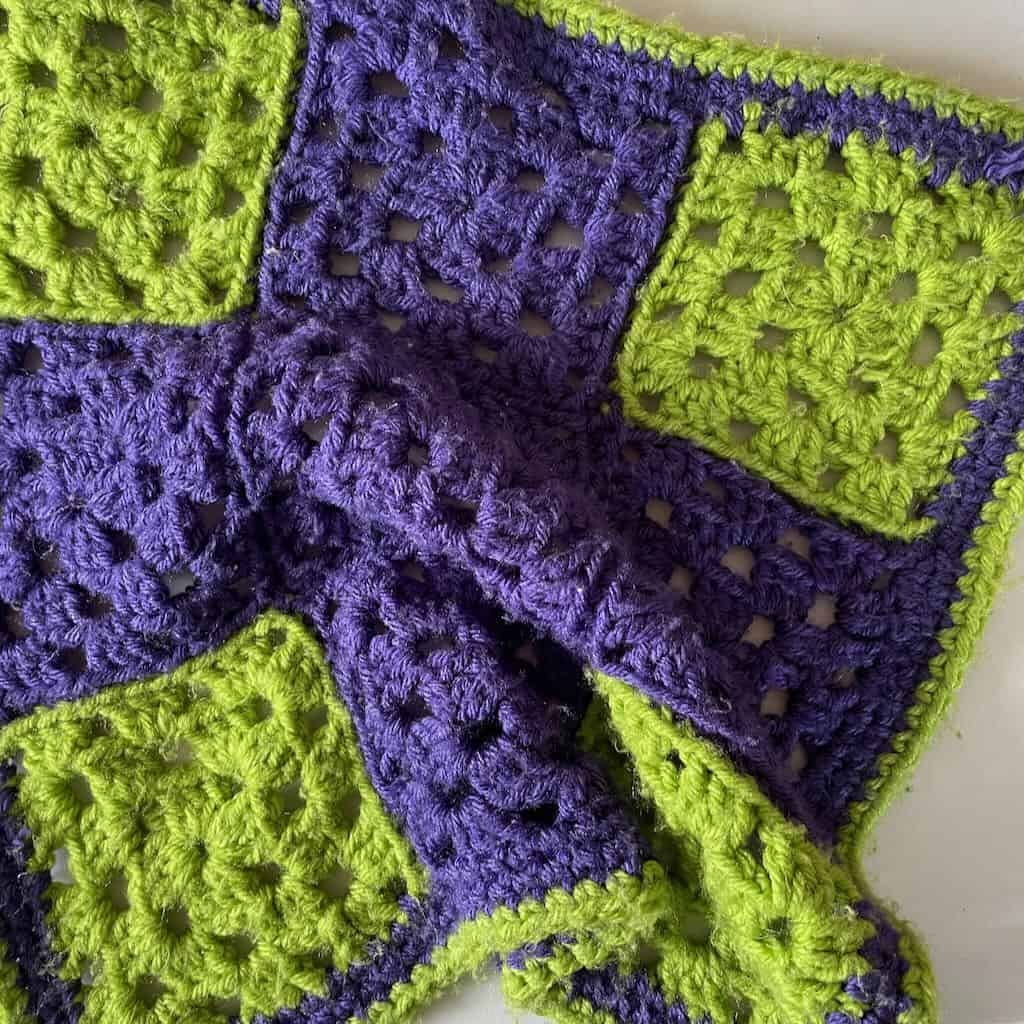
Since then we’ve moved on to bigger, more age-appropriate projects, but this little lovey has always held a special place in our hearts.
For this year’s Preemie Challenge, I decided to write the pattern and update the granny square lovey with new yarn and a slightly new look.
Design + Construction
A lovey baby blanket is ideal for preemies because of its small size. It also makes a great snuggly for a toddler who loves to carry around a blanket for comfort. Whatever the reason, a granny square lovey is appropriate for any little one that needs extra comfort and cozy snuggles.
This granny square lovey is such a simple, quick make that you can have it ready in just an evening or a weekend.
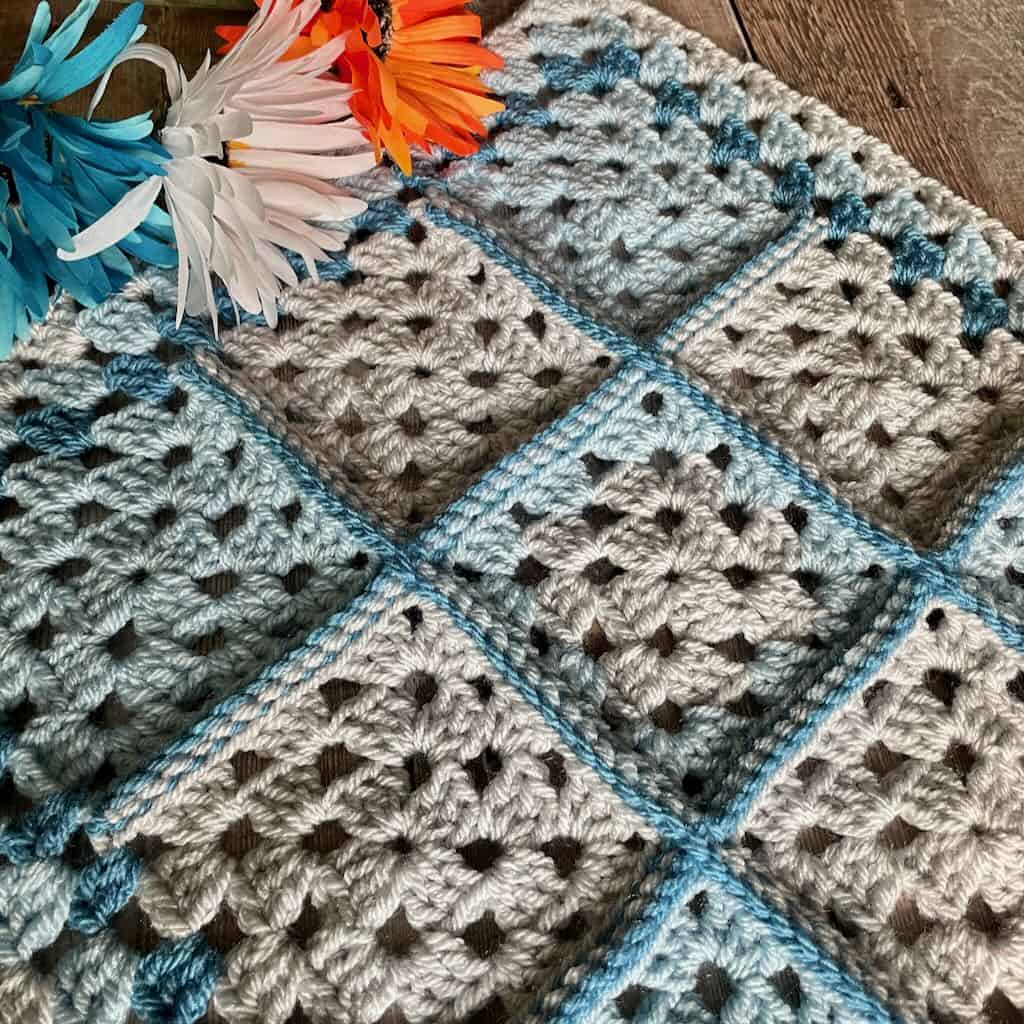
Made of just 9 basic granny squares, sewn together with a decorative slip stitch seam, then finished off with a granny stitch border – from start to finish this little granny square lovey is the perfect make for crocheters of all skill levels.
The Yarn
This post contains affiliate links. That means, if you purchase something using the link, I receive a small commission. You don’t pay any extra and your information is safe. Thanks for supporting my small business.
Because this granny square lovey is such a great stash buster, I decided to use what I had available for the redesign.
Paintbox Simply Aran is a very soft, snuggly acrylic worsted weight yarn. It stands up to repeated use and washing. That’s especially important when baby’s things need to stay clean.
Any worsted weight yarn that’s baby safe will work for this granny square lovey. However, when choosing a yarn, especially for a preemie, be sure the yarn feels comfortable against baby’s tender, sensitive skin.
The PDF for the granny square lovey is available in all my shops.
You’ll get a lot of value when you purchase the digital version of this pattern. You’ll have a copy you can download to your favorite mobile device and take with you whenever you’re out and about. Granny’s Little Lovey is the perfect travel project so get your copy and you’ll never be without the pattern.
You’ll also love the ad-free format that’s easy to read whether on your favorite device or printed out for making notes.
Preemie Crochet Challenge 2023
This annual event hosted by my friend Helen of Sunflower Cottage Crochet is a beautiful way to help preemie and newborn babies. I’m honored that Granny’s Little Lovey is featured in this year’s challenge.
On Friday, June 30th, the PDF for Granny’s Little Lovey will be a free download. In fact, you will be able to download the PDF free through July 17th when the event ends.
For each PDF download, you make a pledge to crochet one item from the pattern and donate it to a NICU or other organization near you. At the end of the event, Helen will be posting the total number of pledges on her roundup post.
Click on the button below to get your free PDF for Granny’s Little Lovey.
Many of the patterns offered during this challenge will be free downloads until the end of the event. Visit the Challenge roundup post to see all the wonderful designs and fill our library with patterns for preemies.
Granny’s Little Lovey Free Crochet Pattern
Thank you for staying on this post and reading my patterns right here on the blog, without copy/pasting. When you stay here to follow the free version of my pattern, I am compensated for my time and energy. This is a great, free way to support a designer. If you would like to save this for later, bookmark the page to save it in your mobile browser.
Yarn
Paintbox “Simply Aran” 100% acrylic worsted (3.5oz/201yd; 100g/184m)
- Color A (CA) – #235 Duck Egg Blue
- Color B (CB) – #203 Misty Grey
- Color C (CC) – #236 Dolphin Blue (For seaming and border)
- 1 skein of each color
Hook
US size I-9 (5.5mm)
Finished Size: Approx. 16″ square
Gauge: Each square measures 4″ across
Skill level: Confident beginner
Abbreviations – US crochet terminology
- beg – beginning
- ch – chain
- dc – double crochet
- rep – repeat
- rnd(s) – round(s)
- sc – single crochet
- sp – space
- st(s) – stitch(es)
- YO – yarn over
Special Stitches
Granny Stitch (GS) – 3 dc in the same st or sp
Stacked single crochet (STsc) – (This stitch is used at the beginning of a row or round to replace the traditional turning ch-3. It has the appearance of a dc.) – Insert hook in same st as loop, YO, draw up loop, YO, pull through 2 loops (bottom sc made), insert hook in left vertical bar of bottom sc, YO, draw up loop, YO, pull through 2 loops (top sc made).
Written Instructions for the granny square lovey
Thank you for staying on this post and reading my patterns right here on the blog, without copy/pasting. When you stay here to follow the free version of my pattern, I am compensated for my time and energy. This is a great, free way to support a designer. If you would like to save this for later, bookmark the page to save it in your mobile browser.
Pattern Notes
- Do not turn after any rnd.
- When changing colors, use the new color to finish the last step of the final st in the current color for an invisible color change.
- A ch-3 may be substituted for the STsc if you prefer.
Pattern Instructions
Granny square (Make 9 following the color scheme below)
- 4 squares in CA
- 4 squares in CB
- Center square: Rnds 1 & 2 in CB, Rnd 3 in CA
Ch 4, join with slip st to form ring.
Rnd 1: STsc, 2 dc in ring, ch 3, (3 dc in ring, ch 3) 3 times, join with slip st to beg st, slip st in each st across to corner and into corner.
Rnd 2: (STsc, 2 dc, ch 3, 3 dc) in corner, ch 1, [(3 dc, ch 3, 3 dc) in next corner, ch 1] 3 times, join with slip st to beg st, slip st in each st across to corner and into corner.
Rnd 3: (STsc, 2 dc, ch 3, 3 dc) in corner, ch 1, 3 dc in next ch-1 sp, ch 1, [(3 dc, ch 3, 3 dc) in next corner, ch 1, 3 dc in next ch-1 sp, ch 1] 3 times, join with slip st to beg st.
Fasten off. Weave in ends before Seaming.
Seaming
Note: These instructions are for joining with a slip stitch seam on the right side of the lovey with wrong sides held together using CC. If you’d like an invisible seam instead, hold the right sides of the squares together and work the slip st seam on the wrong side of the lovey. You may also choose the seaming method you prefer.
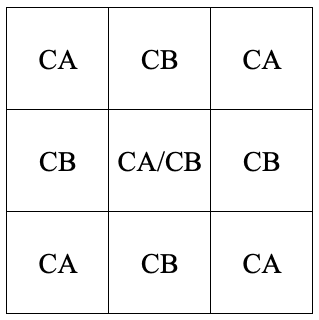
- Use the assembly guide for square placement.
- Sew the rows horizontally first, then the columns vertically.
- Sew the squares together from the middle st at one end of the square to the middle st at the other end of the square to prevent gaps at the corner junctions.
- Hold the squares wrong sides together for a seam on the right side of the lovey.
- Use CC for a color that stands out or the color of your choice.
- When seaming is complete, weave in all ends before proceeding to the Border.
Assembly chart
Border
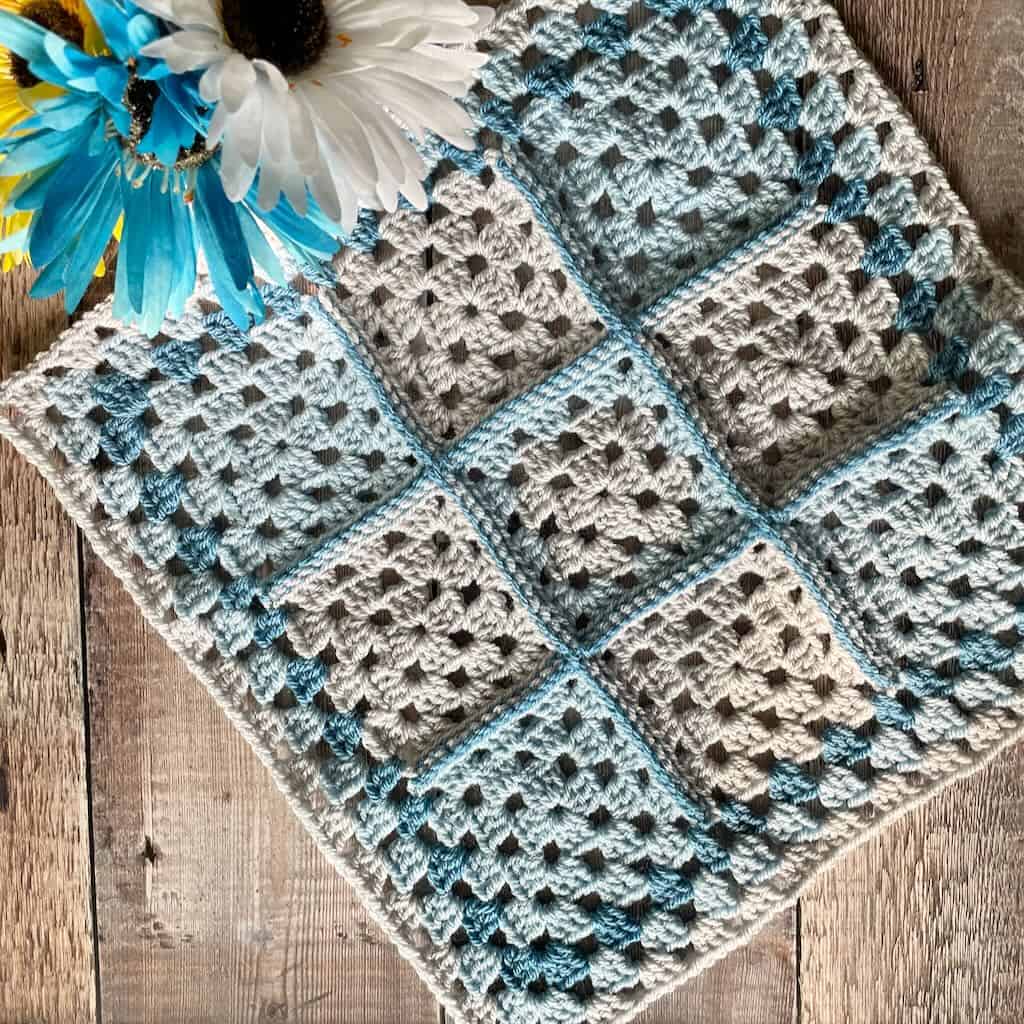
Version 1 – Granny Stitch (as in the sample)
Note: This border has no ch-1 spaces between GS. Each GS is worked in the sp where the ch-1 would normally be.
Attach CC to any one of the 4 corner spaces.
Rnd 1: (STsc, 2 dc, ch 3, 3 dc) in the same sp for 1st corner, * [GS in the next 2 sp, 2 dc in the ch-sp of the granny square, sk seam, 2 dc in the ch-sp of the next granny square] twice, GS in the next 2 sp, (3 dc, ch 3, 3 dc) in the ch-3 corner sp; rep from * twice, [GS in the next 2 sp, 2 dc in the ch-sp of the granny square, sk seam, 2 dc in the ch-sp of the next granny square] twice, GS in the next 2 sp, join with slip st to beg st, slip st in each st across to corner sp.
Rnd 2: With CA, (STsc, 2 dc, ch 3, 3 dc) in corner sp, [GS in each sp across to next corner sp, (3 dc, ch 3, 3 dc) in corner sp] 3 times, GS in each sp across to 1st corner sp, join with slip st to beg st, slip st in each st across to corner sp.
Rnd 3: With CB, rep Rnd 2.
Version 2 – Single crochet
Attach CC to any corner sp.
Rnd 1: Ch 1, 2 sc in same corner sp, [sc in each st plus 3 sts over each seam across to next ch-3 corner sp, 3 sc in corner sp] 3 times, sc in each st plus 3 sts over each seam across to 1st corner sp, sc in the 1st corner sp to complete the corner, join with slip st to beg sc.
Note: Work 1 sc in each square’s corner sp on either side of the seam and in the seam itself. These are the 3 sts over the seam.
Rnd 2: With CA, ch 1, 2 sc in same st (partial 1st corner), [sc in each st across to the middle st of the next corner, 3 sc in the middle st of the corner] 3 times, sc in each st across to the middle st of the 1st corner, sc in the same st as the beg 2 sc to complete the corner, join with slip st to beg sc.
Rnd 3: With CB, rep Rnd 2.
Fasten off and weave in ends.
Finishing
Hand wash in hypo-allergenic soap to remove any chemicals or odors from the yarn. Pin to desired size and use this as your opportunity to block.
If you used a slip stitch seam to join your squares, the lovey will benefit from blocking. When you hand wash the lovey, pin it to the desired size and allow to thoroughly dry.



2 Comments