Easy Free Crochet Infinity Scarf Pattern for Cozy Spring Wear
Crochet lovers, rejoice! This free pattern for a crochet infinity scarf is the perfect way to add a touch of handmade charm to your spring wardrobe.
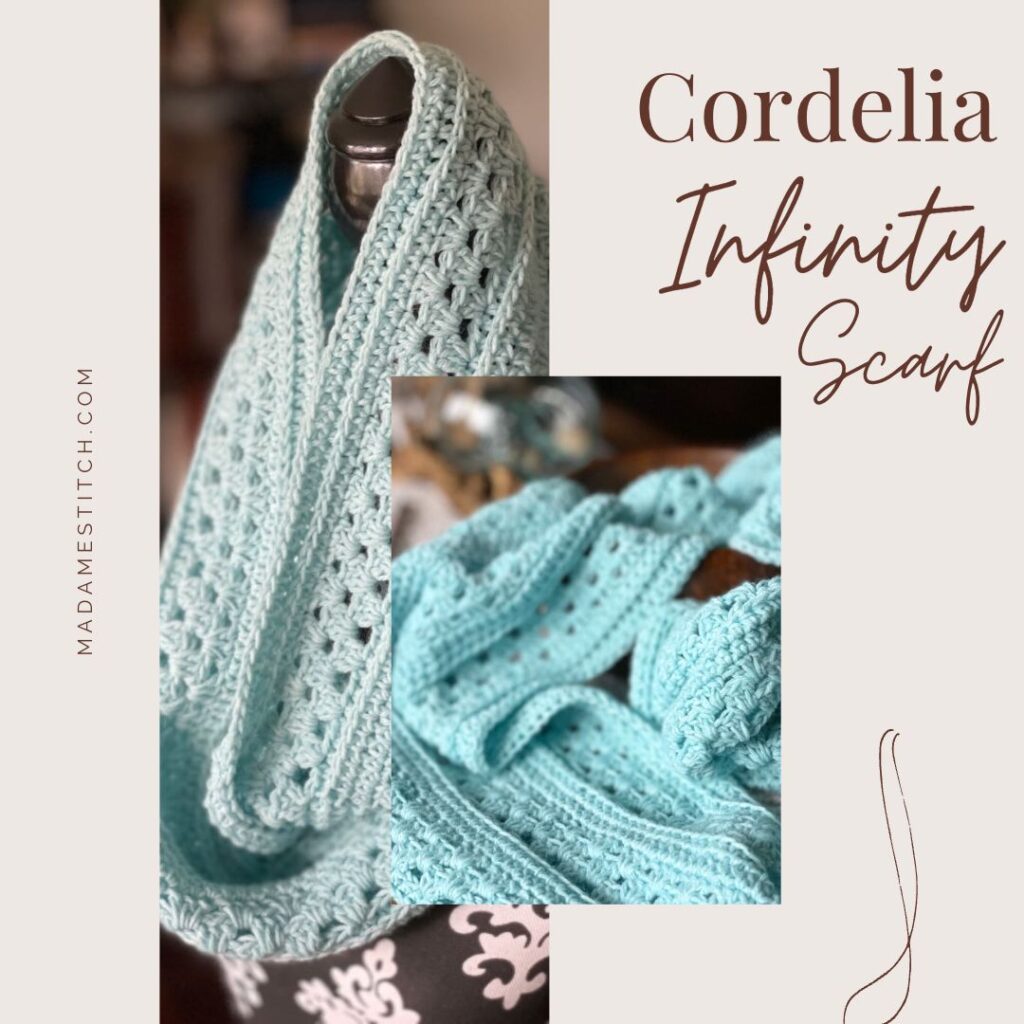
Hey, my lovely crocheters! It’s time for a beautiful crochet infinity scarf to add to your spring accessory wardrobe!
A lot of us choose cowls in the spring because of their smaller size. But, have you considered a crochet infinity scarf instead? Here are a couple of reasons why an infinity scarf might be a better choice:
- An infinity scarf is so versatile. Because you can loop it once, twice, even three times (if it’s long enough), you get to choose the style that compliments your outfit and provides what you need for the weather of the day.
- If you’re looking for warmth, an infinity scarf is the perfect choice with just the right length and thickness to provide just the right coverage.
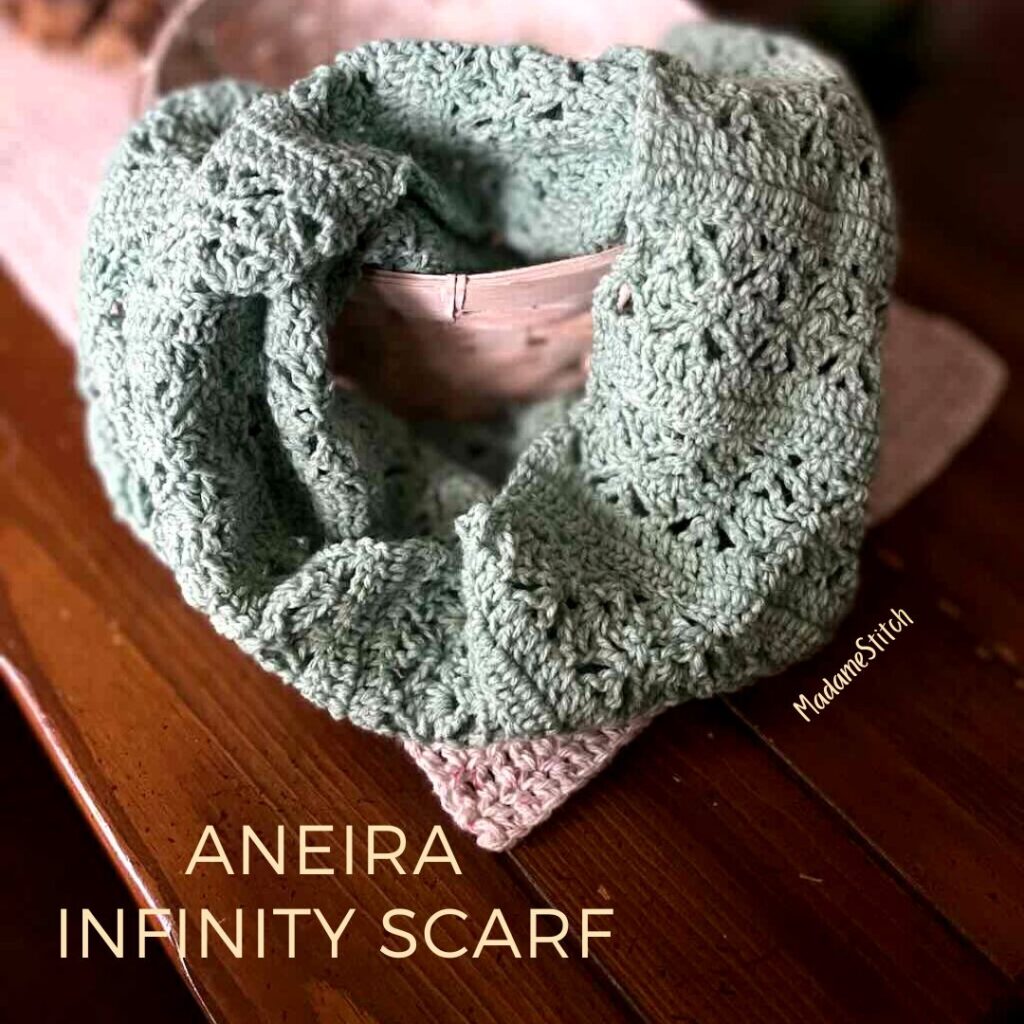
The Cordelia Infinity scarf ticks all the boxes when it comes to fulfilling your spring accessory needs. You’ll love how this beautiful crochet infinity scarf looks with your t-shirt and jeans or a dress for an evening out. It’s one of the most versatile, easy-to-wear accessories.
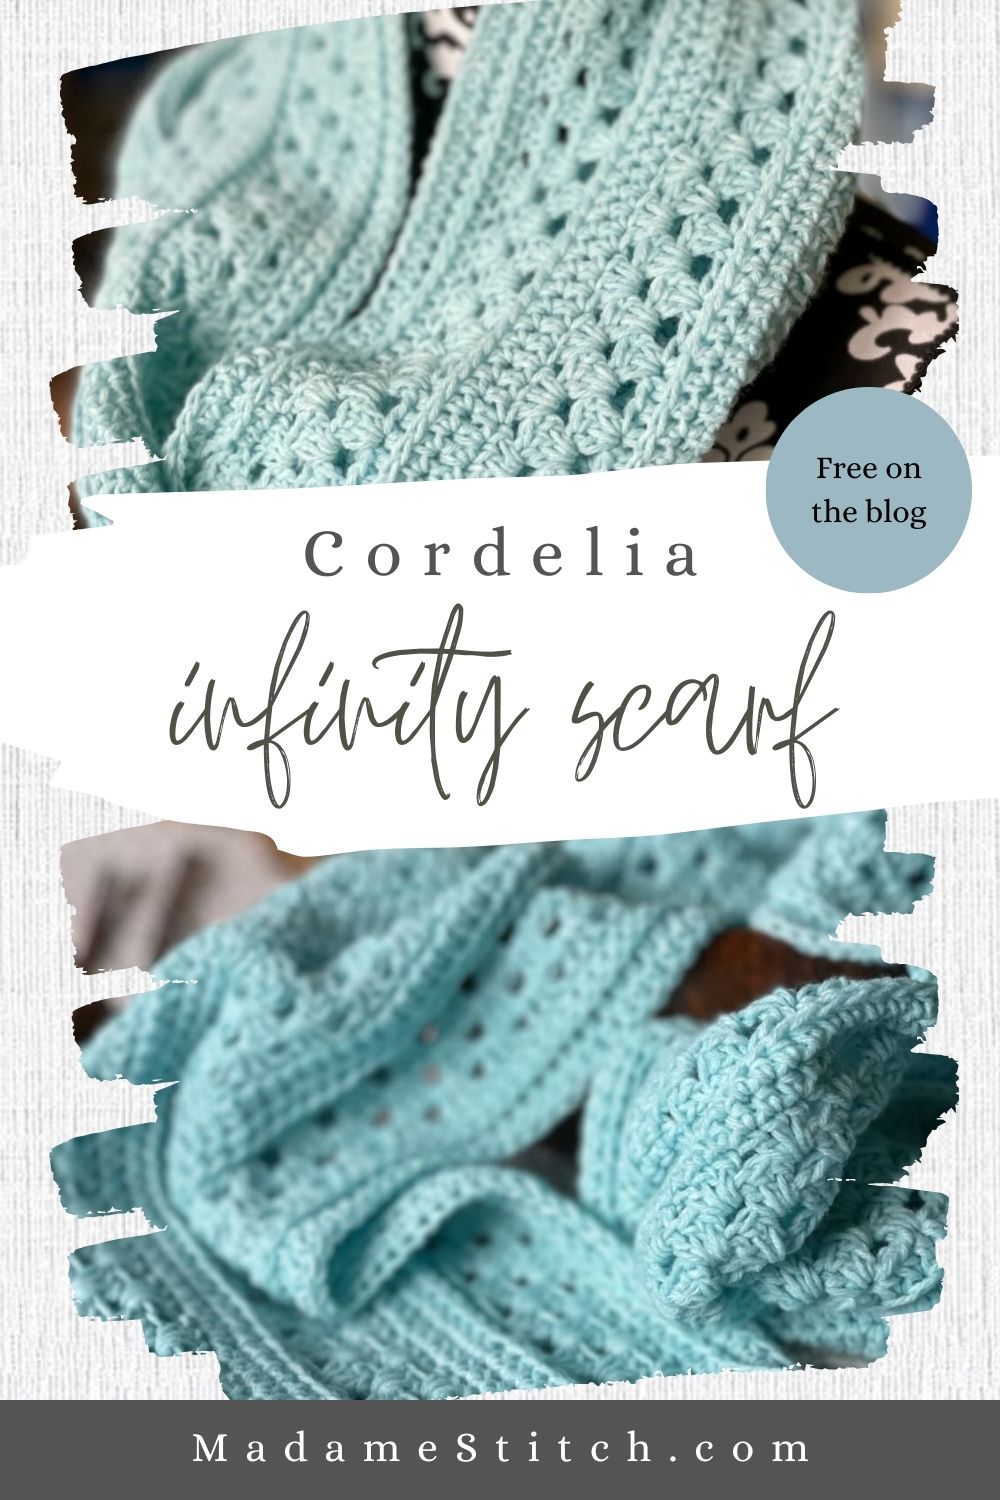
Design + Construction of the crochet infinity scarf
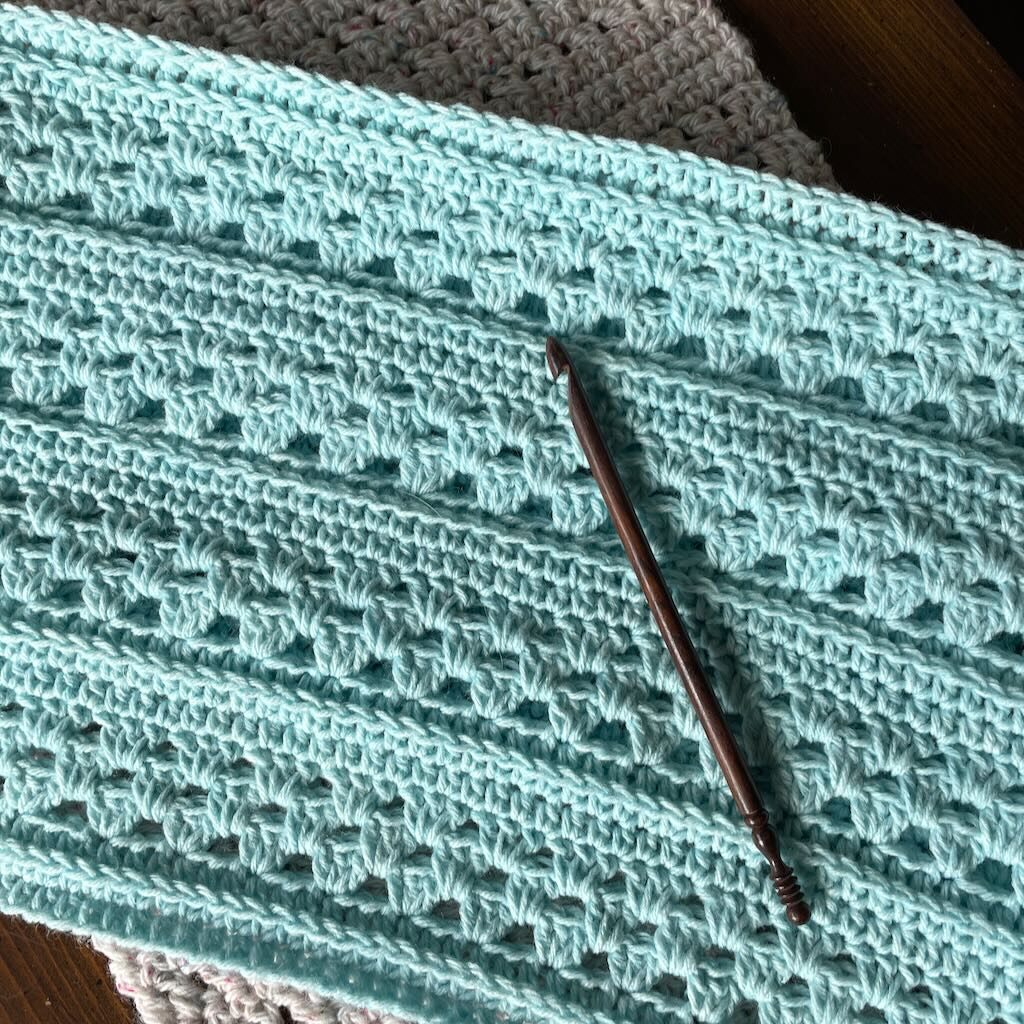
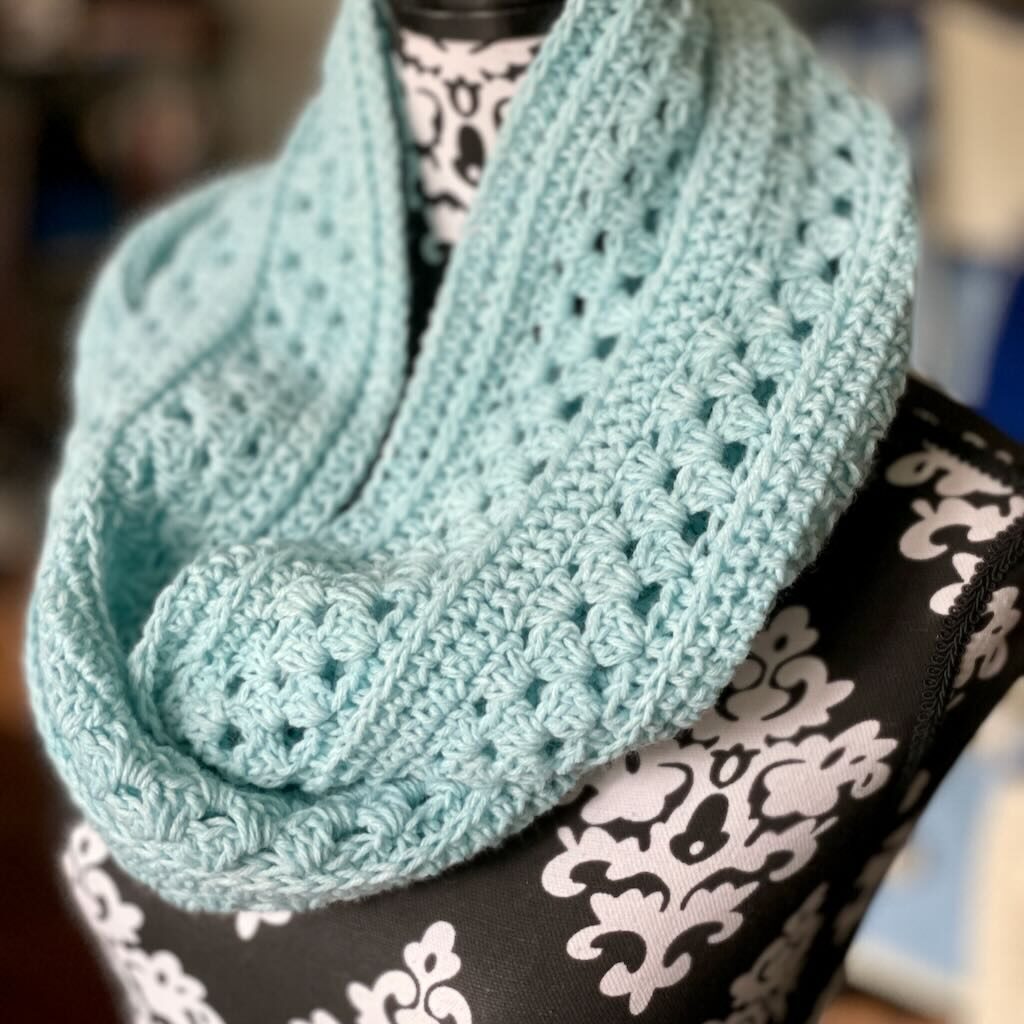
The unique look of the Cordelia crochet infinity scarf is achieved by mixing stitches and textures. The half double crochet and It’s close relative, the camel stitch (better known as the half double crochet in the 3rd loop) creates sections of solid stitching and surface texture. And, my personal favorite, the granny stitch, is the star of the show, alternating with the half double crochet sections for a little bit lacy texture.
This crochet infinity scarf is so much fun to make. Plus, the stitch patterns are very easy to remember, making it the ideal mindful project for binging your favorite show. You’ll love making AND wearing your new Cordelia Infinity Scarf.
The Yarn
This post contains affiliate links. That means, if you purchase something using the link, I receive a small commission. You don’t pay any extra and your information is safe. Thanks for supporting my small business.
Take a look at the beautiful lightweight DK yarn I chose for this crochet infinity scarf! WeCrochet’s “Heatherly” is an easy care yarn with just a touch of merino wool that gives the crochet infinity scarf a luxurious feel.
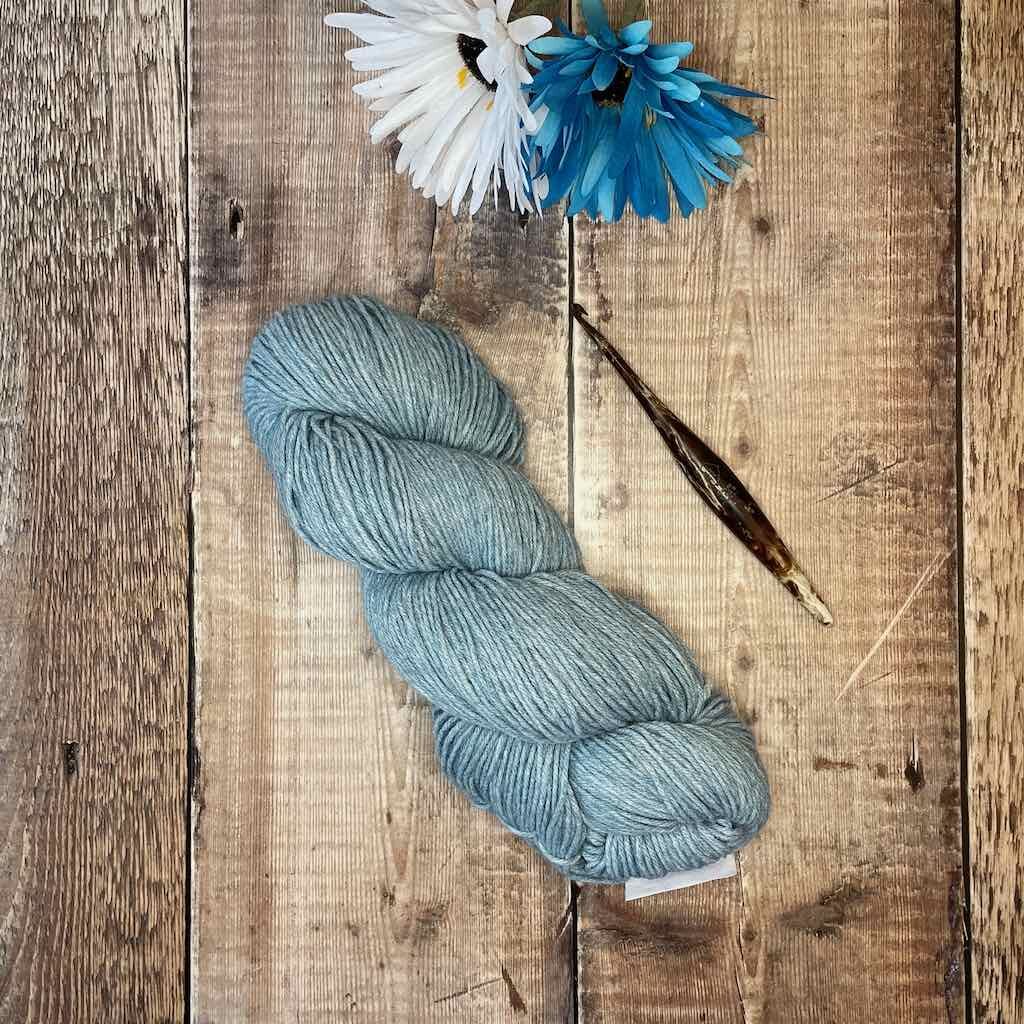
I’ve fallen in love with WeCrochet’s “Heatherly”.
- It’s luxurious to work with.
- It provides beautiful stitch definition, especially in a piece like this one that has multiple stitch patterns.
- The colors are muted by the heathered look of the yarn. It gives the finished project a lived in, comfortable look.
Of course, as with most of my designs, you can substitute any DK weight yarn you like. However, keep in mind that stitch definition is the most important feature of your infinity scarf so choose a yarn with little to no halo to let those gorgeous stitches shine through.
Why buy the PDF when the pattern is free here on the blog?
I don’t know about you, but sometimes I just want to download the PDF to my favorite devices so I can take it anywhere with me. It’s easier for these older eyes to read it. Or, you might want to print it out so you can make notes as you work.
Whatever the reason, here’s what you’ll get with your purchased PDF:
- Detailed written instructions with closeup photos of the stitches
- A crochet chart showing stitch placement and repeats.
- You won’t have to scroll through ads or bookmark this page (although you should).
What you need to know for your crochet infinity scarf
Thank you for staying on this post and reading my patterns right here on the blog, without copy/pasting. When you stay here to follow the free version of my pattern, I am compensated for my time and energy. This is a great, free way to support a designer. If you would like to save this for later, bookmark the page to save it in your mobile browser.
Yarn
WeCrochet “Heatherly” 80% acrylic, 20% merino wool sport weight #2 (328yd/3.5oz; 302m/100g) Color #29542 – Cabana – 2 hanks
Hook
US size G-6 (4mm)
Finished size: Approx. 62″ x 10.5″
Gauge: 14 hdc x 9 rows – 4″
Skill level: Confident beginner
Abbreviations – US crochet terminology
- beg – beginning
- ch – chain
- dc – double crochet
- hdc – half double crochet
- rep – repeat
- rnd(s) – round(s) sk – skip
- sp – space
- st(s) – stitch(es)
- YO – yarn over
Special Stitches
Granny Stitch (GS) – 3 dc in the same sp
Half double crochet in the 3rd loop (hdc 3lp) – YO, insert hook in 3rd loop (on backside of st), YO, draw up loop, YO, pull through all 3 loops on hook. Note: The hdc 3lp is worked in the same way as a typical hdc with the hook inserted in the loop that sits under the top 2 loops on the back side of the st.
Pattern Instructions
Thank you for staying on this post and reading my patterns right here on the blog, without copy/pasting. When you stay here to follow the free version of my pattern, I am compensated for my time and energy. This is a great, free way to support a designer. If you would like to save this for later, bookmark the page to save it in your mobile browser.
Pattern Notes
- A ‘ch 1’ at the beg of the rnd does not count as a st.
- A ‘ch 2’ at the beg of the rnd DOES count as a st.
- Do not turn after any rnd.
- The hdc of Rnd 1 can be worked in the back bump of the foundation ch for a more decorative bottom edge that matches the top edge.
- Pay close attention to where the 1st st of a round is worked, either in the same st or the next st. Placement affects how the vertical seam lines up.
- The granny stitches of Rnds 5 & 6 are worked in the spaces between the granny stitches of the previous row.
Written Instructions
Ch 216, join with slip st to form circle, being careful not to twist.
Rnd 1: Ch 1, hdc in the same ch and in each ch around, join with slip st to beg st. (216 hdc) Note: Use the starting tail to close up any gap at the bottom of the join.
Rnd 2: Ch 1, hdc in the same st and in each st around, join with slip st to beg st. (216 hdc)
Rnd 3: Hdc 3lp in next st and in each st around, join with slip st to beg st. (216 hdc 3lp) (Be sure to work the last st of the round; it may be hidden behind the first st.)
Rnd 4: Slip st in next st, (ch 2, 2 dc) in same st, [sk 2 sts, GS in next st] around, join with slip st to beg ch-2. (72 GS)
Rnd 5: Ch 2, GS in the next sp and in each sp around, 2 dc in 1st sp to complete the GS, join with slip st to beg ch-2. (72 GS)
Rnd 6: Slip st into sp, ch 2, 2 dc in the same sp, GS in next sp and in each sp around, join with slip st to beg ch-2. (72 GS)
Rnd 7: Ch 1, hdc in the same st and in each st around, join with slip st to beg st. (216 hdc)
Rnd 8: Rep Rnd 7.
Rnd 9: Hdc 3lp in next st and in each st around, join with slip st to beg st. (216 hdc 3lp)
Rnds 10-21: Rep Rnds 4-9 twice.
Rnds 22-24: Rep Rnds 4-6.
Rnd 25: Ch 1, hdc in the same st and in each st around, join with slip st to beg st. (216 hdc)
Rnd 26: Hdc 3lp in next st and in each st around, join with slip st to beg st. (216 hdc 3lp)
Rnd 27: Ch 1, hdc in the same st and in each st around, join with slip st to beg st. (216 hdc)
Fasten off and weave in ends. Block if necessary.
Congratulations, you’ve completed your crochet infinity scarf!
To finish it off, weave in any loose ends and give it a gentle blocking to help it hold its shape. Then, wrap it around your neck and enjoy the cozy warmth and handmade charm it brings to your spring wardrobe. Don’t forget to show off your creation by tagging me on social media!
Create a “Maybe” box for items you can’t decide.
Click on the graphic.
- If the entry form pops up, fill it out.
- If it doesn’t, visit the next post.
Good luck!
More scarves for your spring wardrobe from MadameStitch
Click on the graphic. If the entry form pops up, fill it out to enter the Day 6 drawing.
If it doesn’t, return to the event post and try another link.
The joy of crochet is its simplicity: there is only ever one stitch in work and just a few variations of the basic stitches to master, but the possibilities of using and combining those stitches together are endless.
Erika Knight


Love the look of the scarf but would like to make it as a baby blanket. Can the pattern be adapted to a ‘flat’ design?
Anne,
It would be perfect for something like a baby blanket. Because of the granny stitches, the stitch multiple is 3. You would also have to account for the fact that the granny stitches are offset in each row. In order to get a straight edge, you would need to figure out the partial granny stitches needed at the edges. Then add that count to the foundation chain.
Best,
Debbie
Can you tell me what the multiples are for the starting chain to make it longer if possible x
It’s a multiple of 3.
Thank you