Double Thick Crochet Potholder, a timeless classic
Take a walk down memory lane with this double thick crochet potholder!
This post contains affiliate links. That means, if you purchase something using the link, I receive a small commission. You don’t pay any extra and your information is safe. Thanks for supporting my small business.
I’m so excited about these beauties!
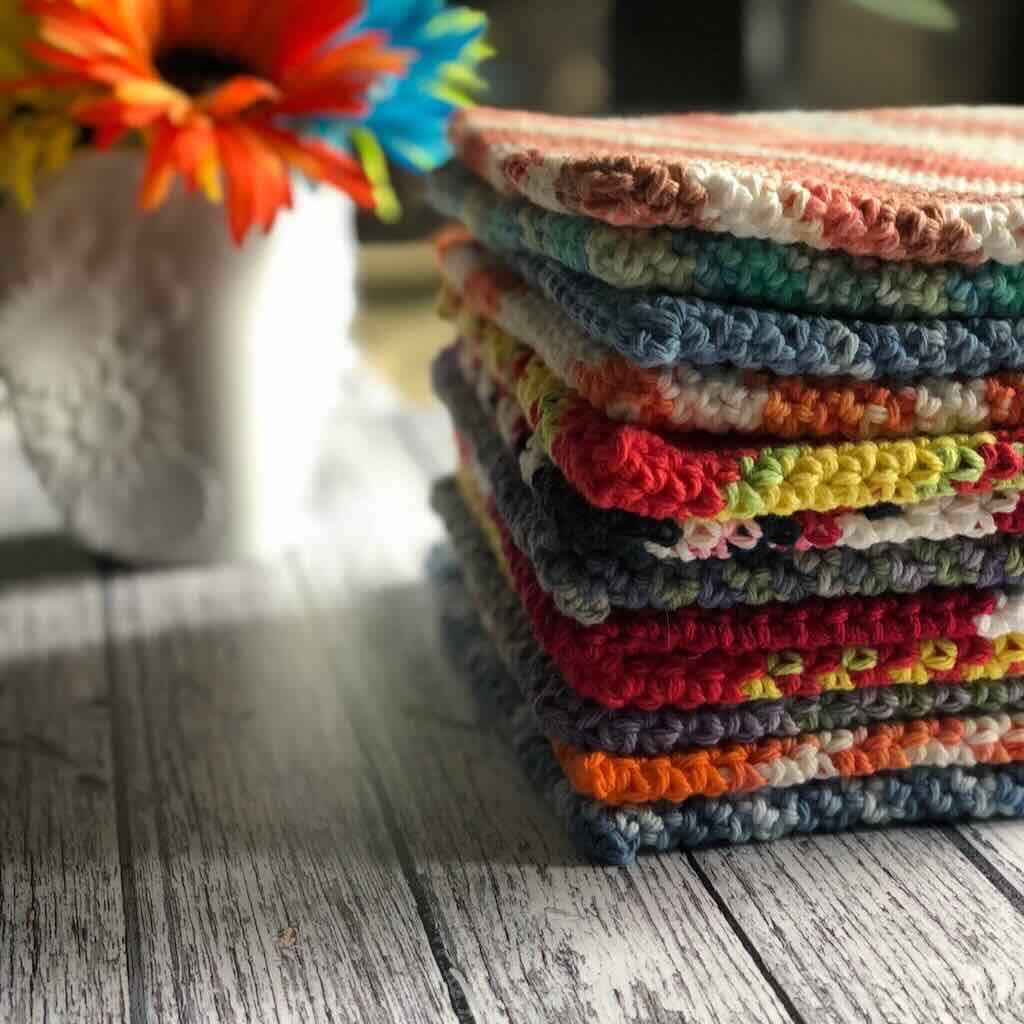
I suspect just about every homemaker has a classic double thick crochet potholder in his/her kitchen or has seen one in the kitchens of others. It has been around for generations. The first one I owned was given to me by my grandmother. I used it for many years as my primary potholder, so much so that I actually wore out the yarn! I wanted more for my kitchen but, after an extensive online search, I couldn’t really find a pattern I liked. Now that I’ve created a pattern for this timeless double thick crochet potholder, I’m passing it on to you!
About the Double Thick Crochet Potholder
The Yarn
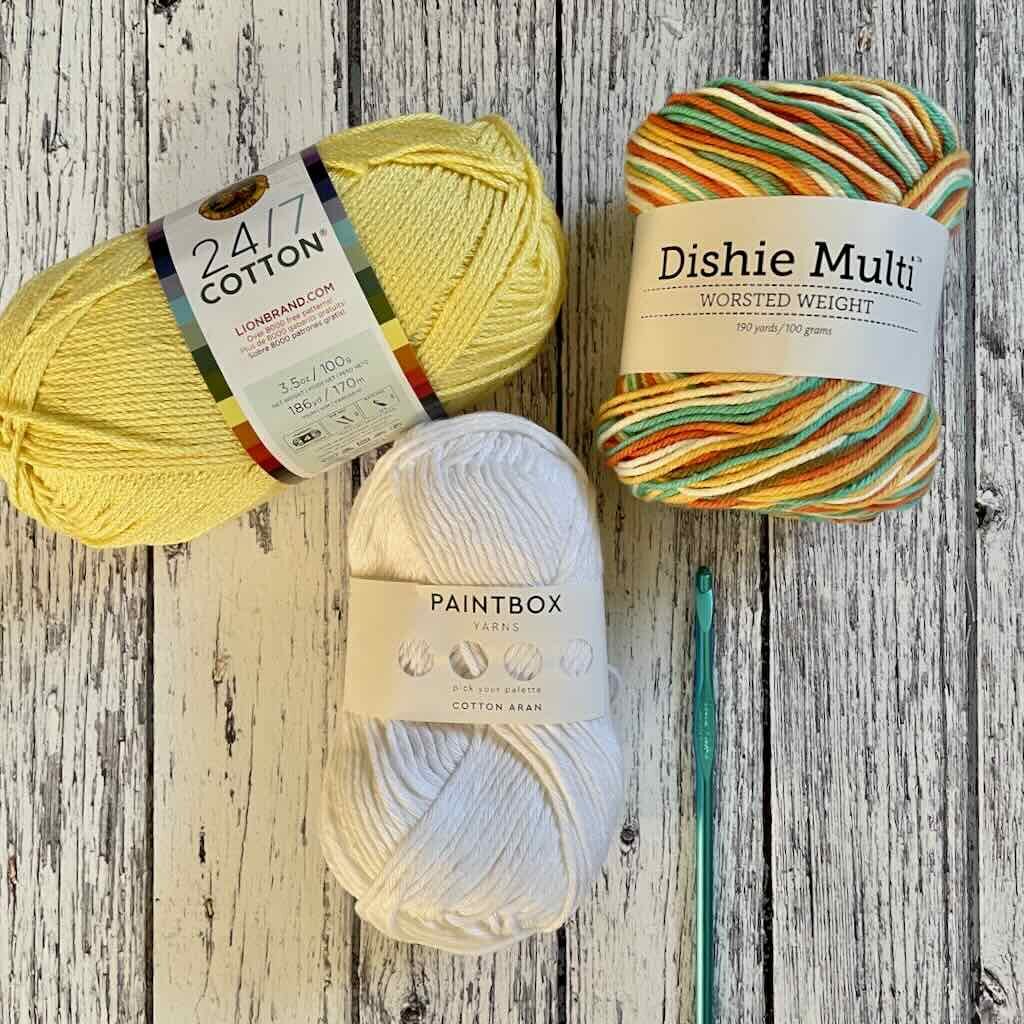
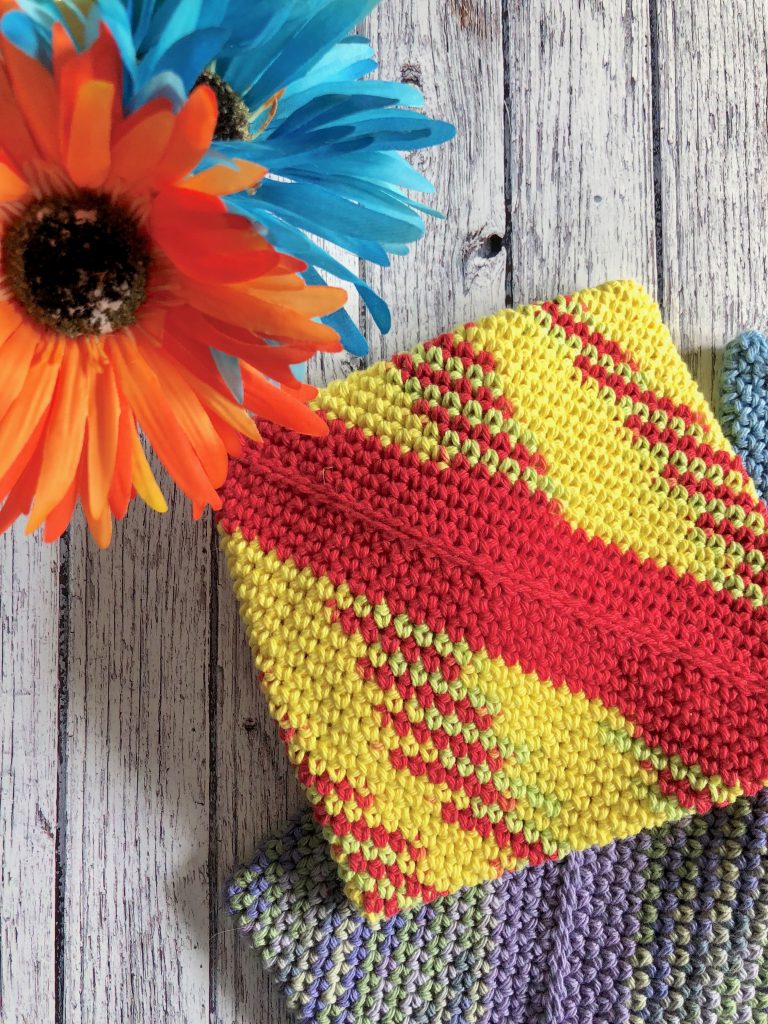
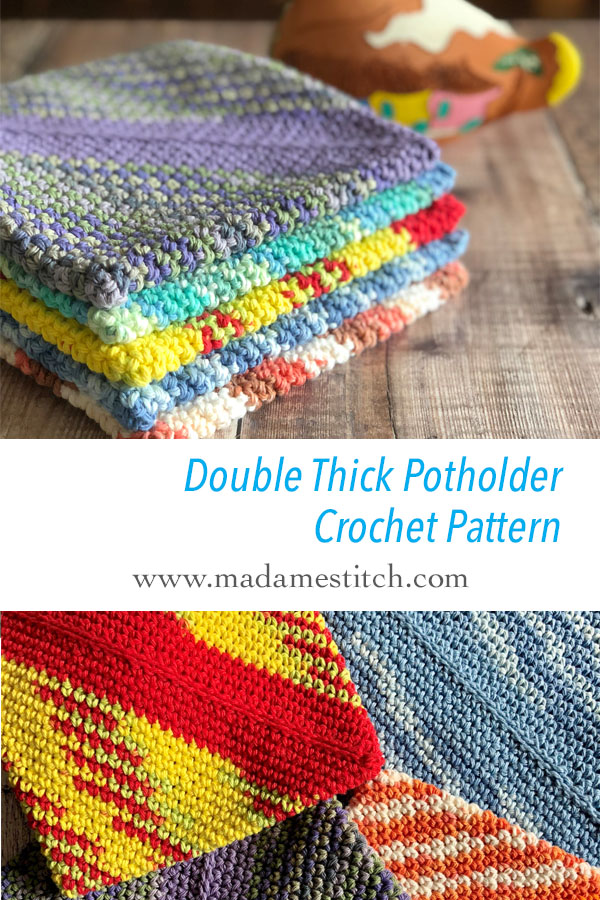
I found some great color combinations in Lily Sugar N Cream to use for my double thick crochet potholder. One skein isn’t quite enough to finish one potholder, so I added a coordinating yarn when I ran out of the initial color, creating the wide diagonal stripe on one side. I’ve also used Universal Yarn’s cotton supreme, a yarn that gives these potholders a softer feel in a beautiful array of colors.
Some more recent additions to my list of yarn choices are in the photo below.
Construction and Design Elements
- Crocheted using the spiral method.
- Double thickness provides additional protection from hot surfaces
- Uses two stitches – chain and single crochet
- The seam is easily closed with a simple mattress stitch.
The double thick crochet potholder is a great additions to any kitchen and makes up quickly as a fabulous gift. Make more than one. I used them as stocking stuffers for my adult kids last year!
Buy the Double Thick Crochet Potholder Pattern
- The PDF includes detailed written instructions.
- You’ll find a photo tutorial for key steps in the process.
- You won’t have to deal with ads!
What you need to make the Double Thick Crochet Potholder
Thank you for staying on this post and reading my patterns right here on the blog, without copy/pasting. When you stay here to follow the free version of my pattern, I am compensated for my time and energy. This is a great, free way to support a designer. If you would like to save this for later, bookmark the page to save it in your mobile browser.
Yarn
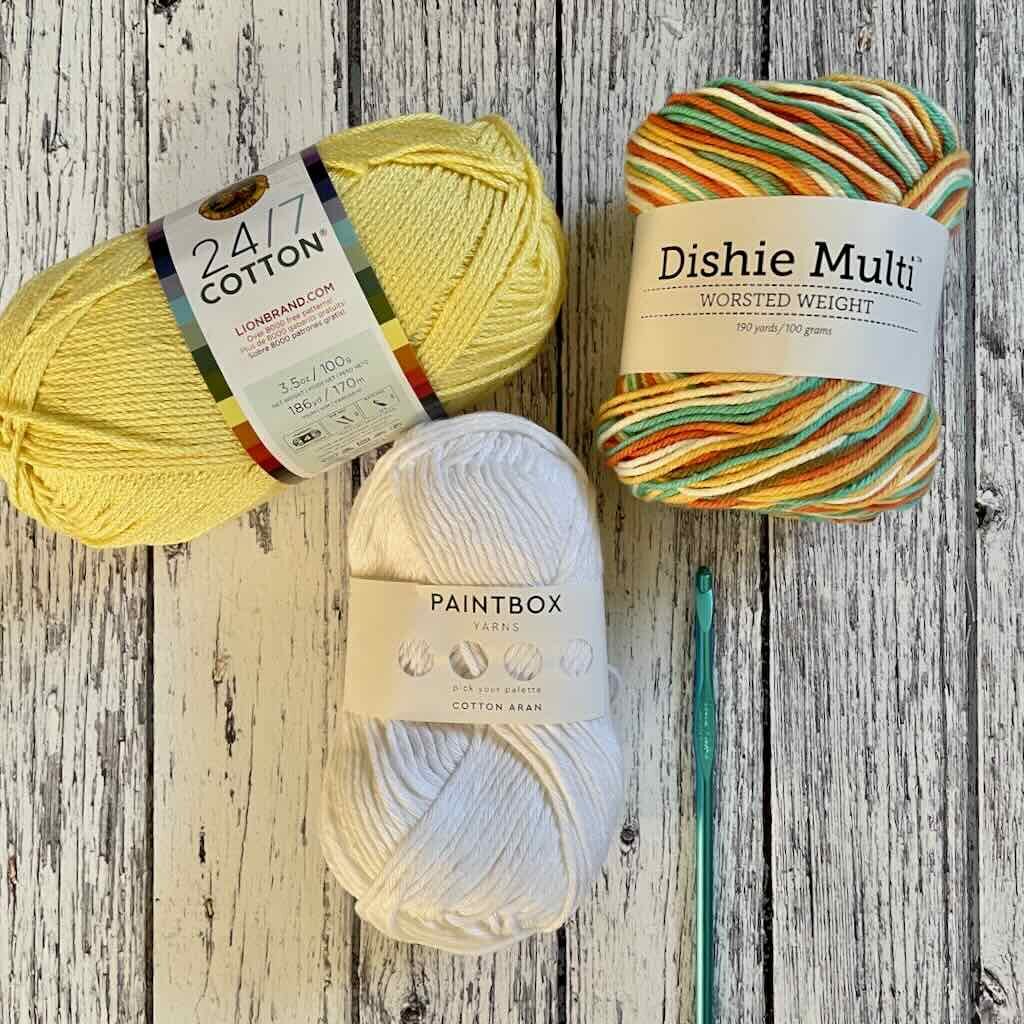
Any worsted weight cotton yarn will work – use up your scraps! You’ll need approx. 2.5-3oz
Suggestions:
Hook
US size H-8 (5mm)
Tools
You’ll need a removable stitch marker to keep track of the first st of each rnd and a tapestry needle for sewing the seam and weaving in ends
Finished Size
Approx. 7″ square
Gauge
Approx 17 rows x 15 sc = 4″
Skill level: Confident beginner
Abbreviations
- ch – chain
- rnd(s) – round(s)
- sc – single crochet
- st(s) – stitch(es)
Pattern Notes
- This potholder is made using the spiral method. In other words, at the end of each rnd, do not join or turn. Use the stitch marker to mark the 1st st of each rnd.
- Many variations of color and striping are possible with this design. When changing colors, be sure to do so either 1/4 or 3/4 of the way through a rnd. This will ensure the jog created by the color change will be hidden along one side when the potholder is finished.
- This is a great way to use up scraps. Be sure that the yarn you choose is approximate in twist, fiber content and weight to ensure an even gauge.
- The wrong side of your work is the inside of the square you are creating. The right side faces out toward you as you crochet along the top edge.
- Do not turn after any rnd.
Written Instructions for the Double Thick Crochet Potholder
Thank you for staying on this post and reading my patterns right here on the blog, without copy/pasting. When you stay here to follow the free version of my pattern, I am compensated for my time and energy. This is a great, free way to support a designer. If you would like to save this for later, bookmark the page to save it in your mobile browser.
Ch 37.
Rnd 1: 3 sc in 2nd ch from hook, sc in each ch until 1 ch remains, 3 sc in last ch, turn work and work 1 sc in the other side of each foundation ch. (74 sc)
Do not join at the end of Rnd 1. Place a marker in the 1st st of Rnd 1 and move it up with each subsequent rnd.
Rnds 2-20: Sc in each st around. (74 sc)
Final Rnd: Sc in each st to either the 19th or 56th st. This ensures that the long tail that remains after fastening off sits at one end of the potholder seam.
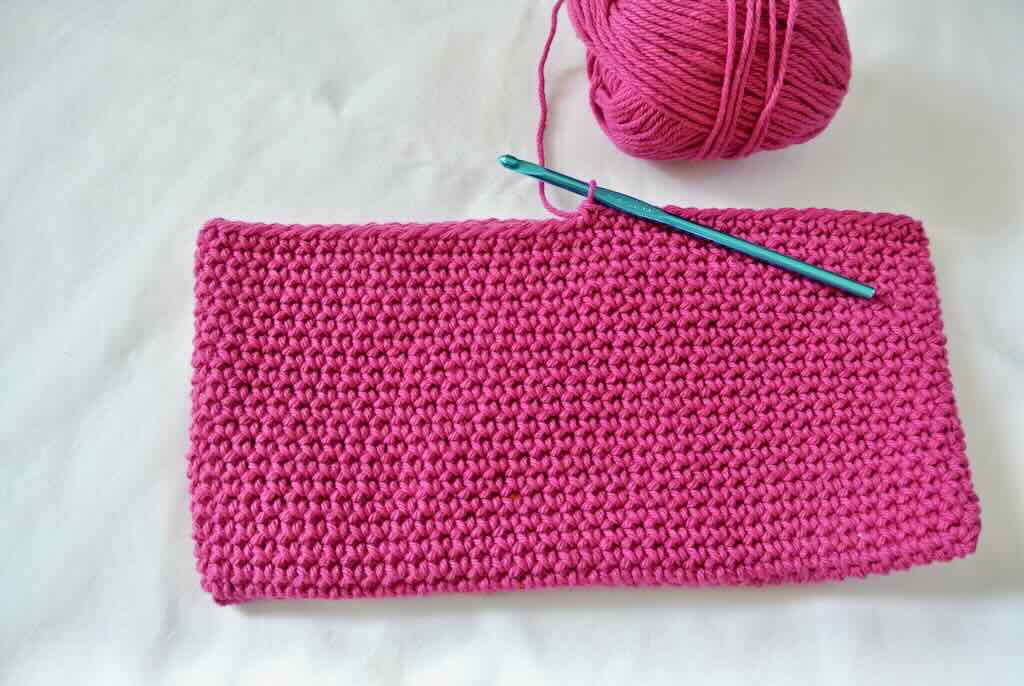
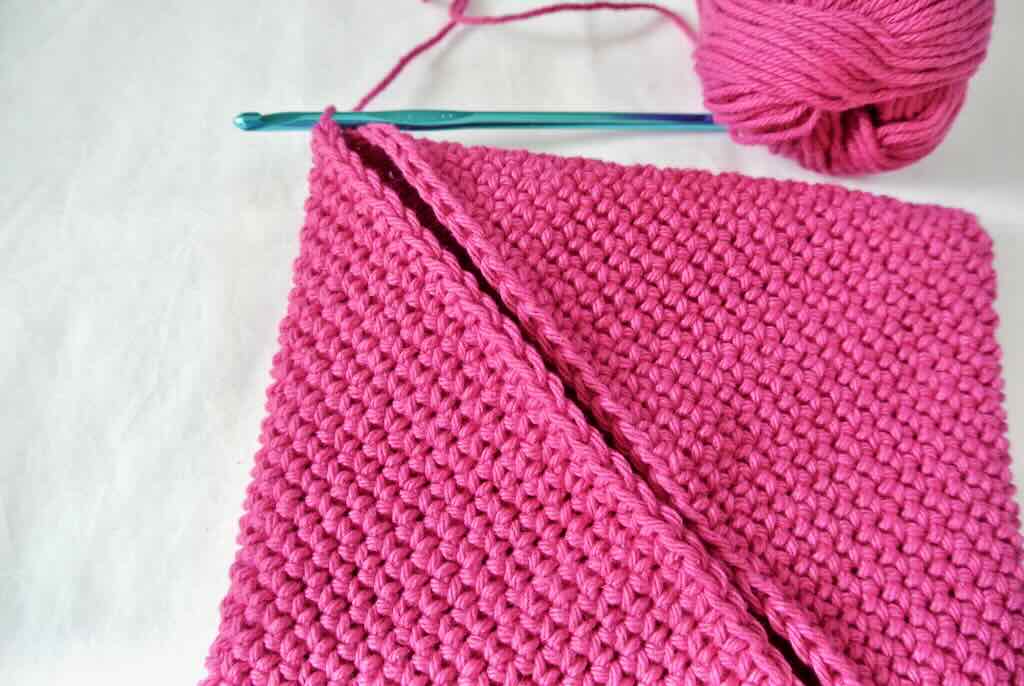
To see if your yarn is in the correct place to begin the seam, fold the potholder in half along the diagonal (see the photo in Finishing) and adjust if necessary. This is done by working an additional st or 2, or frogging back a st or 2.
Finishing
Fold the edges together along the diagonal as in the adjacent photo. The seam you are about to sew will form the other two corners of the potholder. Thread the long tail onto a tapestry needle. Use the mattress stitch (or your preferred method) to sew the edges together. Be sure that, whatever method you choose, the seam lays flat when finished.
Fasten off and weave in ends.



I have a terrible time making these so that they are square. Any tips?
Rebecca,
I will often fold the potholder in half diagonally as I work to see when the edges meet comfortably. I also measure the sides to be sure they’re the same before I sew the seam closed. Sometimes it takes a few tries but this works for me.
-Debbie
I have made quite a few of these & I love them. I never had a pattern. Someone just told me how to do it. Nice to have a pattern.
Carol,
I love these potholders, too! I’m so glad you now have the pattern!
-Debbie
thank you for telling which is the right size and inside. could never figure that out
Thank you for the free double thick potholder
You are welcome!