A granny stitch hat that will show love and comfort to those dealing with cancer
A comfortable, soothing granny stitch hat that brings comfort to those dealing with cancer. Protect sensitive skin with this soft, handmade hat when a little extra warmth is needed.
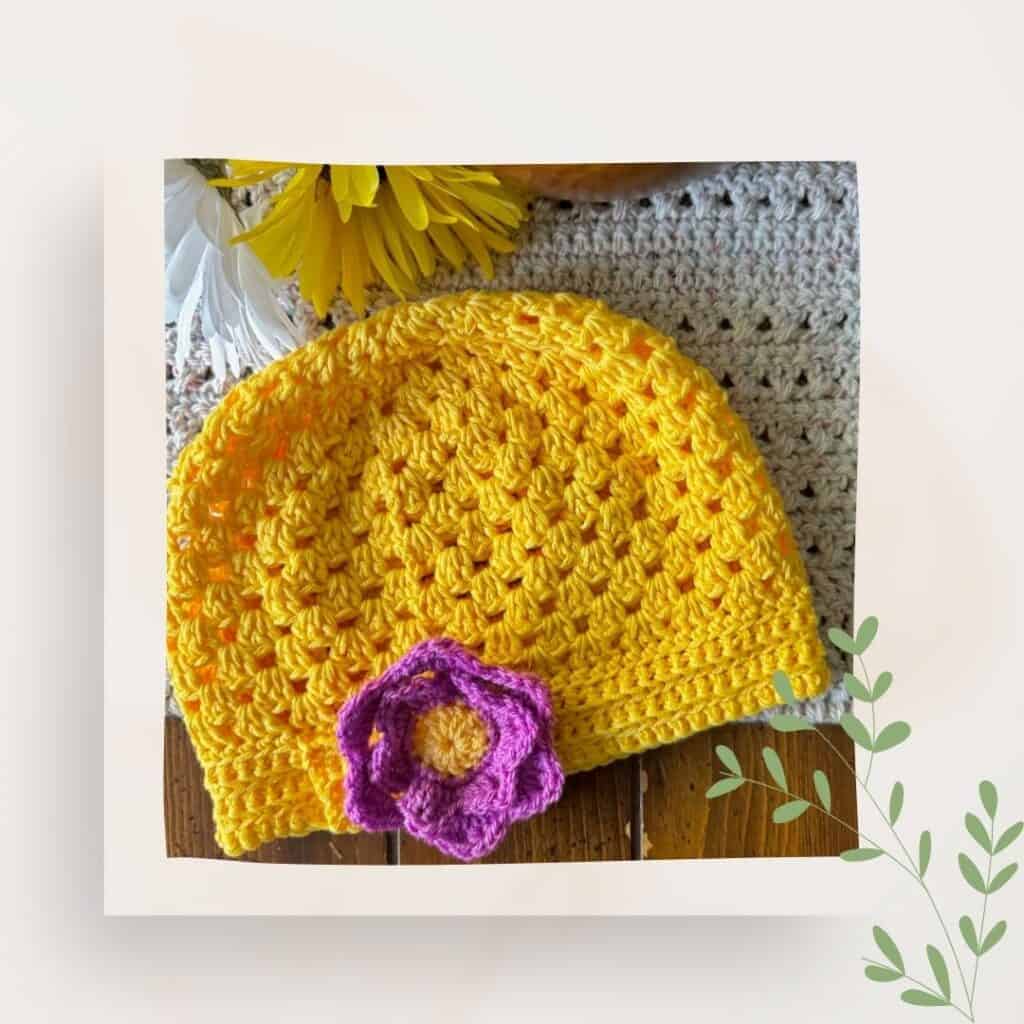
A cancer diagnosis can feel overwhelming, bringing a mix of fear, uncertainty, and a profound sense of vulnerability as life shifts unexpectedly. At times like these, it’s important to offer comfort and support.
Something as simple as a handmade item can lessen anxiety. When that handmade item is a granny stitch hat, it can serve as a meaningful gesture that offers physical comfort.
While a handmade item alone may not alleviate all the challenges associated with a cancer diagnosis, this small but hugely impactful act can positively contribute to a sense of well-being.
It is with that sentiment that I introduce the Daisy Beanie, a simple granny stitch hat that will bring joy and comfort to its recipient.
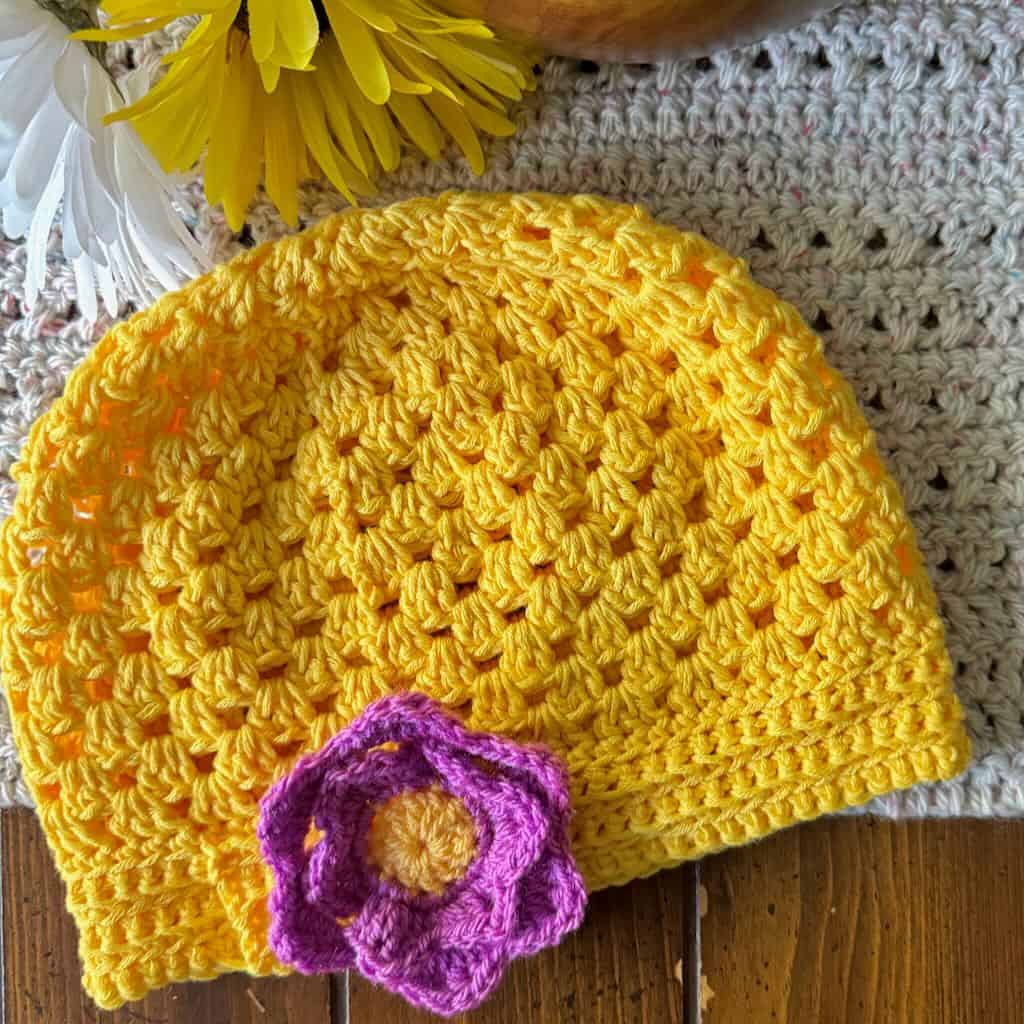
The Daisy Beanie
Bone Cancer
I chose yellow, the color that represents bone cancer. It’s a rare form of cancer that’s often overlooked.
As it turns out, I’ve known 2 people who were diagnosed with this cancer. The first was my grandpa. I don’t remember a lot about that time but I do recall how much pain he was in. It was devastating to watch him go through it.
The second was a former college student of mine who got the diagnosis when he was in his 20s. Thankfully, through surgery and effective treatments, he is now in remission and happily living a full life.
To find information about bone cancer, visit the American Cancer Society.
Design + Construction
I am proud to offer the Daisy Beanie during the Crochet Cancer Challenge, an annual event that brings awareness to the struggles of a cancer diagnosis and offers crocheters a way to give to those who need our support.
I took my inspiration for the shape of this granny stitch hat from the flapper hats of the 1920s. The granny stitch is the cornerstone of this design, creating a light texture against sensitive skin. The openness of the granny stitch provides breathability, yet still feels warm and cozy when coverage is needed.
The crown and the body of the granny stitch hat are worked in the round.
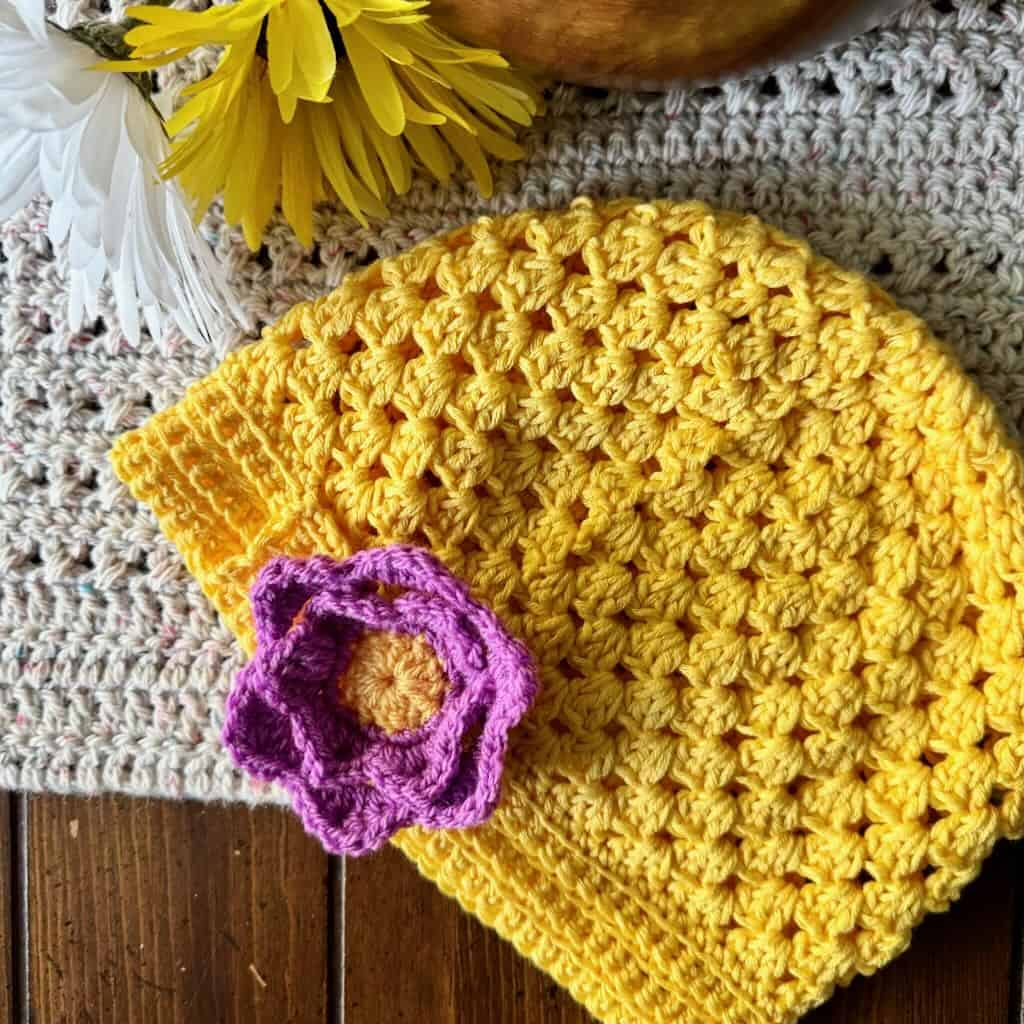
The granny stitch hat is finished off with a decorative band and an optional flower for a bit of pizzazz. Depending on the taste of the recipient, the flower can be any size you like. Or, a decorative button or other ornament can be added to finish off with style.
A word about the sizes
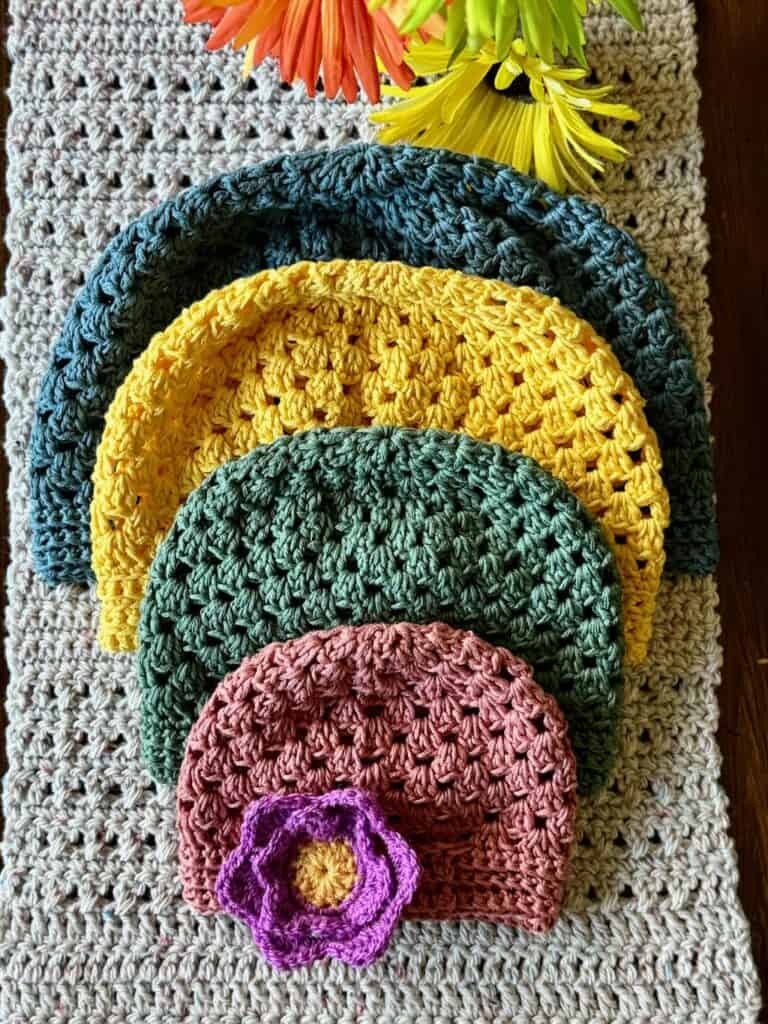
I designed the Daisy granny stitch hat in 4 sizes – Baby, Child, Adult Small/Medium and Adult Large.
The free to view instructions for the Adult Small/Medium are here in the blog post. Scroll down to find those instructions.
For the other 3 sizes of this granny stitch hat, upgrade to the premium PDF, available in my Ravelry, Etsy and LoveCrafts shops.
The Yarn
This post contains affiliate links. That means, if you purchase something using the link, I receive a small commission. You don’t pay any extra and your information is safe. Thanks for supporting my small business.
Hair loss during chemo treatment is common. The exposed skin left by that hair loss is often very sensitive; the need to provide head cover is great. That’s why it’s incredibly important to choose a yarn that doesn’t irritate that sensitive skin.
I chose Lion Brand’s Coboo for my granny stitch hat because it ticks off all the boxes for crocheting for sensitive skin. Cotton blends and bamboo yarns provide the necessary softness and breathability to prevent an adverse reaction, especially if the recipient has contact dermatitis. Coboo is not only soft and non-allergenic, it comes in absolutely gorgeous saturated colors.
Lion Brand’s Coboo is a DK weight yarn. Lion Brand’s Truboo, a 100% bamboo DK weight, is a nice alternative if you’re making the Daisy granny stitch hat as a chemo cap.
When choosing a yarn for a cancer patient who will receive your granny stitch hat, avoid animal fibers that may cause an allergic reaction.
For more information on choosing the perfect yarn for your granny stitch hat, Christine of Sweet Potato 3 has written a wonderful post with yarn recommendations.
Of course, this fabulous granny stitch hat is appropriate for any recipient. It’s not just for chemo patients. It can be made in any DK weight yarn and color that the person wearing the hat might like!
Where to get the PDF for the Daisy Beanie
The Daisy Beanie (size Adult Small/Medium) is a free crochet granny stitch hat pattern in this blog post. Scroll down to view the free version of the Adult Sm/Med.
However, if you’d like a print-friendly, downloadable version of the PDF, upgrade to the premium PDF available in my shops.
The premium PDF includes the instructions for 4 sizes – Baby, Child, Adult Sm/Med and Adult Large. You’ll find everything you need to make the perfect granny stitch hat.
The premium PDF can be uploaded to your favorite mobile device so you can take your Daisy granny stitch hat project with you to work on whenever you’re out and about. It’s easy to read and beautifully formatted without ads for a great experience
Get your copy today!
The Crochet Cancer Challenge
The 2024 Crochet Cancer Challenge, hosted by Christine of Sweet Potato 3, encourages crocheters to create and donate hats for cancer patients. This initiative highlights the power of handmade items in providing comfort and support to those facing difficult times.
The Miriam Beanie
I designed the Miriam Beanie for the 2023 Crochet Cancer Challenge. You can find it free to view on the blog or it’s available on Ravelry, Etsy and LoveCrafts.
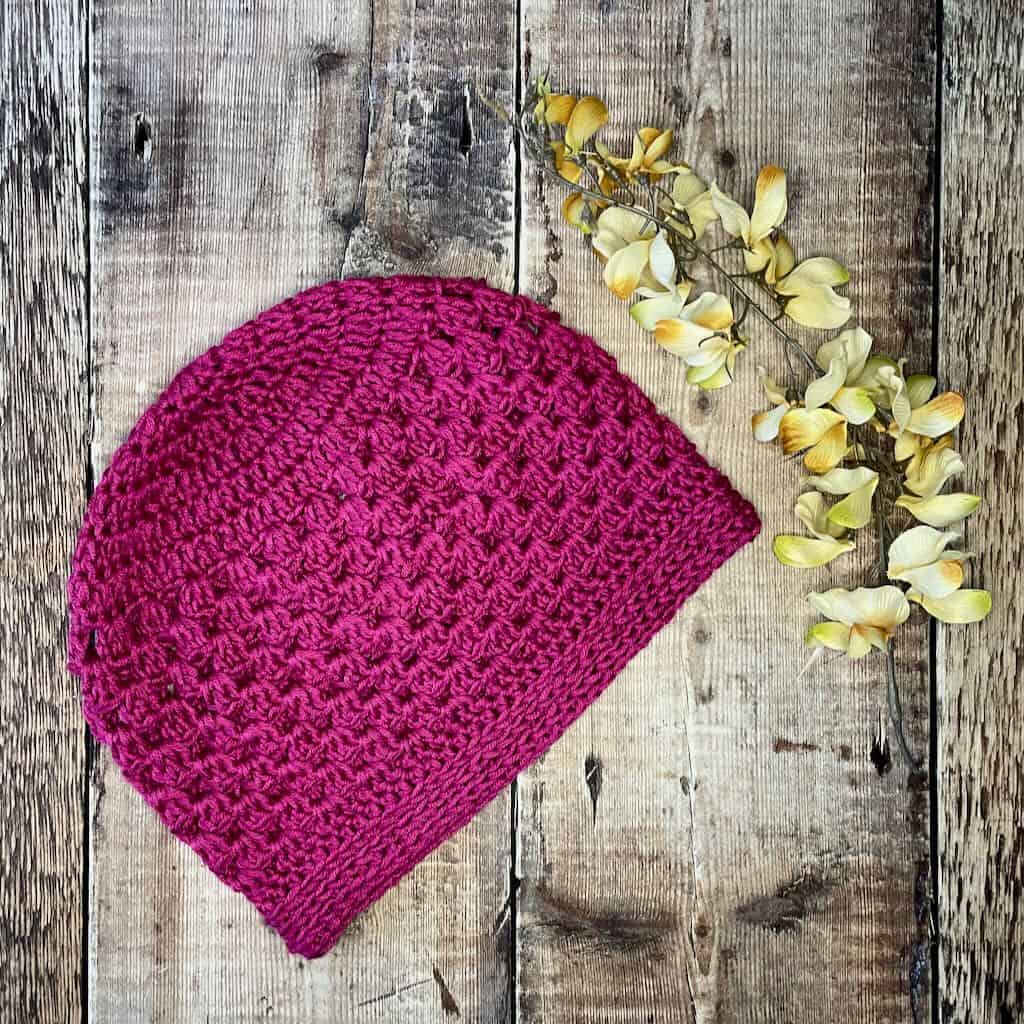
The Daisy granny stitch hat free pattern (Adult Sm/Med only)
This free pattern is for the Adult Small/Medium only. The other 3 sizes – Baby, Child, Adult Large – are available only in the premium PDF.
General Information
Yarn
Lion Brand “Coboo” 51% cotton, 49% rayon from bamboo DK weight (3.5 oz/232 yd; 100g/212m)
Yellow (157F) – Approx. 140 yds (130m)
Any DK weight yarn will work. However, if using a different fiber content, check the gauge to ensure the desired finished measurements.
Hook
US size H-8 (5mm) or size needed for gauge
Tools
- Crochet flower appliqué or button to decorate the flap
- Removable stitch markers
- Tapestry needle
Skill level: Intermediate
Gauge
Finished Measurement – Adult Small/Medium
Abbreviations – US crochet terminology
- beg – beginning
- BLO – back loop only
- ch – chain
- dc – double crochet
- MR – magic ring
- rep – repeat
- sc – single crochet
- sk – skip
- sp(s) – space(s)
- st(s) – stitch(es)
- RS – right side
- WS – wrong side
- YO – yarn over
Special Stitches
Granny stitch (GS) – 3 dc in the same st or sp
Stacked single crochet (STsc) – (This stitch is used at the beginning of a row or round to replace the traditional turning ch-3. It has the appearance of a dc.) – Insert hook in the same st as the loop, YO, pull up a loop, YO, pull through 2 loops (bottom sc made), insert hook in the left vertical bar of the bottom sc, YO, pull up a loop, YO, pull through 2 loops (top sc made).
Frog unfinished projects; save the yarn for future projects.
Click on the graphic.
- If the entry form pops up, fill it out.
- If it doesn’t, visit the next post.
Good luck!
Written Instructions
Pattern Notes
- A ch-1 at the beg of a rnd does not count as a st.
- A ch-2 or ch-3 can be substituted for the STsc without altering the construction of the beanie. If you substitute a turning ch, slip st to the top of it at the end of a rnd.
- Do not turn after any rnd of the crown or body.
- The stitch counts will be listed only when they change.
Pattern Instructions
Crown
Ch 4, join with slip st to form ring. OR, use a MR, closing the ring at the end of Rnd 1.
Rnd 1 (RS): (STsc, 11 dc) in the ring, join with slip st to beg st. < 12 dc >
Rnd 2: Slip st into the sp, (STsc, dc) in the same sp, 2 dc in the next sp and in each sp around, join with slip st to beg st. < 24 dc >
Note for Rnd 3: Each GS is worked in the sp between each group of 2 dc from Rnd 2.
Rnd 3: STsc in the sp to the right of the hook, GS in the next sp and in each sp around, ending with 2 dc in the 1st sp to complete the 1st GS, join with slip st to beg st. < 12 GS >
Note for Rnd 4: Between each 2 dc worked in a sp are 2 dc worked in the middle st of a GS of Rnd 3.
Rnd 4: Slip st into the sp, (STsc, dc) in the same sp, sk 1 st, 2 dc in the next st, sk 1 st, [2 dc in the next sp, sk 1 st, 2 dc in the next st, sk 1 st] 11 times, join with slip st to beg st. < 48 dc >
Rnd 5: STsc in the sp to the right of the hook, GS in the next sp, [2 dc in the next sp, GS in the next sp] 11 times, dc in the 1st sp (where the STsc is worked), join with slip st to beg st. < 12 GS, 24 dc >
Rnd 6: Slip st into the sp, (STsc, 2 dc) in the same sp (counts as the 1st GS), GS in the next sp and in each sp around, join with slip st to beg st. < 24 GS >
Body
Rnd 7: STsc in the sp to the right of the hook, GS in the next sp and in each sp around, 2 dc in the 1st sp to complete the 1st GS, join with slip st to beg st. < 24 GS >
Rnd 8: Slip st into the sp, (STsc, 2 dc) in the same sp, GS in the next sp and in each sp around, join with slip st to beg st.
Rnds 9-14: Rep Rnds 7-8 3 times.
Rnd 15: Rep Rnd 7. Do not fasten off.
Proceed to the Band.
Band
Row 1 (WS): Ch 9, sc in the 2nd ch from the hook and in the remaining 7 ch, sc in the next st and in each st around, turn. < 80 sc >
Row 2 (RS): Ch 1, sc BLO in the same st and in each st across, turn. < 80 sc BLO >
Rows 3 – 6: Rep Row 2. Leave a tail long enough to secure the corners of the flap and band in the next step.
Note: For a wider band, rep Rnd 2 until you reach your desired measurement.
Fasten off and weave in ends.
To finish the hat
With RS facing:
- Lay the flap of the band over the top of the other side of the band.
- Secure in place with a flower appliqué or button.
- If you aren’t adding anything to the band, use the yarn tail to secure each corner of the flap to the band below to prevent it from pulling apart.
- Secure the corners of the band underneath the flap to keep it from getting accidentally caught.
- Do not sew down the end of the flap because you’ll lose the unique look of the flap.
This pattern does not include a pattern for a flower to attach to the band. You can find numerous free patterns by searching Pinterest.



I am confused how you get 48 dc at the end of row 4.
Please explain. What am I missing.
Thank you.
Sunny,
In Rnd 3, there are 12 spaces and 12 granny stitches.
In Rnd 4, you work groups of 2 dc in each sp and in each middle st of the granny stitches.(12 spaces + 12 middle of granny stitch) x 2 dc = 48 dc.
I hope that helps!
-Debbie
Thanks for taking the time to share this lovely pattern. Unfortunately I have a relative who is experiencing bladder cancer. They will not experience hair loss so I will donate some hats to the American Cancer Society to support this great cause. Again, thanks for sharing.♥♥
I’m so sorry your relative is going through bladder cancer. But, it’s good to know that this hat will go to those who really need it.
Thanks for sharing!
-Debbie