Crochet Tablet Envelope | Free Pattern
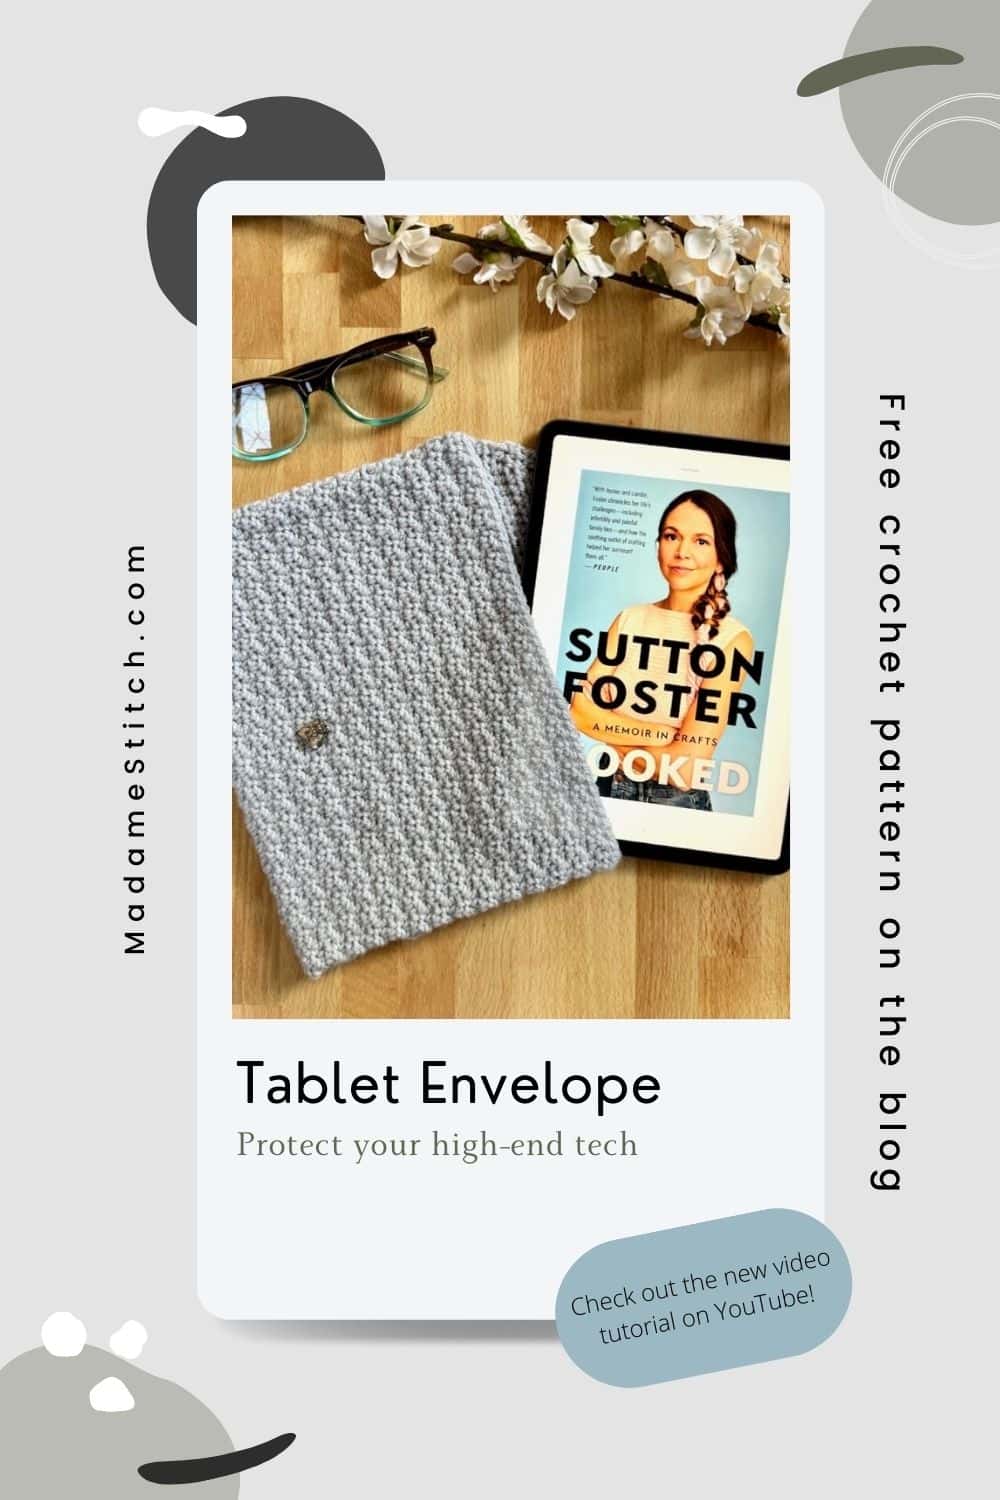
Protect your tech! With this free pattern, you’ll be able to crochet an envelope to store your favorite tablet when you’re out and about.
This post contains affiliate links. That means, if you purchase something using the link, I receive a small commission. You don’t pay any extra and your information is safe. Thanks for supporting my small business.
If you are anything like me, your tablet is an invaluable tool in your personal and/or business life. Tech ain’t cheap and we need to protect our investment. Why not make it fashionable as well as functional?!
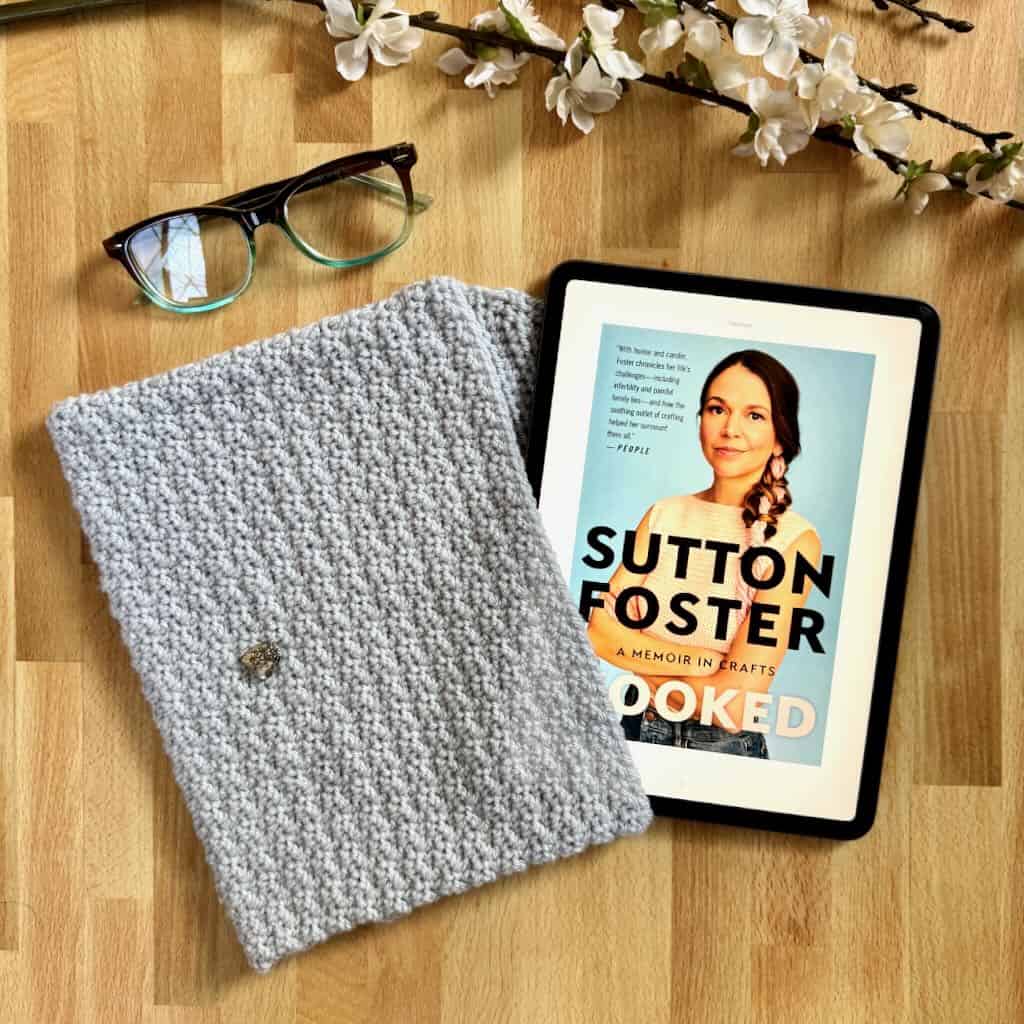
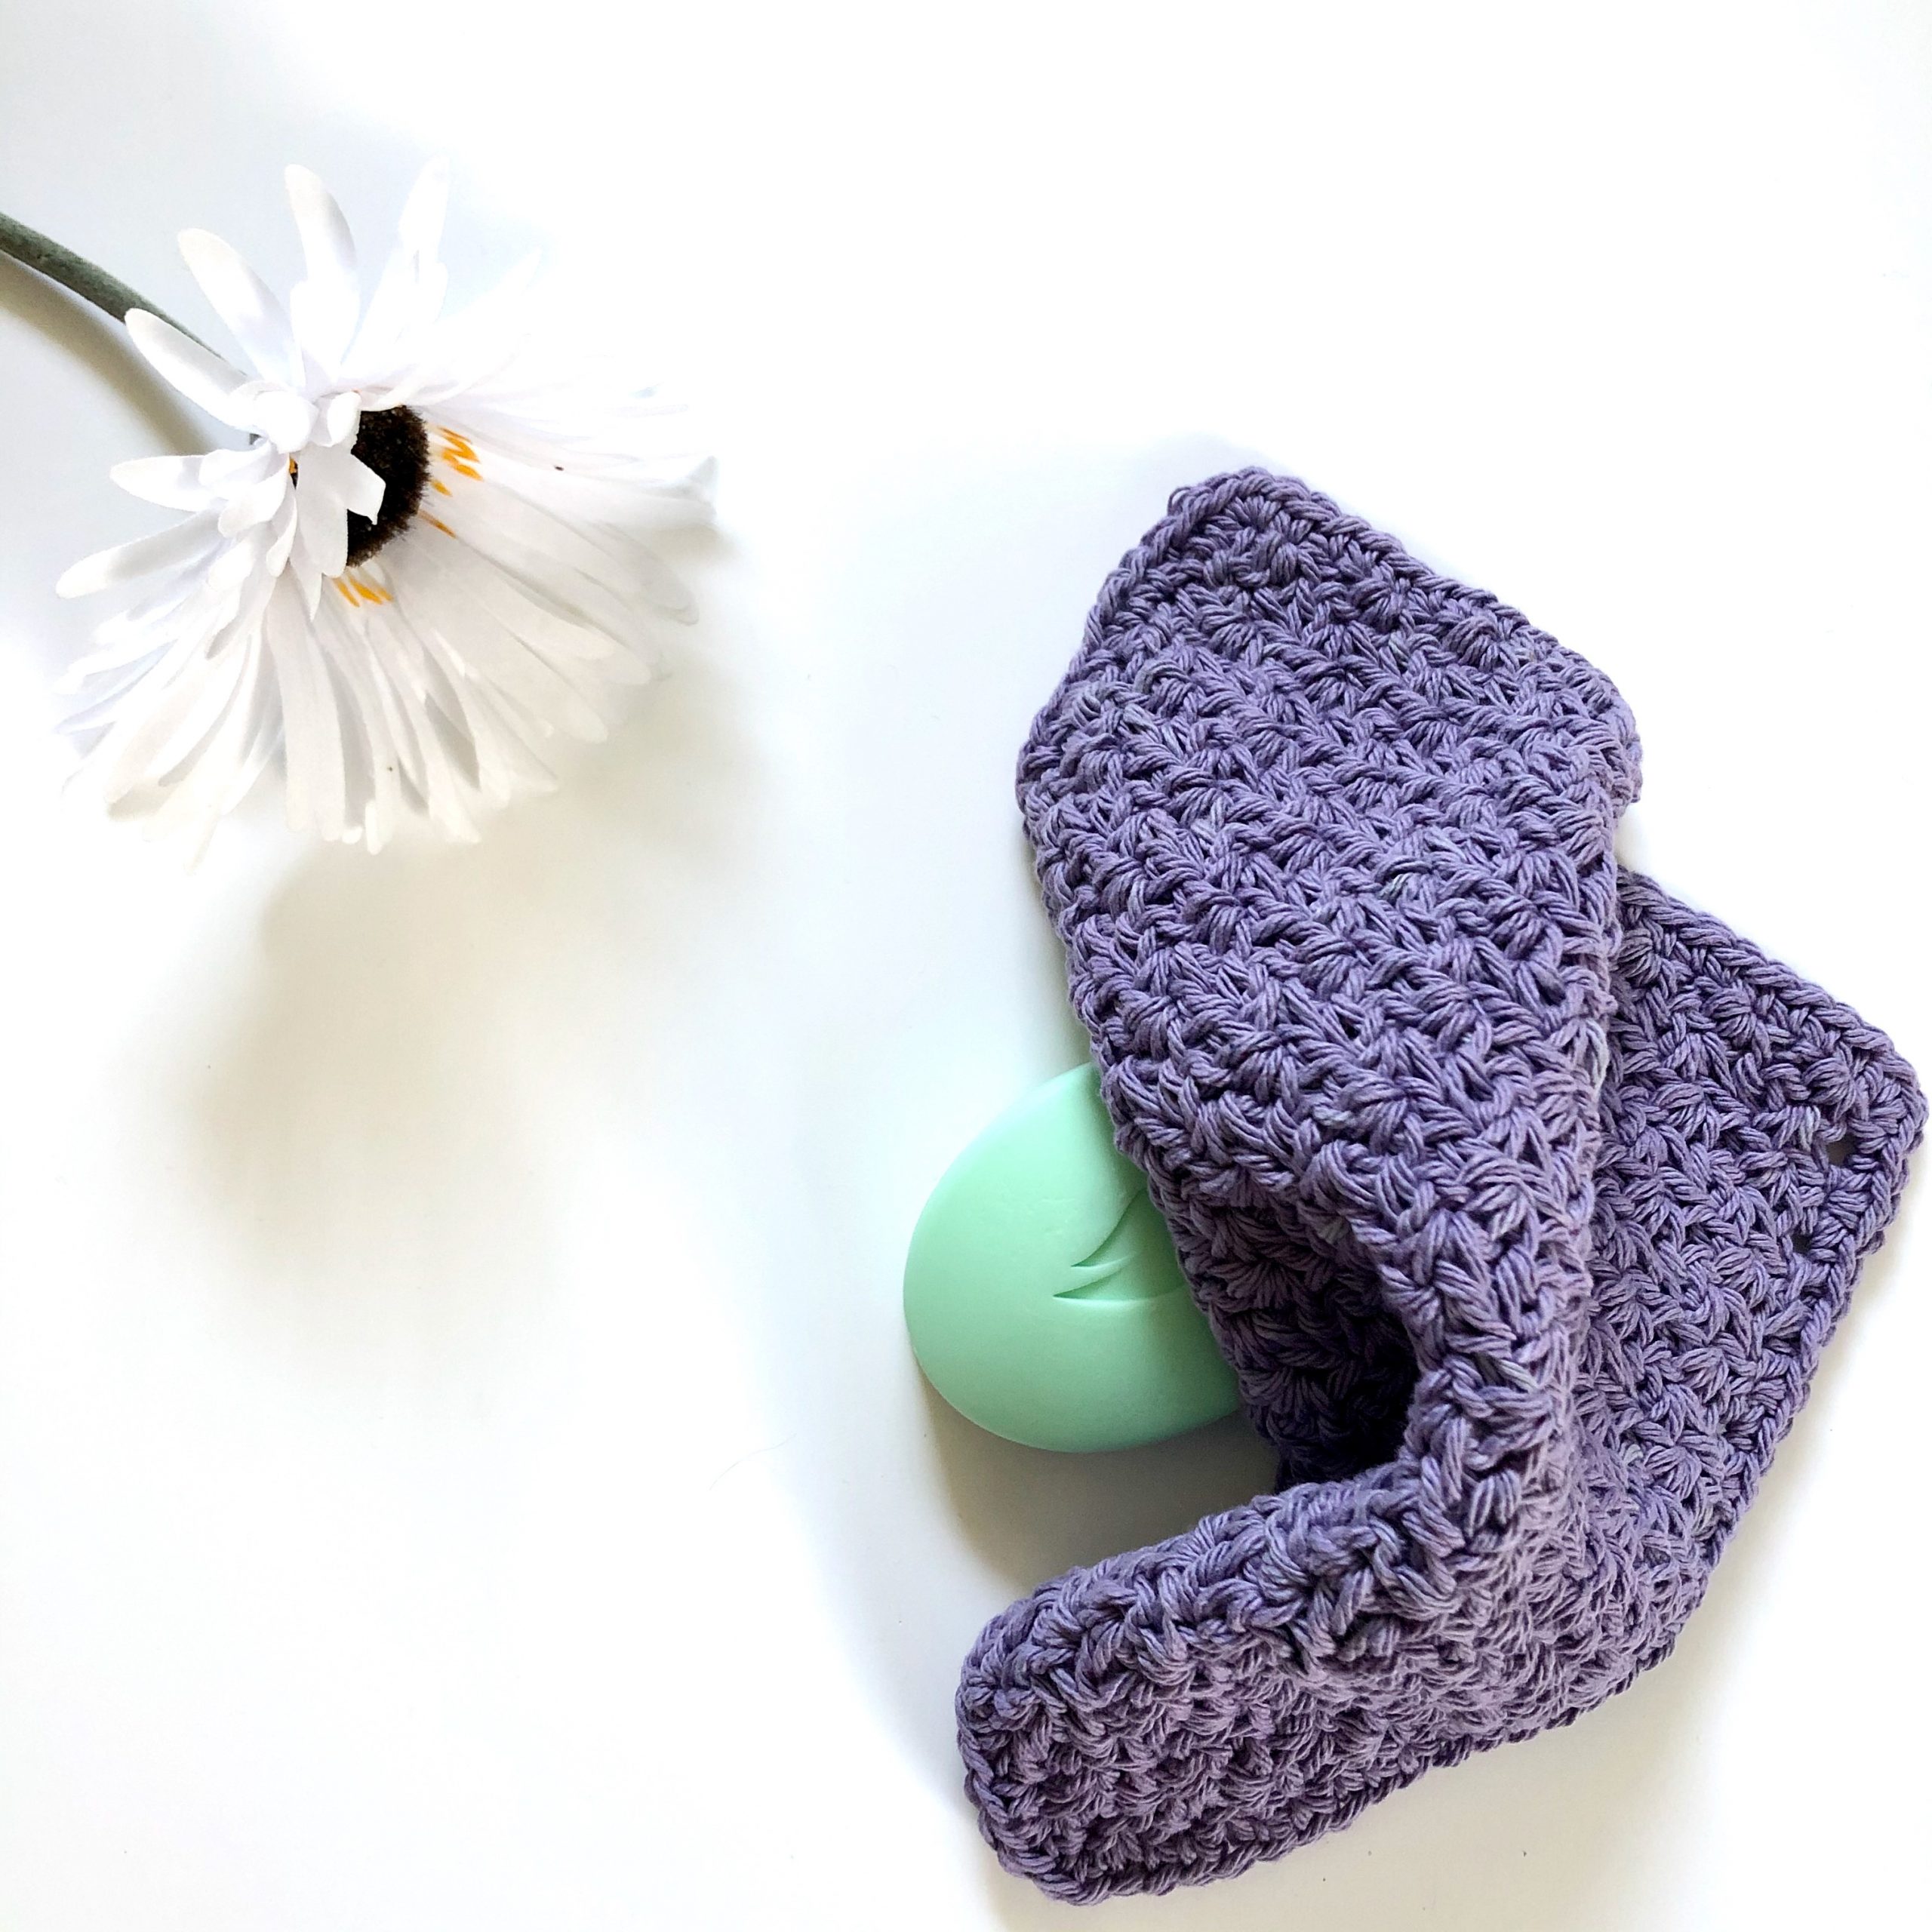
The Tablet Envelope is a free crochet pattern and beginner friendly. The seed stitch is a simple stitch pattern that creates a beautiful texture and works up quickly.
The Tablet Envelope
Design + Construction of the Tablet Envelope
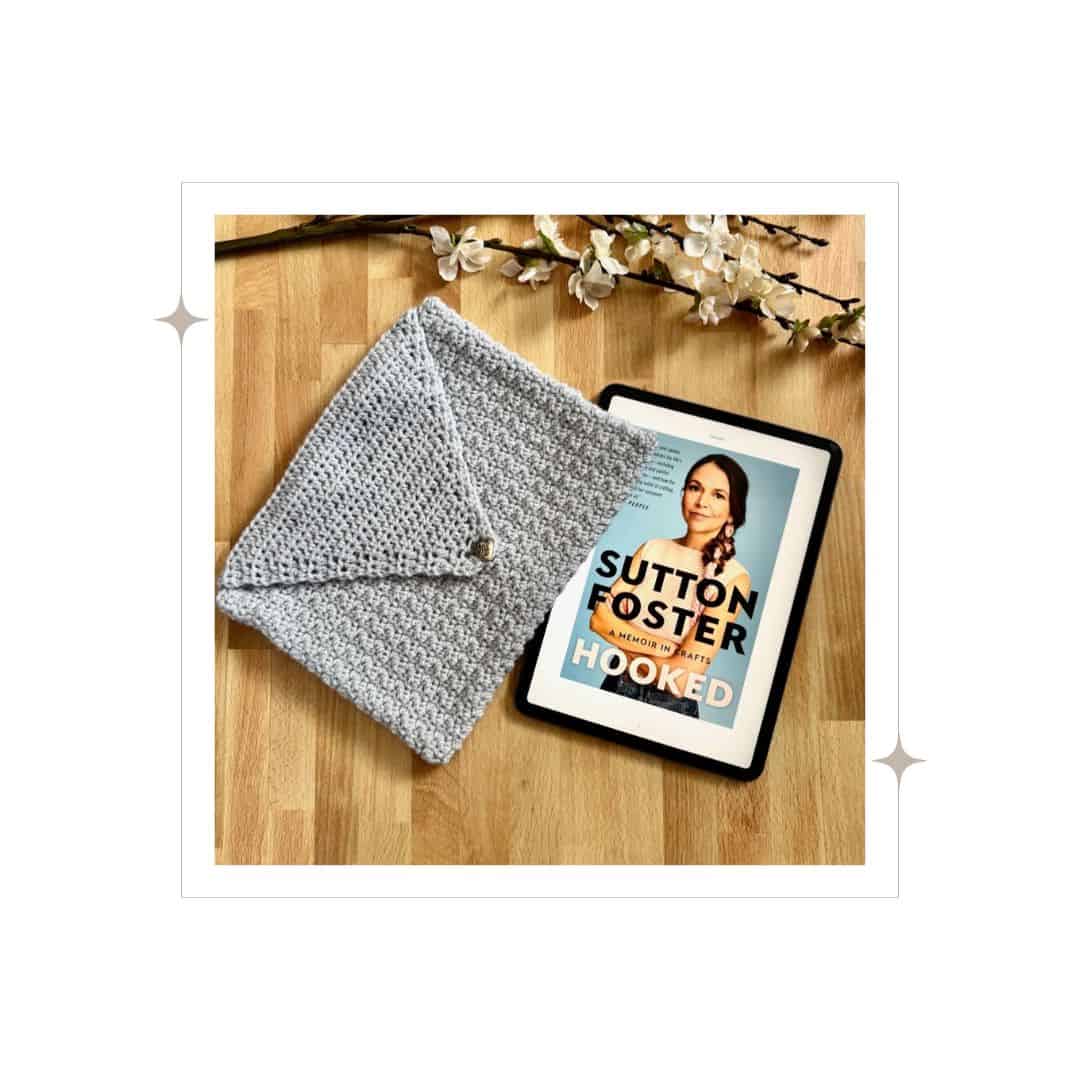
I use my tablet every day for professional AND personal purposes. I decided I wanted to make a protective pocket for my iPad. When I saw the seed stitch in an Instagram post, I knew it would be perfect for my envelope.
The seed stitch adds the subtlest of textures, giving my envelope stability without being bulky. It’s an easy 2-stitch (double crochet and single crochet) , 1-row repeat that makes for a fabulous moment of relaxing crochet!
Find my tutorial on the seed stitch here.
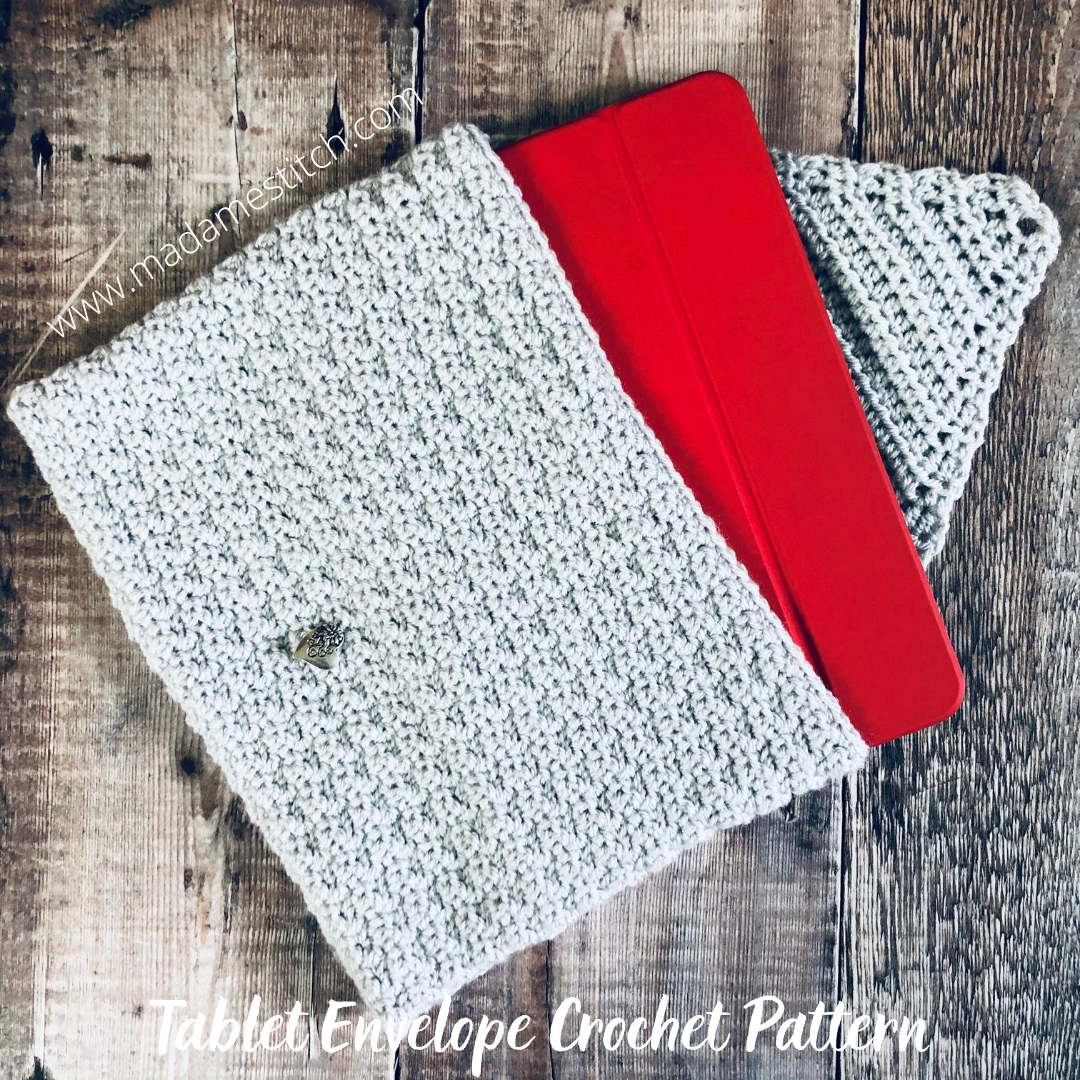
The Tablet Envelope is worked in one piece, folded in half, with side seams that are stitched to form the pocket your tablet slides into. A flap is worked with an alternate style of decrease which creates a subtle yet beautiful line along each edge of the flap. A buttonhole added as you finish up the flap means your tablet will be safe from falling out.
Skill Level: Advanced Beginner
The Yarn
This summer I’ve been having a lot of fun trying out yarns. I had seen and heard a lot lately about Paintbox Yarns so I had to give it a try.
I chose the Simply DK for this tablet envelope because I wanted a lightweight yarn that would showcase the seed stitch texture but not create a lot of bulk and weight for the tablet. It’s inexpensive, available in the US through the LoveCrafts website. Plus, the colors are simply gorgeous!
Of course, any DK weight will do. Here are a few of my favorites:

Where to get the PDF for the Tablet Envelope
The Tablet Envelope is a free crochet pattern in this blog post. Scroll down to view the free version.
However, if you’d like a printer friendly and downloadable version of the PDF, I recommend you purchase it from one of my shops.
The purchased PDF can be uploaded to your favorite mobile device so you can take your Tablet Envelope project with you to work on whenever you’re out and about.
The PDF is easy to read and beautifully formatted without ads for a great experience.
Get your copy today!


The Tablet Envelope Free Crochet Pattern Starts Here
Thank you for staying on this post and reading my patterns right here on the blog, without copy/pasting. When you stay here to follow the free version of my pattern, I am compensated for my time and energy. This is a great, free way to support a designer. If you would like to save this for later, bookmark the page to save it in your mobile browser.
General Information
Yarn
Paintbox “Simply DK” 100% acrylic (3.5oz/302yd; 100g/276m): 1 skein Color #103 – Misty Grey
Any DK weight yarn will work – you’ll need approx. 3oz.
Hook
US size G-6 (4mm) or size needed to achieve gauge
Tools + Materials
- ¾” button for envelope flap (a toggle or post button works best). I got my button from “SmartParts” on Etsy.
- Tapestry needle for weaving in ends
Finished Size
Approx. 11” x 8” (body of envelope). Sample made for 11” iPad Pro with smart cover.
Size can be easily adjusted for other tablets and covers (instructions are included in the PDF)
Gauge
In pattern st: Approx. 8 (dc, sc) x 15 rows = 4”
Abbreviations – US crochet terminology
- Chain – ch
- Double crochet – dc
- Half double crochet – hdc
- Place marker – pm
- Repeat – rep
- Single crochet – sc
- Skip – sk
- Stitch(es) – st(s)
- Right side – RS
- Wrong side – WS
Special Stitches
Seed stitch – Dc, sc across a row. When working in the next row, all dc are worked in the sc of the previous row, and all sc are worked in the dc. This creates the seed stitch texture. For a photo tutorial, visit my blog post HERE. (I’ve included a handy crochet chart in the PDF.)
Stacked single crochet (STsc) – (This stitch is used at the beginning of a row or round to replace the traditional turning ch-3. It has the appearance of a dc.) – Insert hook in the same st as the loop, YO, pull up a loop, YO, pull through 2 loops (bottom sc made), insert hook in the left vertical bar of the bottom sc, YO, pull up a loop, YO, pull through 2 loops (top sc made).
If you’re making this for a tablet that doesn’t have the same measurements as the 11″ iPad Pro…
In the PDF, available in all my shops, you’ll find instructions about how to measure your tablet, how to do the math to figure out stitch counts (it’s not hard!) and how to adjust the instructions for your tablet.

Video Tutorial for the Tablet Envelope
Pattern Notes
- At the end of each row, pull up the first loop of the final sc a little taller than you normally would so the edge of the piece doesn’t pull. This side edge will serve as the seam and should be as flat as possible.
- Each row of the flap decreases by 1 st each side. Instead of crocheting 2 sts together at the end of the row, the 3rd st from each edge will be skipped. This creates a clean edge along the flap plus a pretty, slanting design feature.
- A ‘ch 1’ at the beginning of a row does not count as a st.
- A “ch-2” or “ch-3” may be substituted for the STsc at any time without adversely affecting the construction of the envelope.
- St counts are listed as < 42 sts > and only when they change.
Pattern Instructions
Thank you for staying on this post and reading my patterns right here on the blog, without copy/pasting. When you stay here to follow the free version of my pattern, I am compensated for my time and energy. This is a great, free way to support a designer. If you would like to save this for later, bookmark the page to save it in your mobile browser.
Body of envelope
Ch 44.
Note: The seed stitch creates a fabric that’s reversible, with no right or wrong side in the Body.
Ch 44.
Row 1: Sc in the 4th ch from the hook (counts as dc, sc), [dc in the next st, sc in the next st] across, turn. < 42 sts >
Row 2: STsc, sc in the next st (in the top of dc below), [dc in the next st, sc in the next st] across, turn.
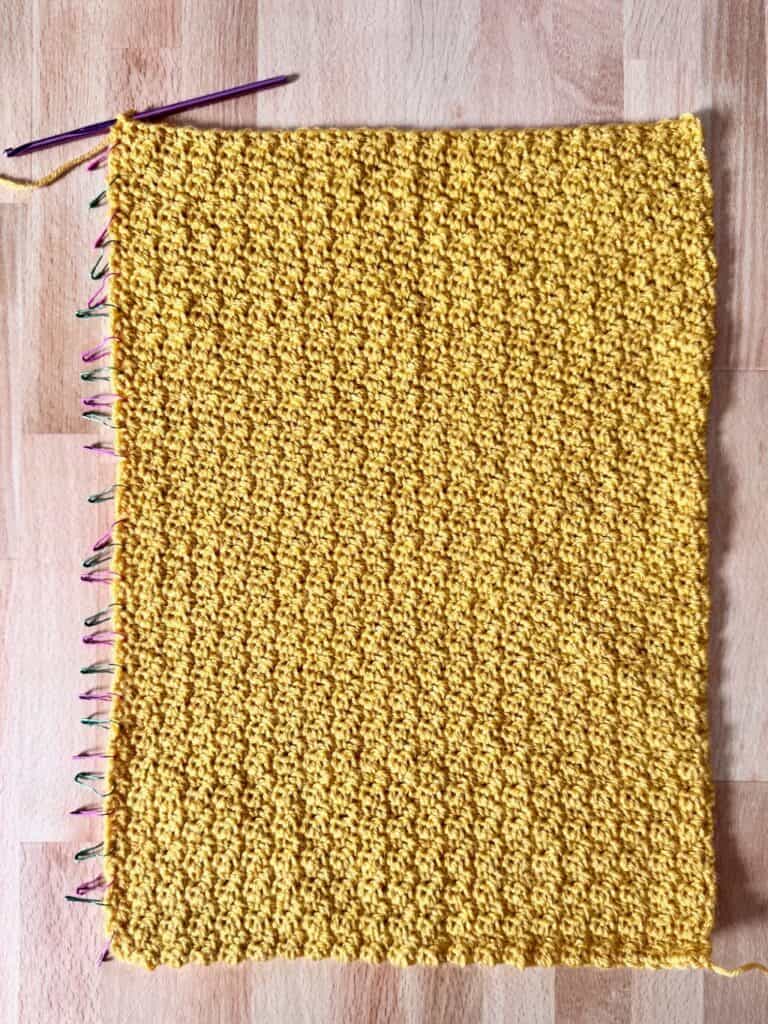
Rows 3-54: Rep Row 2. The rectangle should measure 15” long.
Do not fasten off; continue to Side Seams.
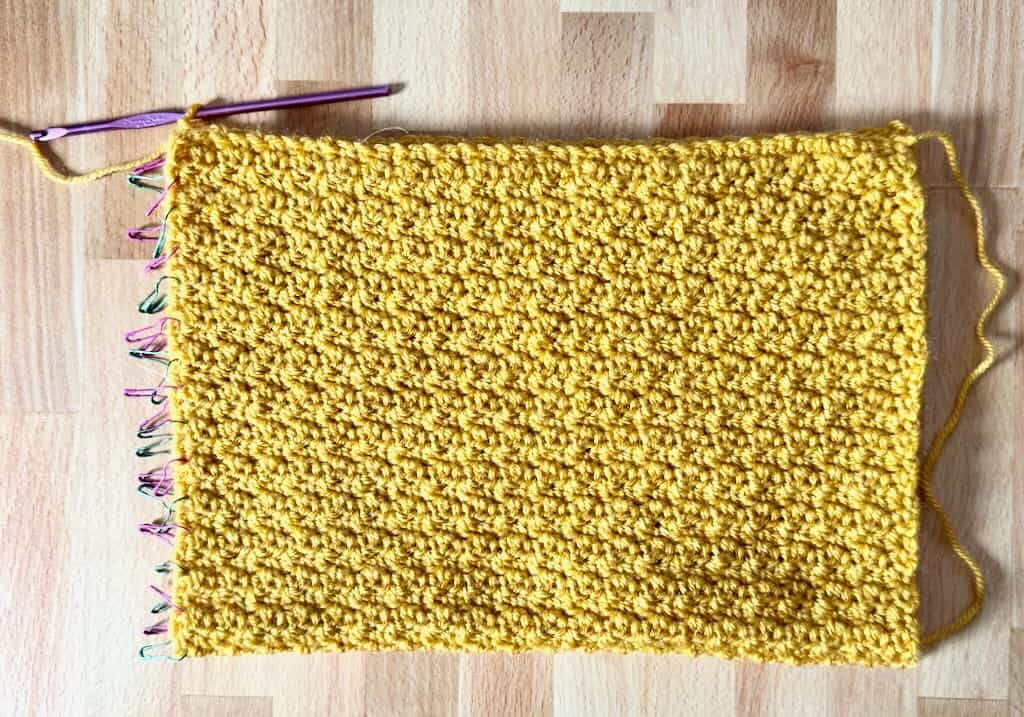
The rows in seed stitch are nearly impossible to count because of the nubby texture it creates. To keep track of the number of rows, place a stitch marker at the end of every other row as in this example.
Count the number of stitch markers and multiply by 2 to get the number of rows worked. Remove the stitch markers before sewing the side seams.
Side Seams
Fold piece in half widthwise (there is no right or wrong side).
Continuing from the end of the body, slip st the first side seam closed. Fasten off.
For the second side seam, attach yarn at the folded edge of the side seam and slip stitch the seam closed.
Turn the body inside out so that the slip st seams are now hidden on the inside of the envelope.
Do not fasten off; continue to Top Edge.
Top Edge
Ch 1, sc in same st and in each st around the top edge of envelope, join with slip st to first st. Do not fasten off. < 83 sc >
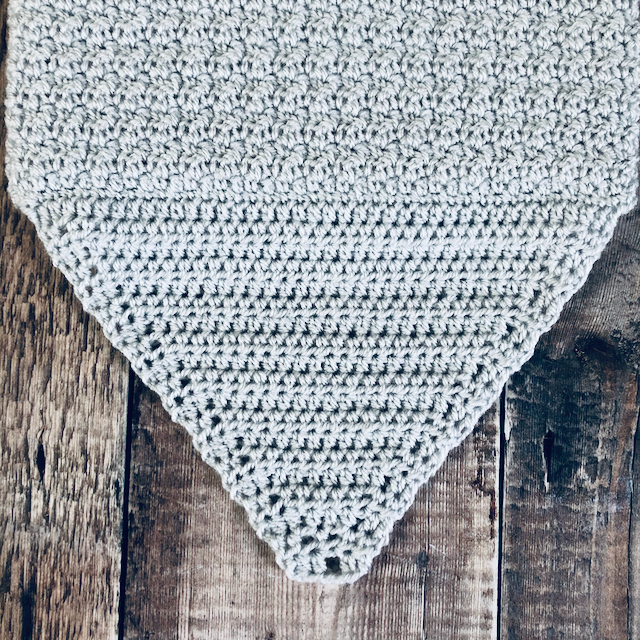
Flap
Note: The flap will be centered between the side seams along the top of the back edge with 2 sts left unworked on either side of Row 1.
Mark the start and end of Row 1 by doing the following:
- With the right side of the back facing you, find the center st, pm.
- Count out from the center marker 19 sts on either side. Pm in the 19th st.
- Counting all 3 markers and the sts between the markers, the total should be 39.
Row 1: With RS facing, slip st to the first marker, ch 1, hdc in the same st and in each st across to 2nd marker (ending by working into the st with the marker), turn. < 39 hdc >
Row 2 (WS): Ch 1, hdc in the same st and in next st, sk st, hdc across to last 3 sts, sk st, hdc in last 2 sts, turn. < 37 hdc >
Rows 3 – 16: Rep Row 2 until 9 sts remain.
Row 17: Ch 1, hdc in same st and in next st, sk st, hdc in next 3 sts, sk st, hdc in last 2 sts, turn. < 7 hdc >
Row 18: Ch 1, hdc in same st and in next st, sk st, hdc, sk st, hdc in last 2 sts, turn. < 5 hdc >
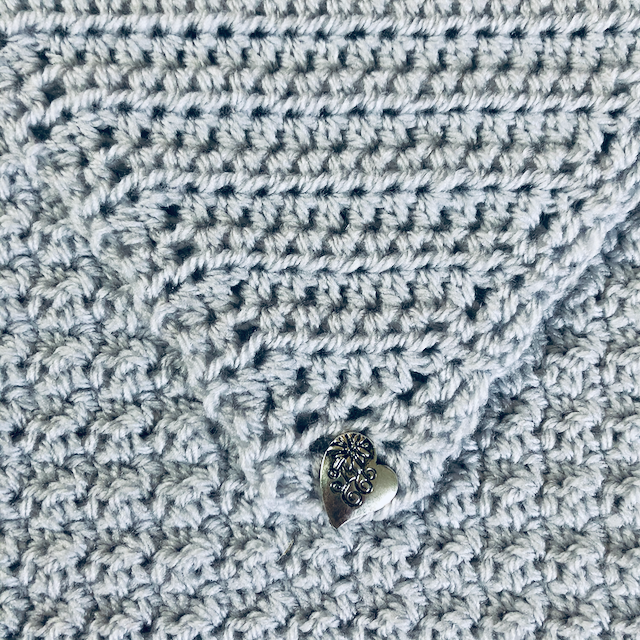
Note: In Row 19, the ‘ch 1’ in the middle of the row makes a space appropriate for a buttonhole.
Row 19: Ch 1, hdc in same st and in next st, sk st, ch 1, hdc in last 2 sts. Fasten off. < 4 hdc >
Attach Button
With tablet inserted, fold the flap over the front and position the button under the buttonhole. Sew the button in place.
Weave in the ends, insert your tablet, and head out the door!
THANK YOU ! VERY CUTE
Thank you so much, this Tablet Envelope is just what I needed! I am enjoying your Mystery Giveaway, deeply appreciate your generosity and creativity. You are very talented and a gifted Crocher.
Well, thank you so much! I’m glad you’re enjoying the event!
Best,
Debbie