A special crochet mug cozy is all you need to keep your coffee piping hot
Craft cozy mornings with our crochet mug cozy! Keep your coffee warm in style—quick, beginner-friendly pattern for the perfect sip every time!
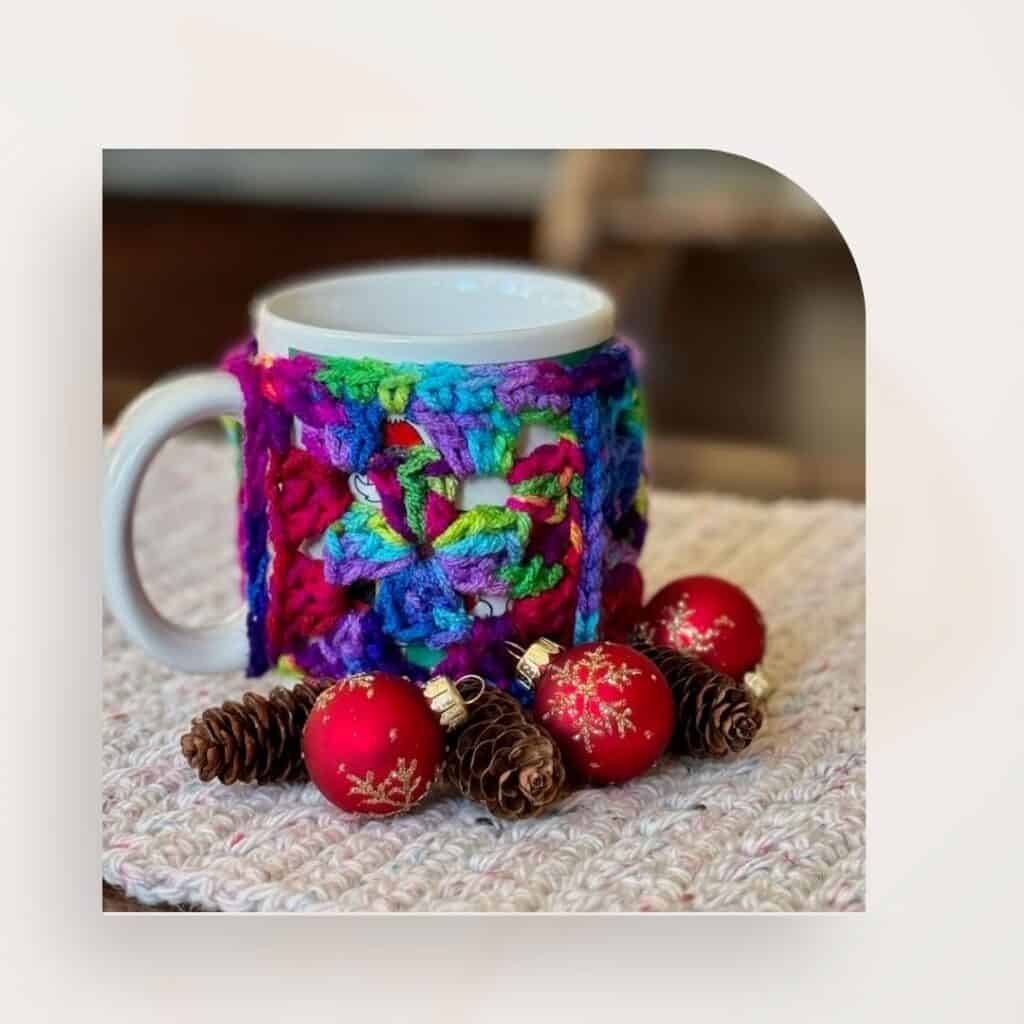
Granny’s Mug Hug – a free crochet mug cozy pattern
Every day for me begins with a cup of my favorite coffee (I get mine from Backyard Beans). With crochet in hand, I catch up on the news before I head upstairs to start my workday. It’s a welcome ritual that just seems to set my day on the right path.
I don’t chug my coffee so it’s likely my coffee begins to cool before I finish it. I’m not a fan of running back and forth to my microwave to keep it piping hot.
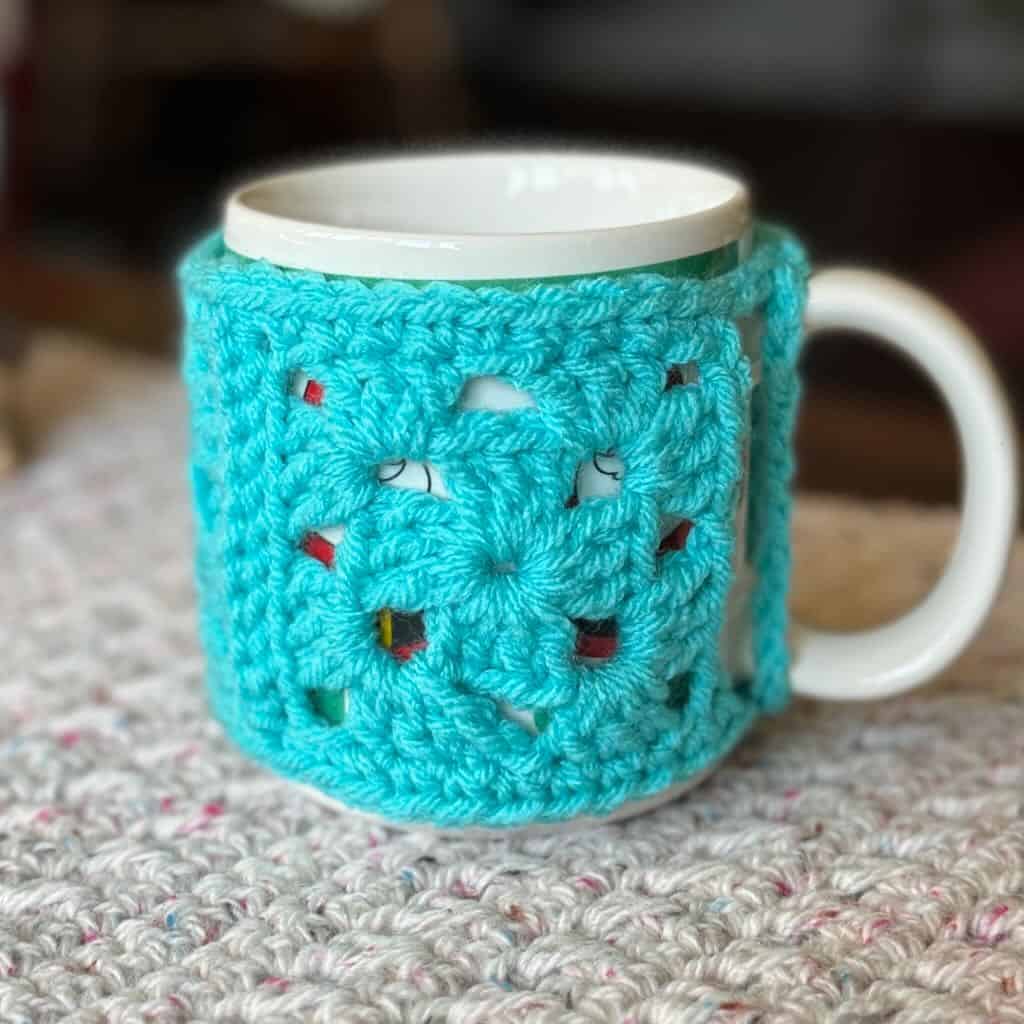
I designed Granny’s Mug Hug to keep my coffee at just the right temperature and let me hang out in my comfy chair just a little longer.
Who doesn’t love a hug? Even better if it’s from grandma, right?!
Design + Construction
Let me introduce you to one of the biggest granny square fans on the planet…ME! So, it shouldn’t be a surprise that this crochet mug cozy has granny squares.
The crochet mug cozy fits a standard size mug.
My Granny’s Mug Hug is made up of 3 2-round grannies that are then sewn together into a strip using a slip stitch seam.
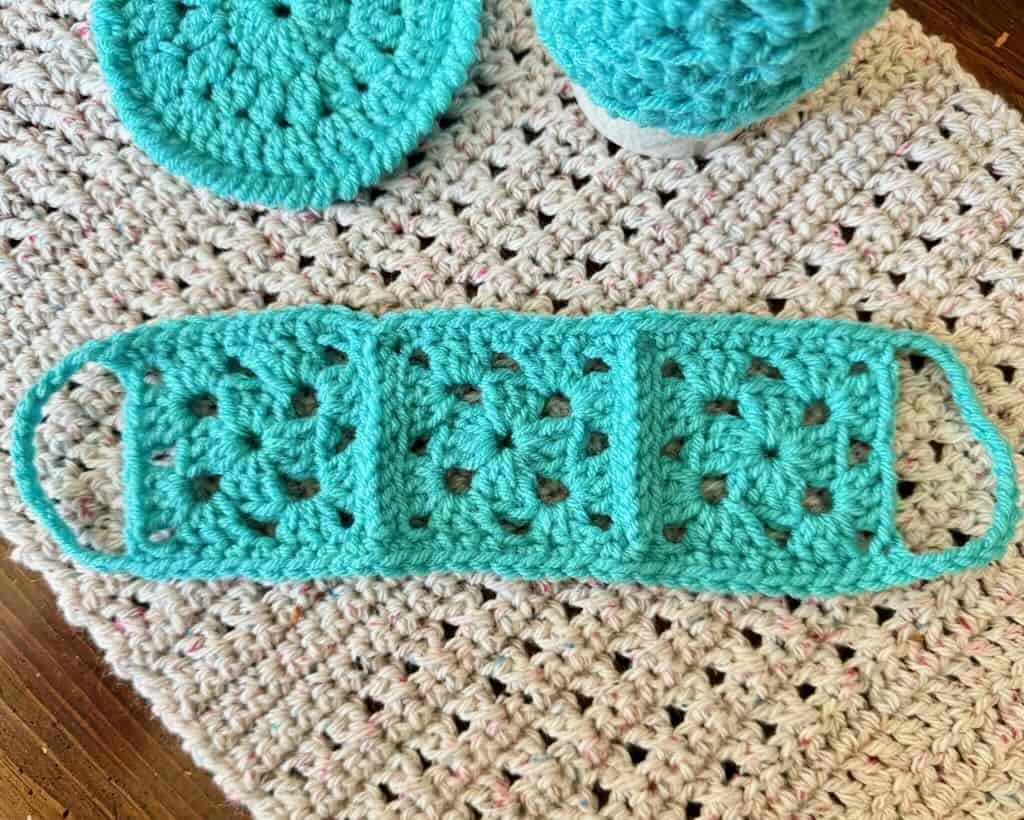
The single crochet border around the entire strip includes loops at each end that are used to wrap around the handle of your mug to secure it in place. That’s where the mug hug comes in.
This is such a quick project that you can make it in an evening. In fact, make a crochet mug cozy for every coffee drinker in the house!
The Yarn for the crochet mug cozy
Any easy care worsted weight yarn will work for the mug hug. The crochet mug cozy makes a great stash buster. Colors can be mixed or matched, whatever suits your taste.
For the sample, I used Hobby Lobby’s “I Love This Yarn Print” in Candy Stick Stash to give the crochet mug cozy (and the rest of the set – see below) a festive look. Plus, I had a skein in my stash.
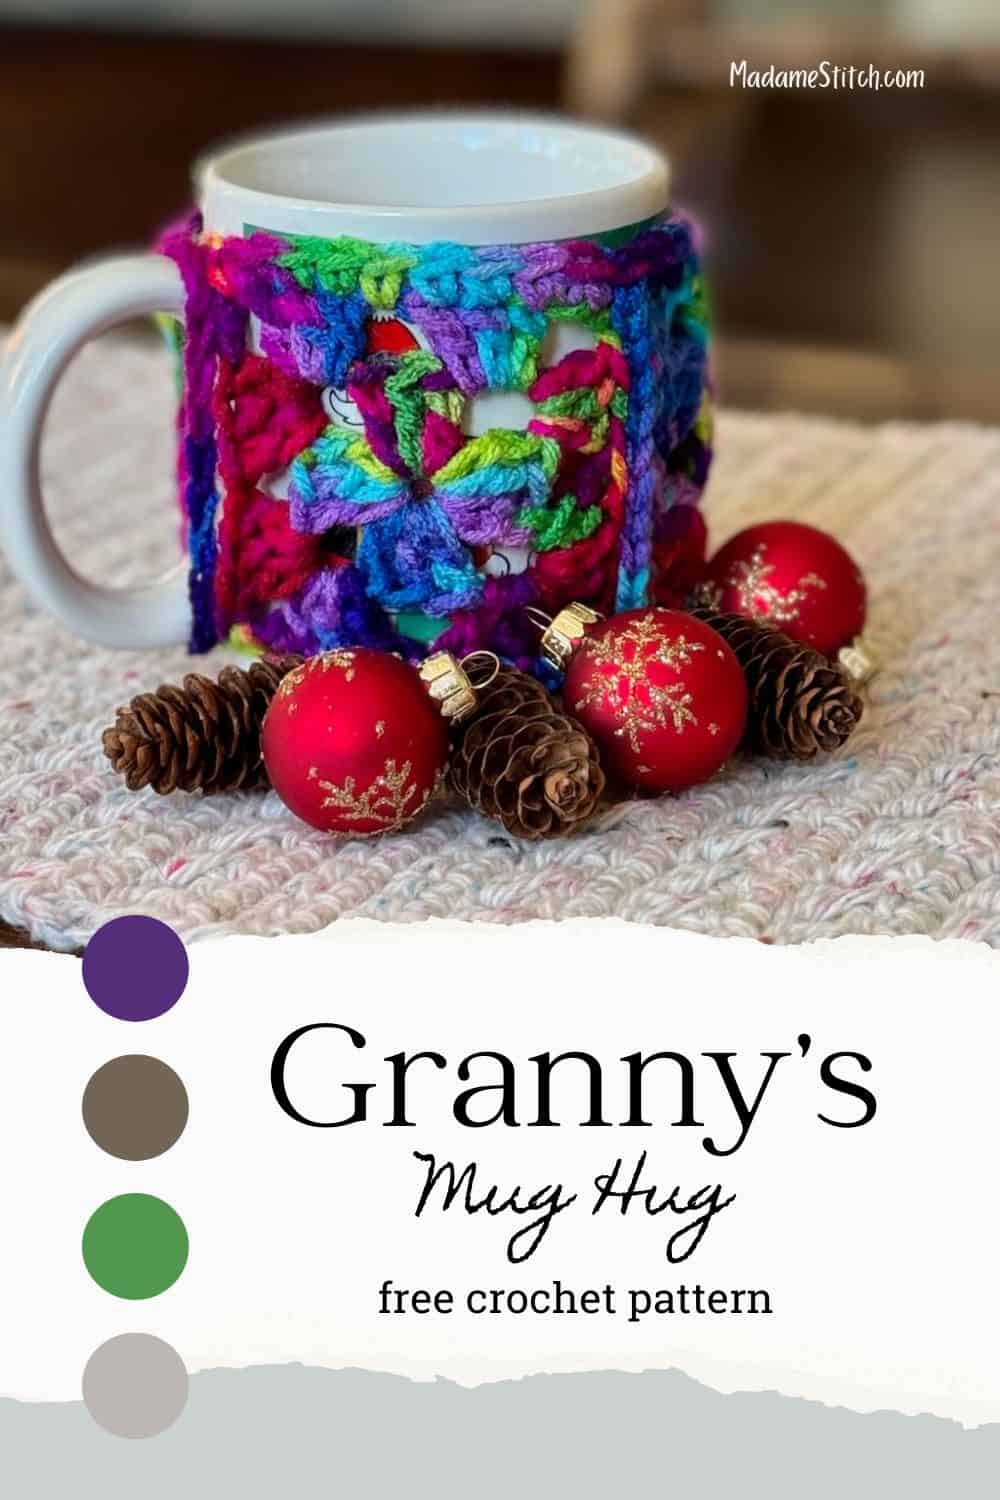
Purchase the premium PDF
The pattern for Granny’s Mug Hug crochet mug cozy is forever free here on the blog.
Purchase the premium PDF and you’ll receive not only the pattern for Granny’s Mug Hug, but also Granny’s Coaster and Granny’s Cup Cozy for a fun and functional set. The patterns for the coaster and the cup cozy are not available anywhere else so this is quite the bonus!
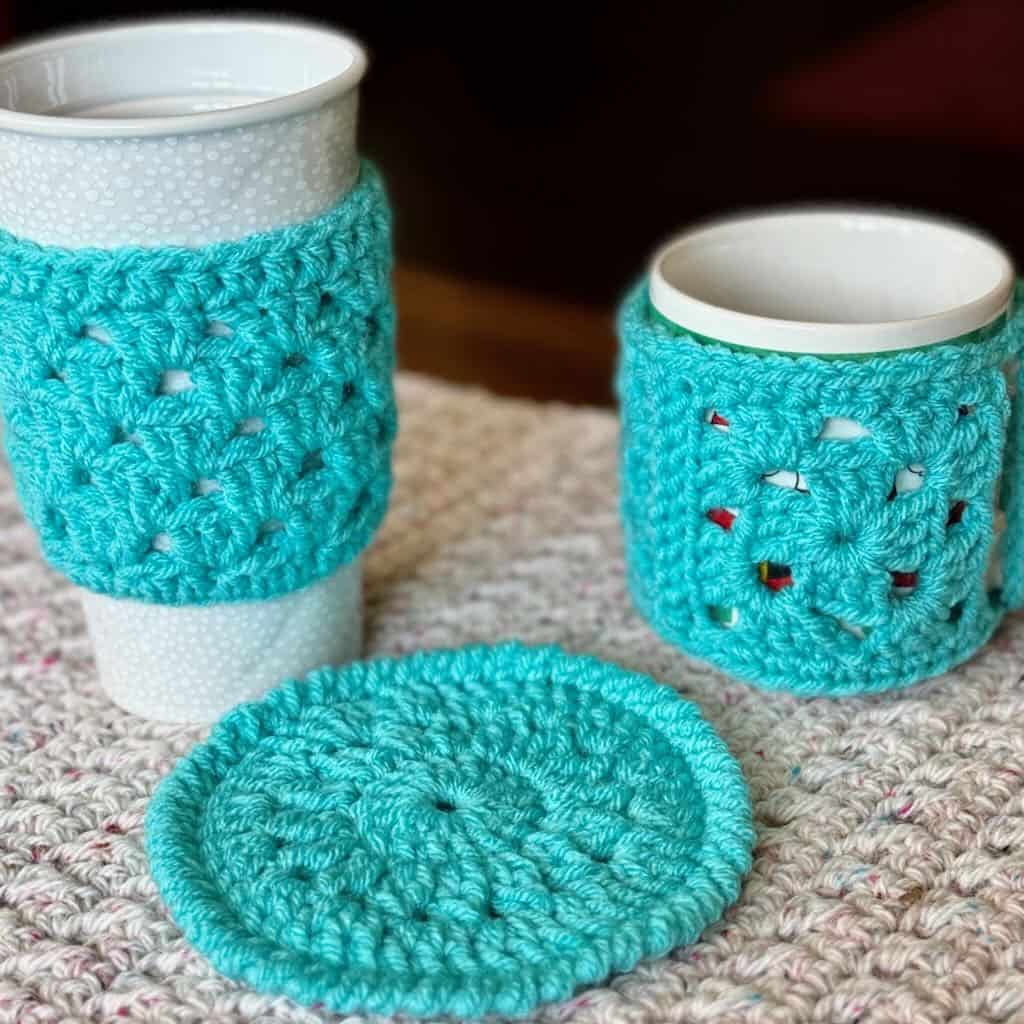
The best part about purchasing the PDF is you avoid those annoying ads and get a beautifully formatted PDF you can download to your favorite mobile device.
Purchase the PDF that includes all 3 projects by clicking the button for your favorite shop below.
The free pattern for Granny’s Mug Hug starts here
General Information
Yarn
Any worsted weight yarn – approximately 30 yds needed for the crochet mug cozy
Hook
US size H-8 (5mm)
Finished Size: approx. 9″ laid flat, not including the loops
Gauge is not important for this project.
Skill level: Confident beginner
Abbreviations – US crochet terminology
- beg – beginning
- ch – chain
- dc – double crochet
- rnd(s) – round(s)
- sc – single crochet
- sp – space
- st(s) – stitch(es)
- YO – yarn over
Special Stitches
Granny stitch (GS) – 3 dc in the same st or sp
Written Instructions
Pattern Notes
- Do not turn after any rnd.
- A ch-3 may be substituted for the STsc at any time.
- Ch-1 at the beginning of a rnd does not count as a st.
Pattern Instructions
Granny Square – Make 3
Ch 4, join with slip st to form ring.
Rnd 1: (STsc, 2 dc) in the ring (counts as 1st GS, ch 3, [GS, ch 3] in the ring 3 times, join with slip st to beg st. (4 GS, 4 ch-3 sp)
Rnd 2: STsc in the same corner sp, ch 1, [(GS, ch 3, GS), ch 1] 3 times, (GS, ch 3, 2 dc) in the 1st corner sp to finish the corner, join with slip st to beg st. Fasten off. (8 GS, 4 ch-1 sp, 4 ch-3 sp)
Sew the squares in a strip
The squares are sewn together using a slip st seam worked on the right side of the squares so the seams are visible.
- Hold 2 squares with wrong sides held together.
- Attach yarn to the middle ch of one corner through both squares.
- Slip st through one loop of each square across to middle st of opposite corner.
- Fasten off.
Repeat to add the 3rd square to the strip. Do not fasten off after the 2nd seam.
Edging
Note: The edging is worked in one continuous rnd. However, to make the instructions easier to read, I’ve broken up the lines at logical points.
Turn to work along the edge of the strip, ch 1.
Sc in the 2 ch of the corner following the seam, sc in each st and the ch-1 sp across to next seam, 2 ch in the corners on either side of seam, sc in each st and the ch-1 sp across to next corner.
Sc through 1st 2 ch of the corner, ch 14 (1st loop made), sc through 2nd and 3rd ch of next corner.
[Sc in each st and the ch-1 sp across to next seam, 2 ch in the corners on either side of seam] twice, sc in each st and the ch-1 sp across to next corner.
Sc through 1st 2 ch of the corner, ch 14 (2nd loop made), sc through 2nd and 3rd ch of next corner.
Sc in each st and the ch-1 sp across to next seam, 2 ch in the corner before the seam, join with slip st to beg st.
Before fastening off, try the mug hug on your favorite mug. If it fits too snugly, frog back to the 1st loop and add a couple of chains to each handle loop.
Fasten off and weave in all ends. Hug your mug!


Where is the coaster set to match?
Lynn,
The only free pattern here is the mug cozy. The other 2 pieces in the collection are only available in the premium PDF.
Best,
Debbie