A beautiful stash busting crochet daisy stitch cowl
With one hank of DK weight yarn, you can make your very own crochet daisy stitch cowl. Pattern is free on the blog.
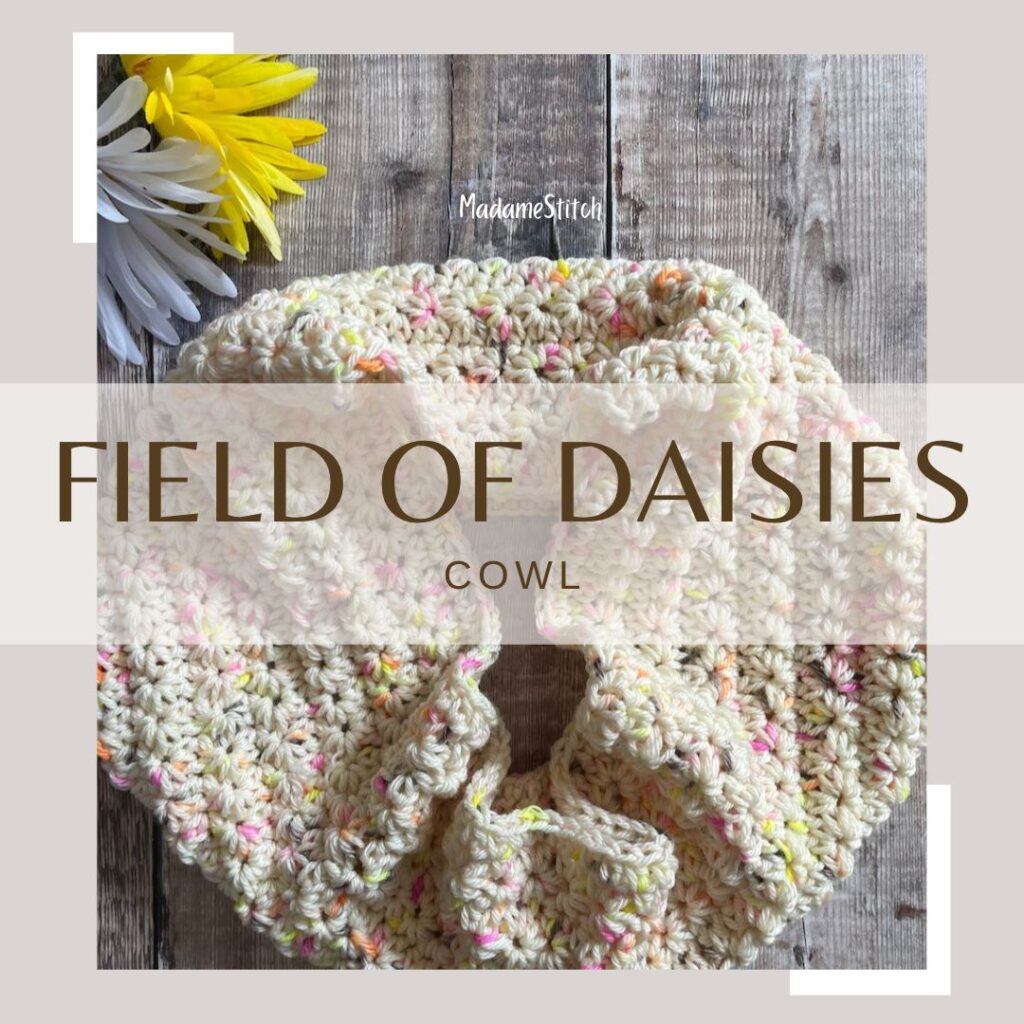
I love a beautiful hank of DK weight yarn. I’m constantly picking up indie-dyed yarn at festivals without any idea what it will become. That’s a little dangerous for my yarn stash, right?!
I also love to wear cowls. They are the perfect accessory when I want to add a spot of color to my favorite outfit or add a bit of warmth on a cool day.
When you combine these two elements, you get the Field of Daisies cowl, a beautiful crochet daisy stitch accessory you’ll love making and love wearing even more!
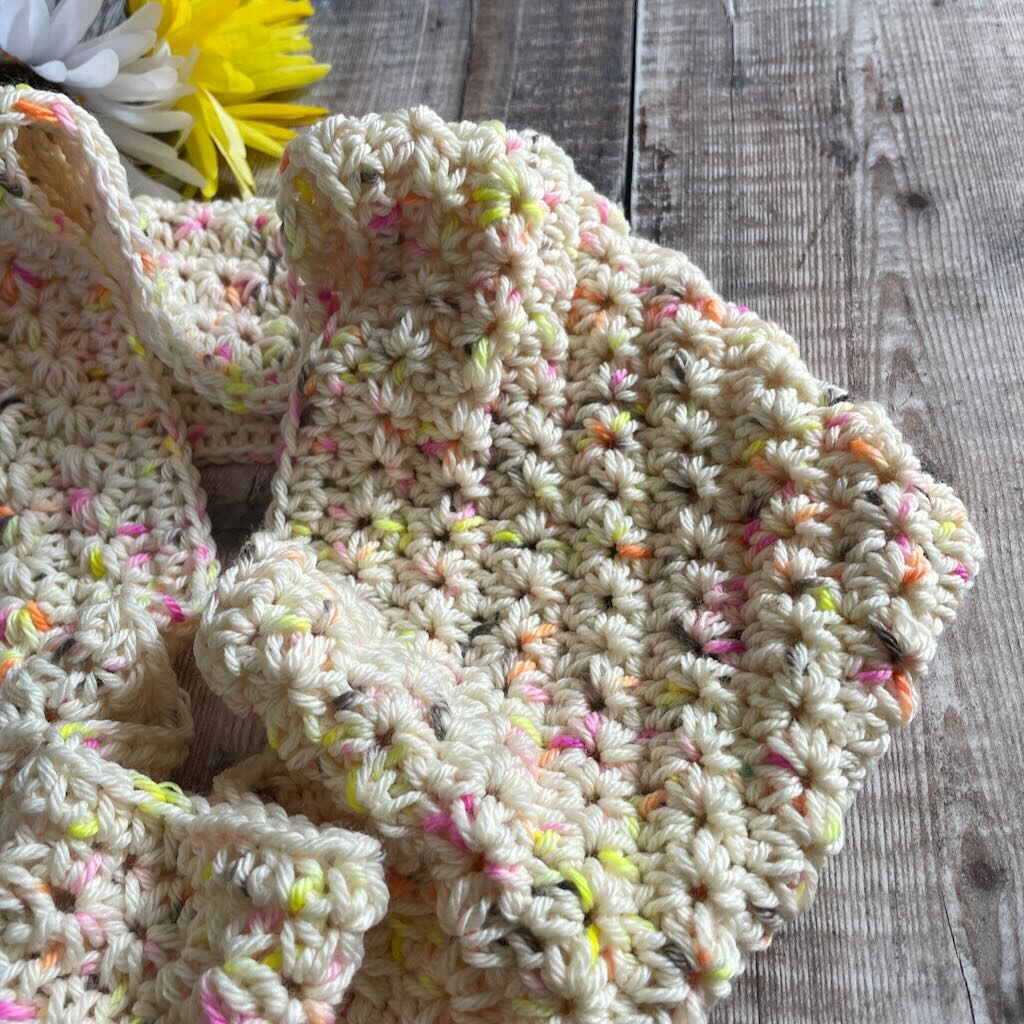
Design + Construction of the crochet daisy stitch cowl
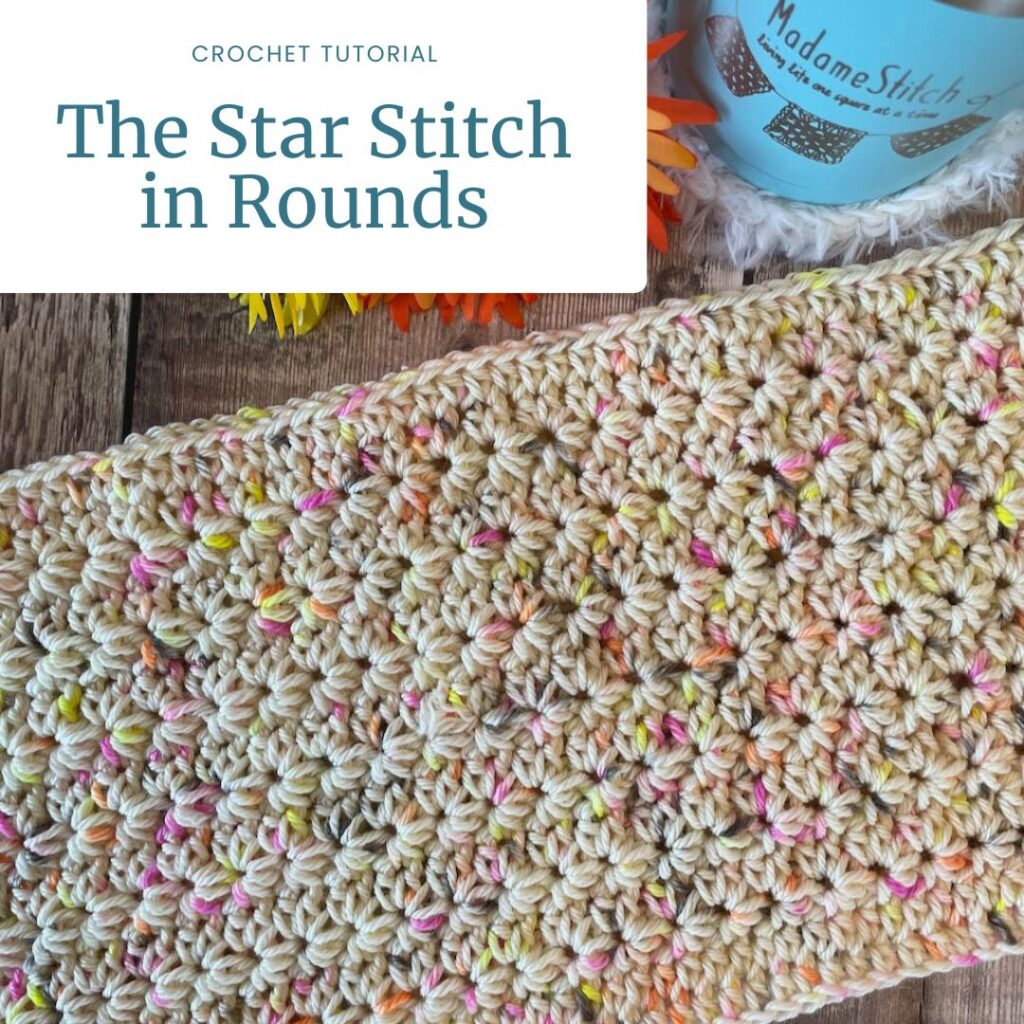
One of my favorite stitches is the crochet daisy stitch. You might know it by the name “star stitch”. They are one and the same.
The crochet daisy stitch is a lovely and simple stitch pattern that creates a pretty daisy-like flower motif. It’s a versatile stitch that can be used in many different crochet projects, such as blankets, scarves, and bags. In fact, the Fireside Throw, a gorgeous winter blanket and recent CAL, includes a square that features the crochet star stitch, one and the same as the daisy stitch.
To work the crochet daisy stitch, you will need to know how to chain stitch (ch), half double crochet (hdc), and slip stitch. The star stitch is an easy 2-row repeat that’s simple to remember. Once you learn where to insert your hook and pull up the 6 loops for each star stitch, you’ll find it to be a simple and mindful stitch to work.
The yarn
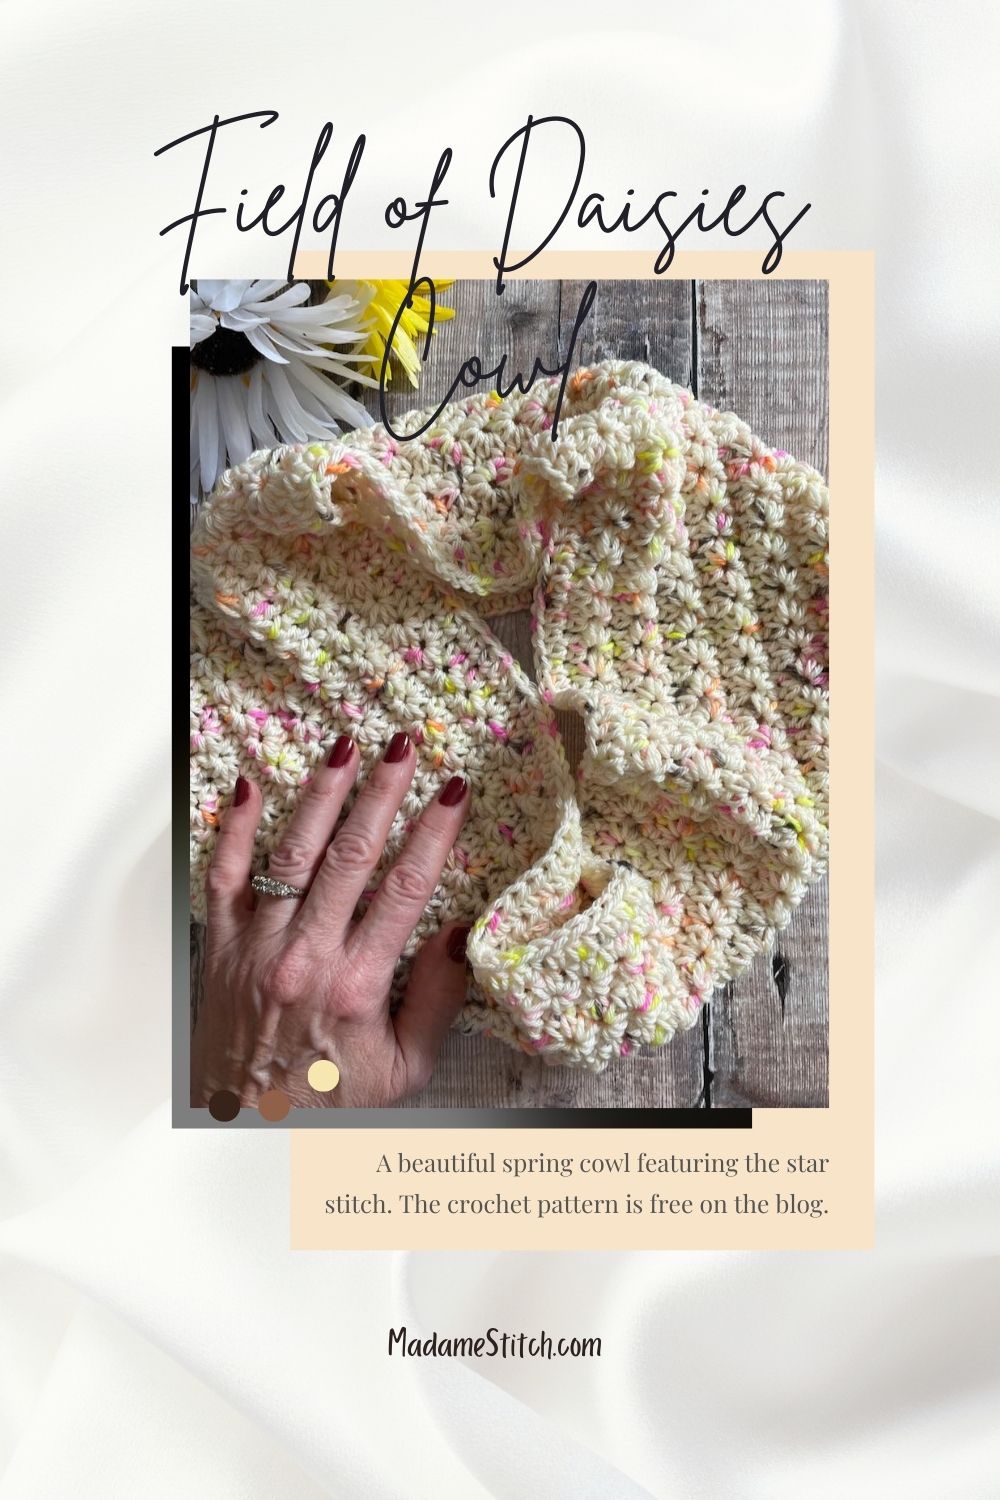
For this crochet daisy stitch cowl, I chose a hank of DK weight super wash merino from my stash. The yarn has beautiful stitch definition and drape, the perfect partner for the crochet daisy stitch.
Really, any DK weight yarn will work for this beautiful cowl. Choose something that has very little to no halo so those gorgeous crochet daisy stitches shine through.
The cowl is worked in one piece, in the round, with no seam to sew when you’re finished. Simply weave in the 2 ends created by the start and finish and you’re ready to wear your crochet daisy stitch cowl.
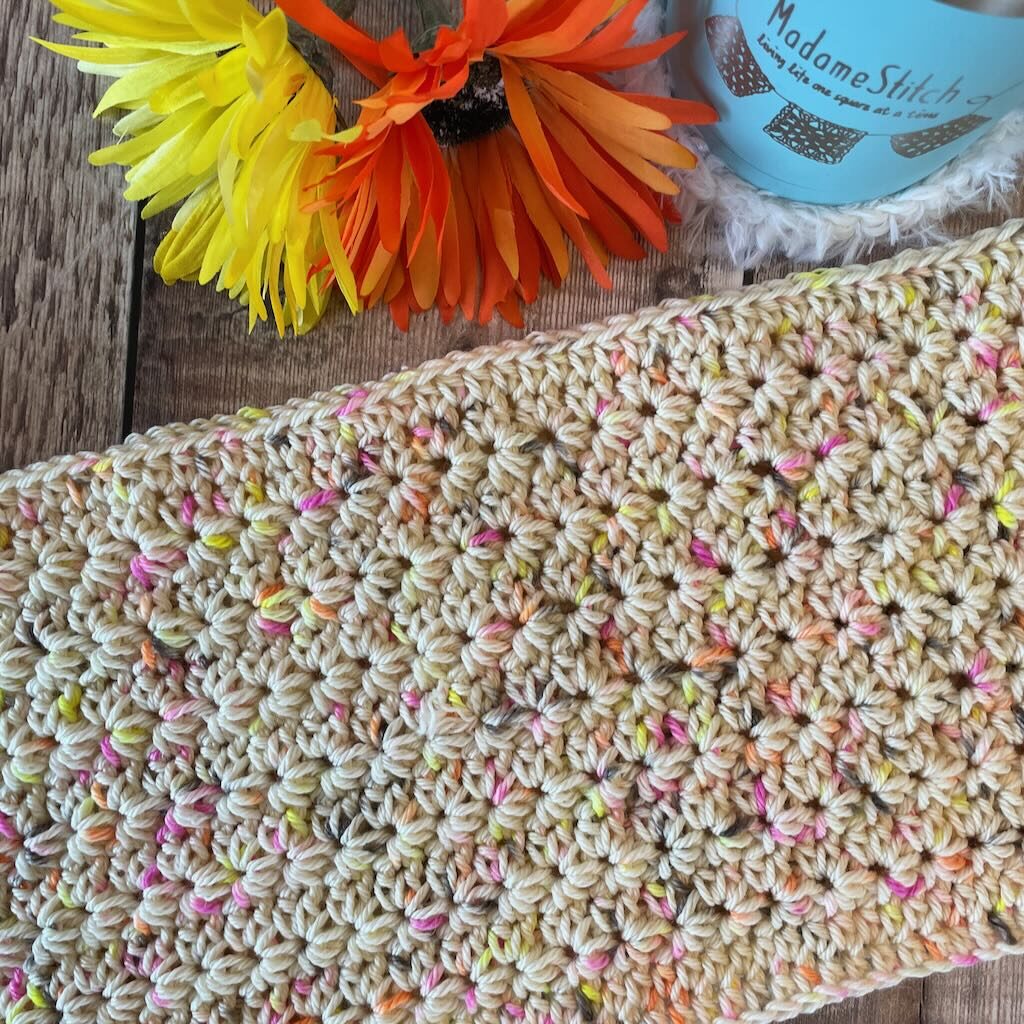
Why buy the PDF when the pattern is free here on the blog?
Sometimes you just want to have a document you can download to your favorite device or print out to mark up as you work. For just a few dollars, you can have your own copy. Here’s what you get:
- A beautifully formatted PDF
- Detailed instructions on how to work the star stitch (the crochet daisy stitch)
- It’s ad-free! You won’t have to scroll through ads or bookmark this page (although you should).
What you need to know about this crochet daisy stitch cowl
Thank you for staying on this post and reading my patterns right here on the blog, without copy/pasting. When you stay here to follow the free version of my pattern, I am compensated for my time and energy. This is a great, free way to support a designer. If you would like to save this for later, bookmark the page to save it in your mobile browser.
Yarn
Madelinetosh “Tosh DK” 100% superwash merino wool (225yd/205m) – 1 hank
Note: I used all but a few inches of the entire hank so be sure you have enough to finish the final round.
Any DK weight yarn will work for this design. Use something from your stash like I did!
Hook
US size H-8 (5mm)
Tool
Tapestry needle for weaving in ends
Finished size: Approx. 31.5″ x 7″
Gauge: 7.5 star sts x Rows 3-4 5 times = 4″
Skill level: Advanced beginner
Abbreviations – US crochet terminology
- beg – beginning
- ch – chain
- hdc – half double crochet
- rep – repeat
- rnd(s) – round(s)
- st(s) – stitch(es)
Why I use “star stitch” in the pattern
I based the design of the Field of Daisies cowl on the crochet daisy stitch. In reality, that’s just another name for “star stitch”. Because the tutorials I’ve written are for the star stitch, I’ve referred to all of the stitches in the written instructions as “star stitch”.
Remember, the daisy stitch and the star stitch are the same stitch, just different names. They are worked in exactly the same way.
Depending upon where you happen to be in the round, the star stitches are worked differently. For instance, the beginning star stitch of any round begins with a ch-3 that none of the others use. And, the final star stitch of the round has an extra loop to link it to the first star stitch in the round and prevent a gap at the point of the join.
Here are the abbreviations I used for the star stitches:
- Beg star st – the star stitch that begins a round.
- Star st – the star stitch that’s worked across the round.
- Final star st – the star stitch that ends a round and is used to join.
If you need help with the star stitches or you’ve never worked them at all, I’ve written a photo tutorial post that has step-by-step photos to show you how to work each one of these variations.
Pattern Instructions for the Field of Daisies Cowl
Thank you for staying on this post and reading my patterns right here on the blog, without copy/pasting. When you stay here to follow the free version of my pattern, I am compensated for my time and energy. This is a great, free way to support a designer. If you would like to save this for later, bookmark the page to save it in your mobile browser.
Pattern Notes
- The ch 1 at the beg of a rnd does not count as a st.
- The ch 3 at the beg of a star st row is part of the 1st star st and does not count as a separate st.
- Do not turn after any rnd.
- Working in the back bump of the foundation chains creates a row of loops along the bottom edge that matches the loops on the top edge. However, you may work into the foundation chain as you normally do without affecting the overall construction.
Written Instructions
Ch 120, join with slip st to form ring, being careful not to twist.
Rnd 1: Ch 1, hdc in back bump of next ch and each ch around, join with slip st to beg st. (120 hdc)
Rnd 2: Ch 1, hdc in same st and in each st around, join with slip st to beg st.
Rnd 3: Beg star st, star st around to last st, final star st, join with slip st to beg star st. (60 star st)
Note: Be sure the slip st is worked into the top loop of the beg star st, not the eye. This will ensure that the join is vertical and the star sts are lined up.
Rnd 4: Ch 1, 2 hdc in eye of each star st around, join with slip st to beg hdc. (120 hdc)
Rnds 5-16: Rep Rnds 3-4 6 times.
Rnd 17: Rep Rnd 2.
Note: If you find you’re running out of yarn, you can skip Rnd 17 or work a rnd of sc instead of the hdc called for.
Fasten off and weave in ends.
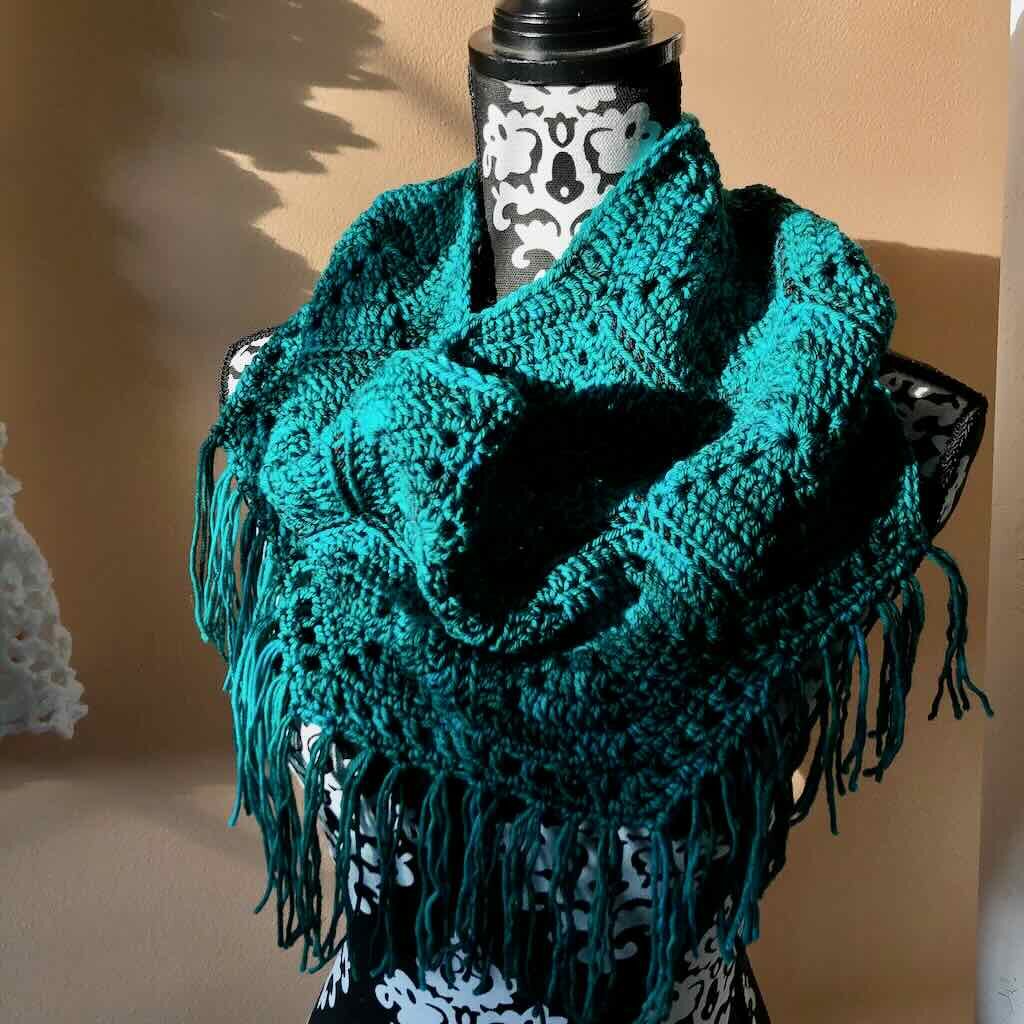
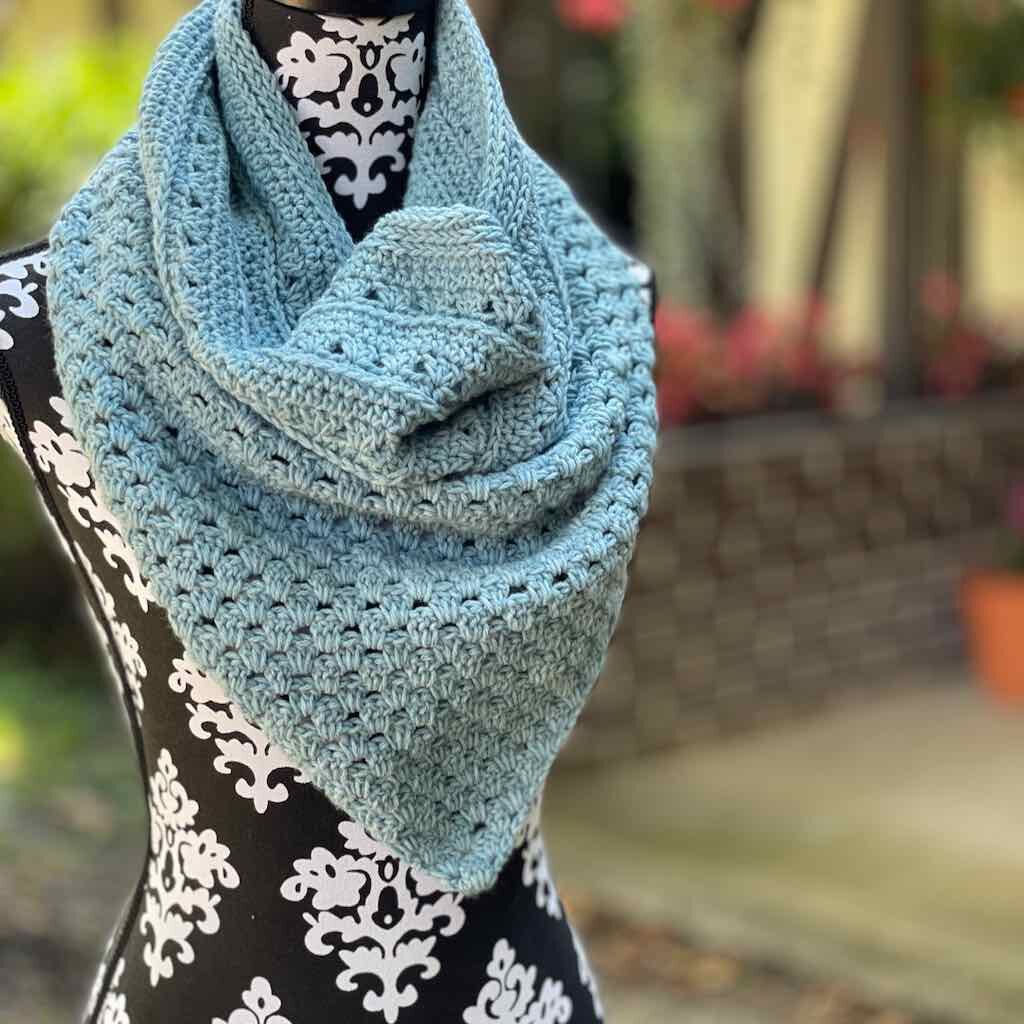
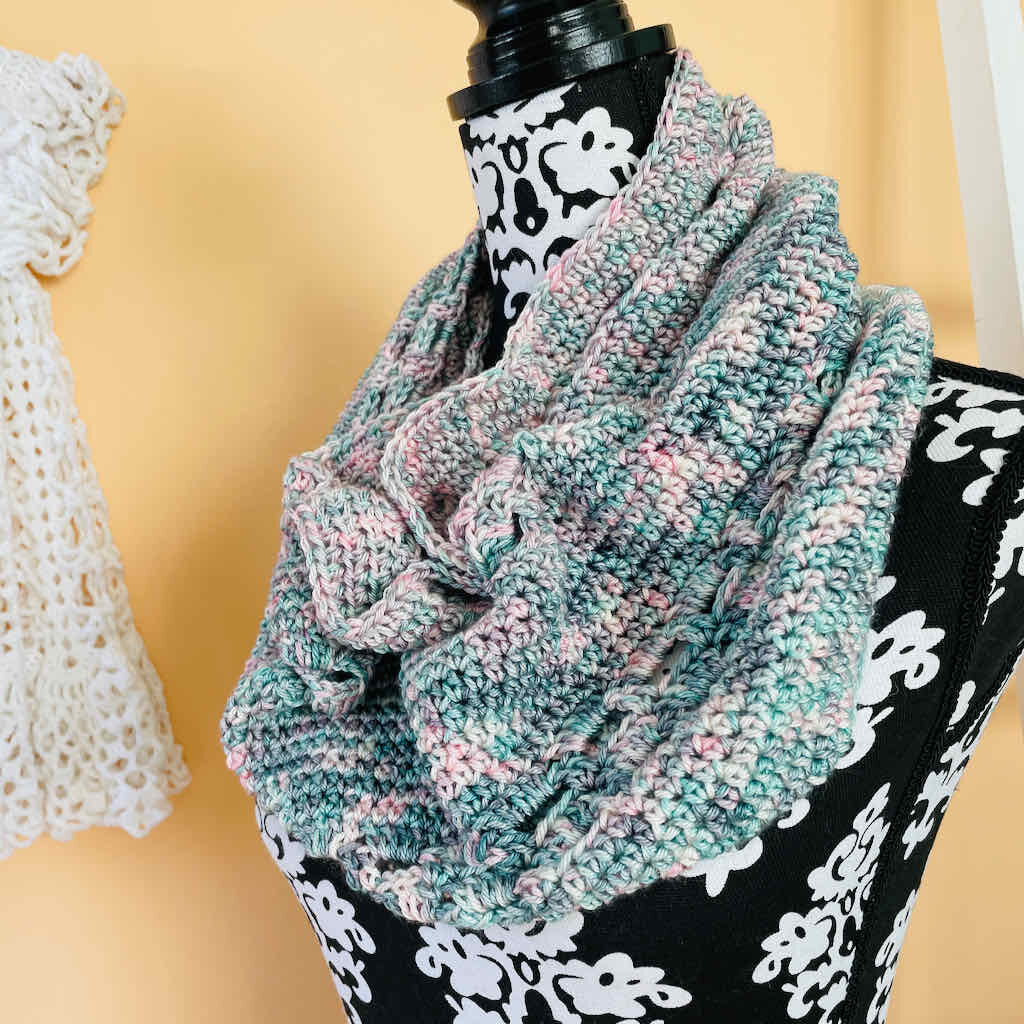
More MadameStitch cowls you might enjoy making!

Supposed to be a direct download today but I can’t find the link.
The direct download for this cowl expired this morning (March 11th) at 8am EST.
I never could find the link either. It’s a shame because this is really a beautiful cowl.
The direct download for this cowl expired this morning (March 11) at 8am EST.
Hi Debbie , I never saw a link. I thought this was the pattern of march 11. I did receive the mail from sunflower cottage this morning. Paris time 11.32. The 11th. I really do not understand.
Gr. Arina, the Netherlands
Arina,
My feature day was March 10 beginning at 10am GMT. I actually left the direct download available until I woke up this morning. The link was on the post from March 9th to the morning of March 11th.
The pattern is forever free here on the blog. I hope you’ll take advantage of that!
Best,
Debbie
morning Debbie, You woke up later than I did ;)))
I make a printfriendly from it, no problem. time zones can be difficult sometimes.
thanks for sharing it for free as well on your blog.
Have a wonderful Sunday. Gr. Arina
Thank you so much for such an easy to read pattern- I am happy to stay on the page to utilize the pattern as there are no distracting ads in the middle and nothing popping up along the sides either!
You have just becone my favorite pattern page! Love the cowl too!
Thanks again!
Mary
Oh Mary, you’ve just made my day! I worked hard to get on an ad network that would improve your experience and it sounds like I made the right decision.
I’m so glad you like the pattern. Enjoy making it!
Best,
Debbie