A gorgeous granny stitch hat for stepping out in style and warmth
The Cordelia granny stitch hat is both warm and elegant, helping you step out into winter weather in style. It will become your go-to winter accessory!
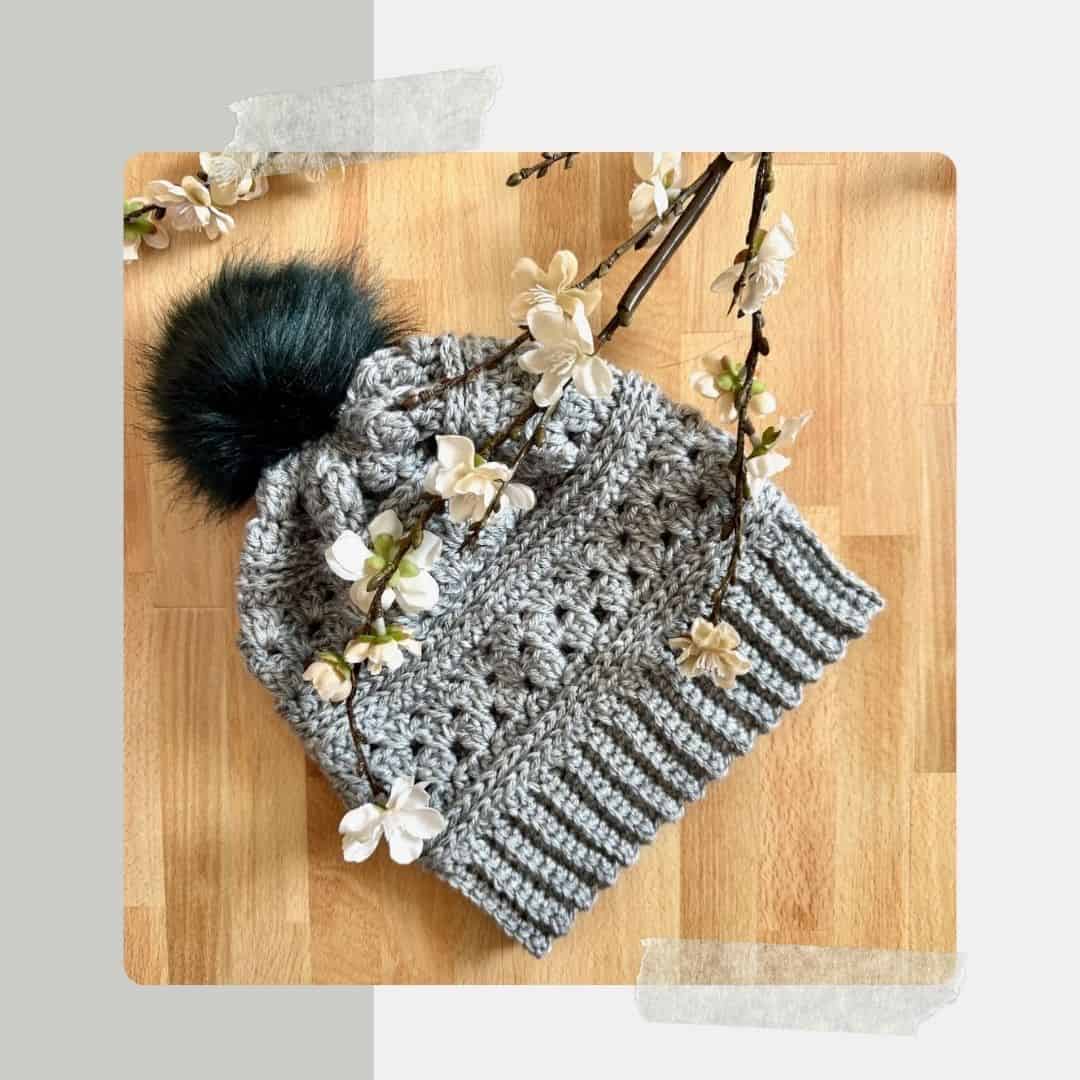
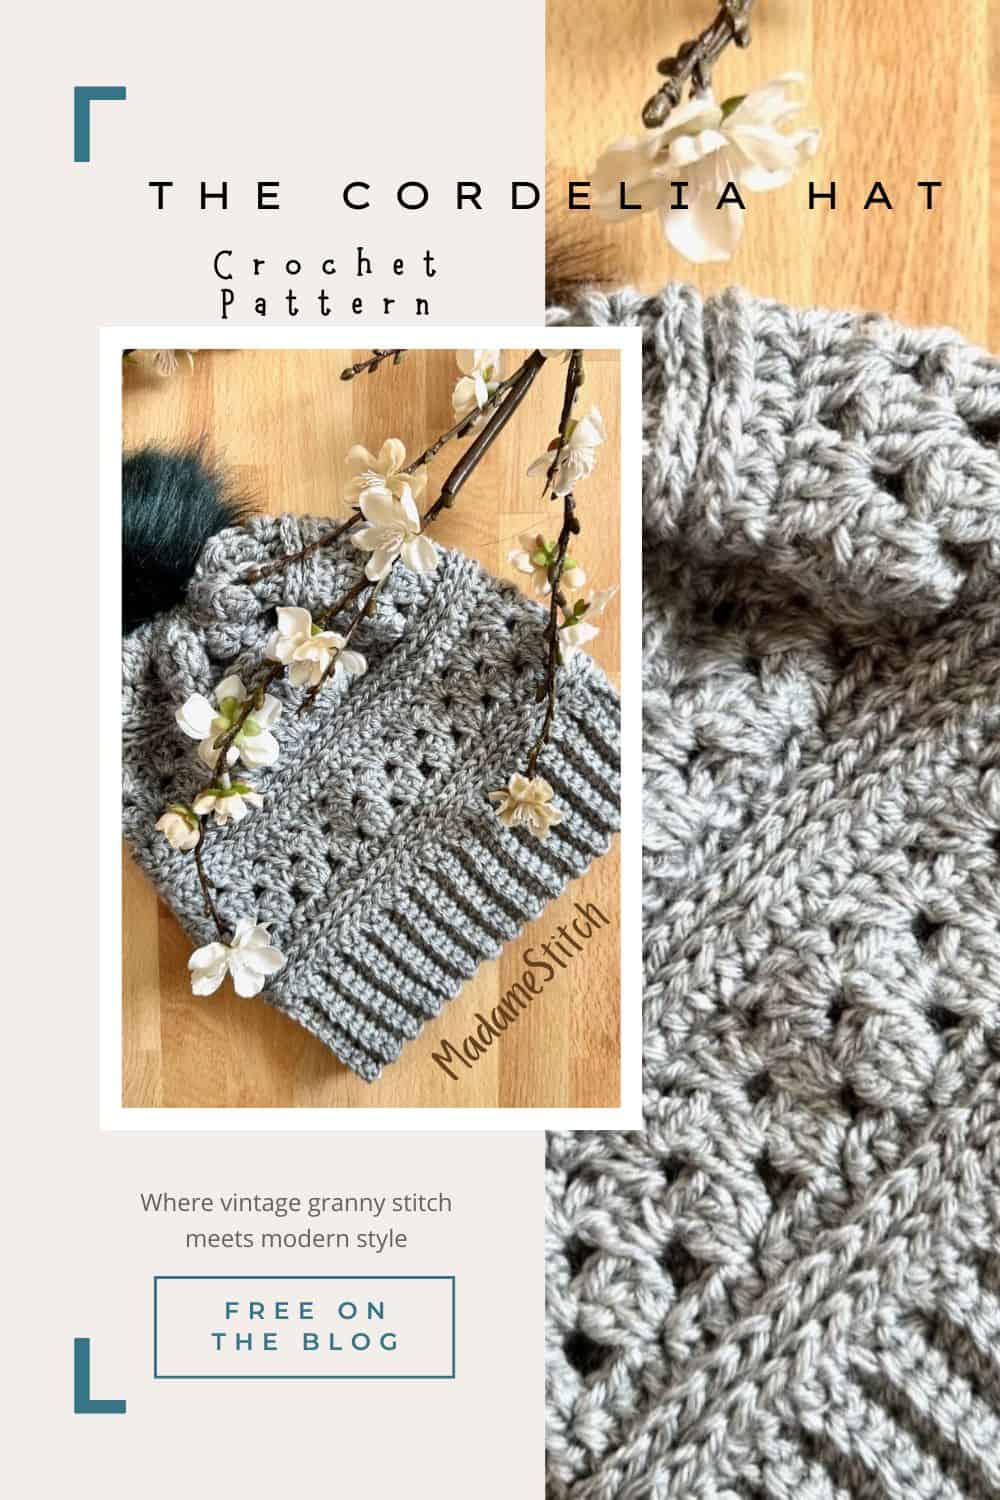
The Cordelia granny stitch hat
Looking for a quick and satisfying crochet project? Why not try a granny stitch hat?!
A beautiful granny stitch hat is both versatile AND functional, providing warmth in cold weather and a fashionable accessory year-round. They make fabulous gifts for all ages, too.
Imagine a granny stitch hat that ticks all the boxes. It’s warm and comfortable. It’s fashionable and functional all at the same time. And, it’s a quick make, perfect for using your yarn stash.
That granny stitch hat is the Cordelia Hat. Featuring the ever-popular granny stitch and sporting subtle texture, your new hat will have you stepping out in style on a cold winter’s day!
Design + Construction
Almost every design of mine includes the granny stitch somewhere and this granny stitch hat is no exception!
Based on the same stitch pattern I used in the Cordelia Infinity Scarf, the Cordelia Square and even the Cordelia Placemat, this granny stitch hat alternates sections of stitches worked in the 3rd loop and the traditional granny stitch.
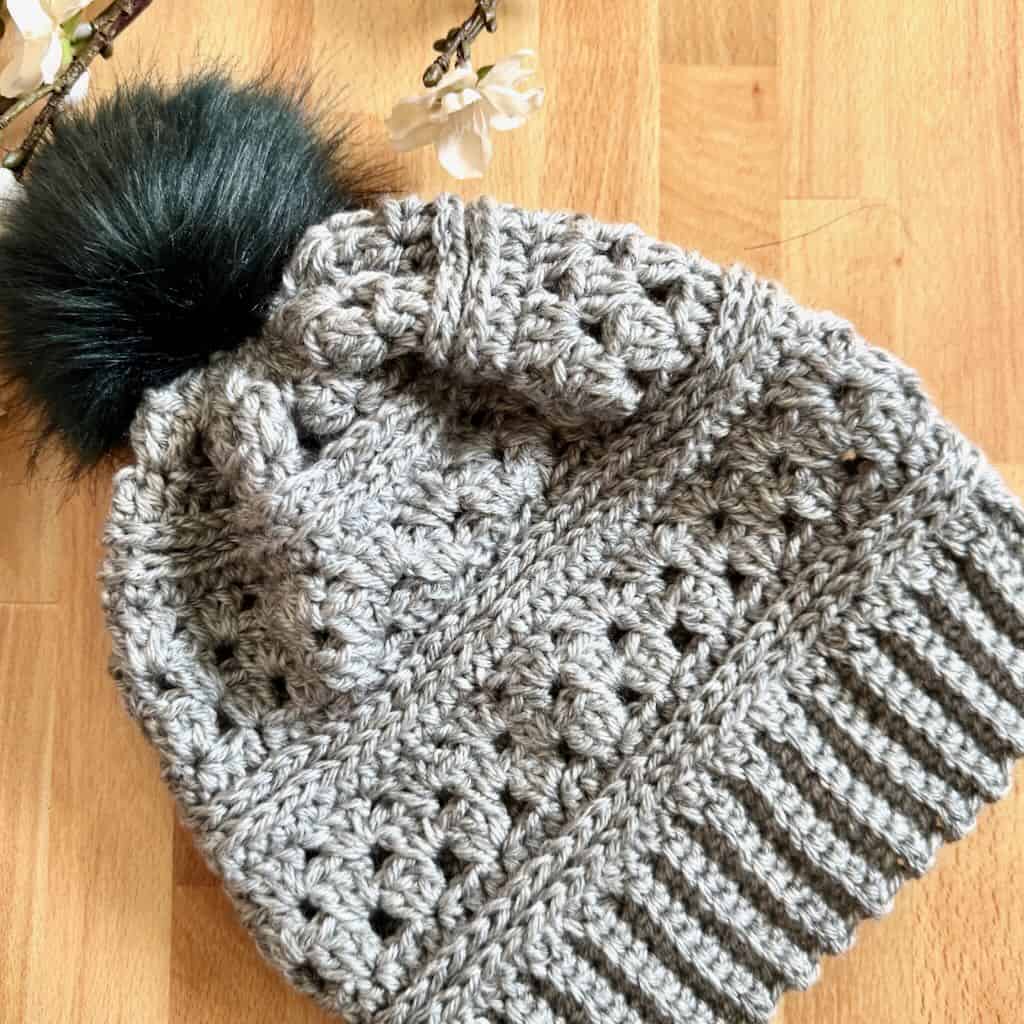
I love the elegant look those 2 stitch patterns create together. The 3rd loop half double crochets add a subtle surface texture to the hat, akin to the look you get with surface stitching. The granny stitch section adds that traditional vintage vibe we’re all looking for right now.
Combine all of that with a simple single crochet ribbing and you have a granny stitch hat you won’t want to take off!
What you’ll love most about the Cordelia Hat is that it’s worked in one piece. Seaming can be a real hassle sometimes. In this granny stitch hat, though, the only seam you’ll work is the one that connects the ends of the ribbing.
From there, you’ll flow seamlessly into the body of the hat, working those alternating sections of 3rd loop half double crochets and granny stitches until you reach the height for your size.
Fasten off the yarn, and gather the top of the hat to close it. Add a button to the inside and a removable pompom to the outside, and you have one of the most gorgeous (yet quick and easy) granny stitch hats around!
Skill Level – Intermediate
Because the design includes single crochet ribbing, half double crochets worked in the 3rd loop and granny stitch worked in the round, I’ve listed this pattern as appropriate for Intermediate level crocheters. Previous hat experience would be helpful.
Even though I’ve listed this granny stitch hat as being most appropriate for Intermediate crocheters, though, I do think that Advanced Beginners will find this hat accessible, especially with the tutorial I’ve made to go along with the pattern. You’ll find the link further down in this post 👇
The Yarn
This granny stitch hat can be made with any worsted weight yarn that’s soft to the touch and warm to wear. I love Lion Brand “Heartland” for those very reasons. Plus, it comes in gorgeous colors to suit any taste and has a beautiful sheen that looks expensive.
Heartland is just the right weight to provide breathability and warmth all at the same time. It has a little bit of stretch to make it easier to find the perfect fit from your granny stitch hat.
Find a suitable substitute
While any worsted weight yarn will technically work for this granny stitch hat, you’ll want to find a substitute that most closely matches the qualities of the Heartland yarn.
Heartland has a fair degree of stretch. The less stretch your yarn choice has, the larger the size you’ll want to make.
By choosing a yarn similar to Heartland, you’ll get closest to matching the finished measurements and ensure your granny stitch hat has the fit you love.
Use my Yarn Substitution Worksheet to help make the final decision easy and accurate.

Where to purchase the premium PDF for the Cordelia Hat
The Cordelia Hat is a free crochet granny stitch hat pattern in this blog post. Scroll down to view the free version.
Upgrade to the premium PDF and you’ll get a printer friendly, downloadable version of the pattern that’s easy to read and beautifully formatted without ads for a great experience.
The premium PDF can be uploaded to your favorite mobile device so you can take your Cordelia granny stitch hat project with you to work on whenever you’re out and about.
The PDF includes a crochet chart for stitch placement and instructions for all 3 sizes.
Get your copy today!


The Cordelia Hat Free Pattern Starts Here
General Information
Yarn
Lion Brand “Heartland” 100% acrylic worsted weight (5oz/251yd; 142g/230m): Color 150T – Mount Rainier – 1 skein
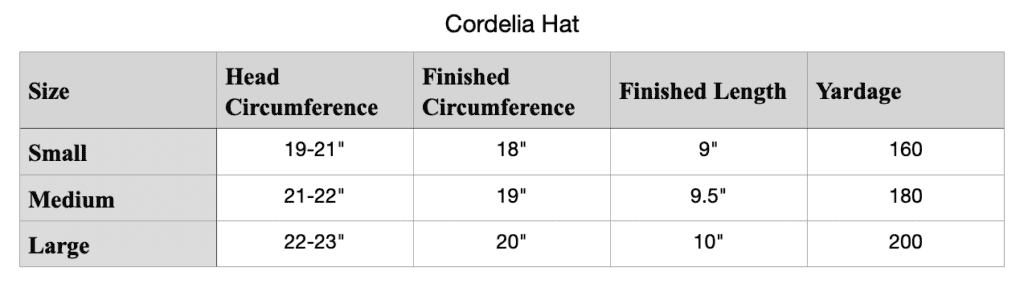
See chart below for specific yardage amounts
Hook
US size H-8 (5mm) or size needed for gauge
Tools + Materials
- 1/2″ button to attach pompom to hat
- Removable fur pompom
- Stitch markers
- Tapestry needle
Gauge
13 hdc x 9 rows (Rows 1-9 in pattern) = 4″
14 rows = 4” for the Ribbing
Measurements
Abbreviations – US crochet terminology
- beg – beginning
- BLO – back loop only
- ch – chain
- dc – double crochet
- hdc – half double crochet
- rep – repeat
- rnd(s) – round(s)
- sc – single crochet
- sk – skip
- sp – space
- st(s) – stitch(es)
- RS – right side
- WS – wrong side
- YO – yarn over
Repeats
- ( … ) – Work everything within the parentheses in the same st or sp
- [ … ] – Work everything within the brackets the number of times indicated
Special Stitches
Foundation single crochet (Fsc) – To start the row, ch 2, insert hook in the 2nd ch from the hook, YO, pull up a loop, YO, pull through 1 loop (this forms the chain along the bottom), YO, pull through 2 loops on the hook (sc made).
All other Fsc in the row: Insert hook under both loops of the chain at the bottom of the previous st, YO, pull up a loop, YO, pull through 1 loop (this forms the chain along the bottom), YO, pull through 2 loops on the hook (sc made).
Granny stitch (GS) – 3 dc in the same sp or st
Half double crochet in the 3rd loop (hdc 3lp) – when working on the front side of the stitches from the rnd before – YO, insert hook through the 3rd loop that sits just under and behind the top loop of the stitch, YO, pull through the 3rd loop, YO, pull through all 3 loops on the hook to complete the hdc.
Invisible join: At the end of the rnd, remove the working loop from the hook, insert hook from back to front through the top of the 1st st of the rnd, add working loop back onto the hook and pull through to the WS of the hat, continue as instructed. Note: An invisible join is used in Rnds 1 & 2 of the Body to hide the join when working in the 3rd loop.
Stacked single crochet (STsc) – (This stitch is used at the beginning of a row or round to replace the traditional turning ch-3. It has the appearance of a dc.) – Insert hook in the same st as the loop, YO, pull up a loop, YO, pull through 2 loops (bottom sc made), insert hook in the left vertical bar of the bottom sc, YO, pull up a loop, YO, pull through 2 loops (top sc made).
Stitch Counts – Only listed when they change. If only one stitch count is listed, it applies to all sizes. Otherwise, the stitch counts will be written as follows: < Small (Medium, Large) >
Unlock Exclusive Subscriber Content
To unlock Exclusive Subscriber Content, click on the button in the box below. The Grow.me app window will pop up where you can either create an account or sign in if you already have one.
To create an account, sign in with your existing Google or Facebook account. You can also create an account with an email address and new password.
If you forget your password, simply click the “Forgot my Password”button. I have no access to your Grow account so I’m unable to retrieve or reset your password.
Remember, once you’ve created a Grow account, you never have to do it again. Your Grow account unlocks all the exclusive content created by Grow
Thank you for being a loyal blog subscriber. I hope you enjoy the exclusive content!