A granny stitch hat for the woman who loves simple elegant style
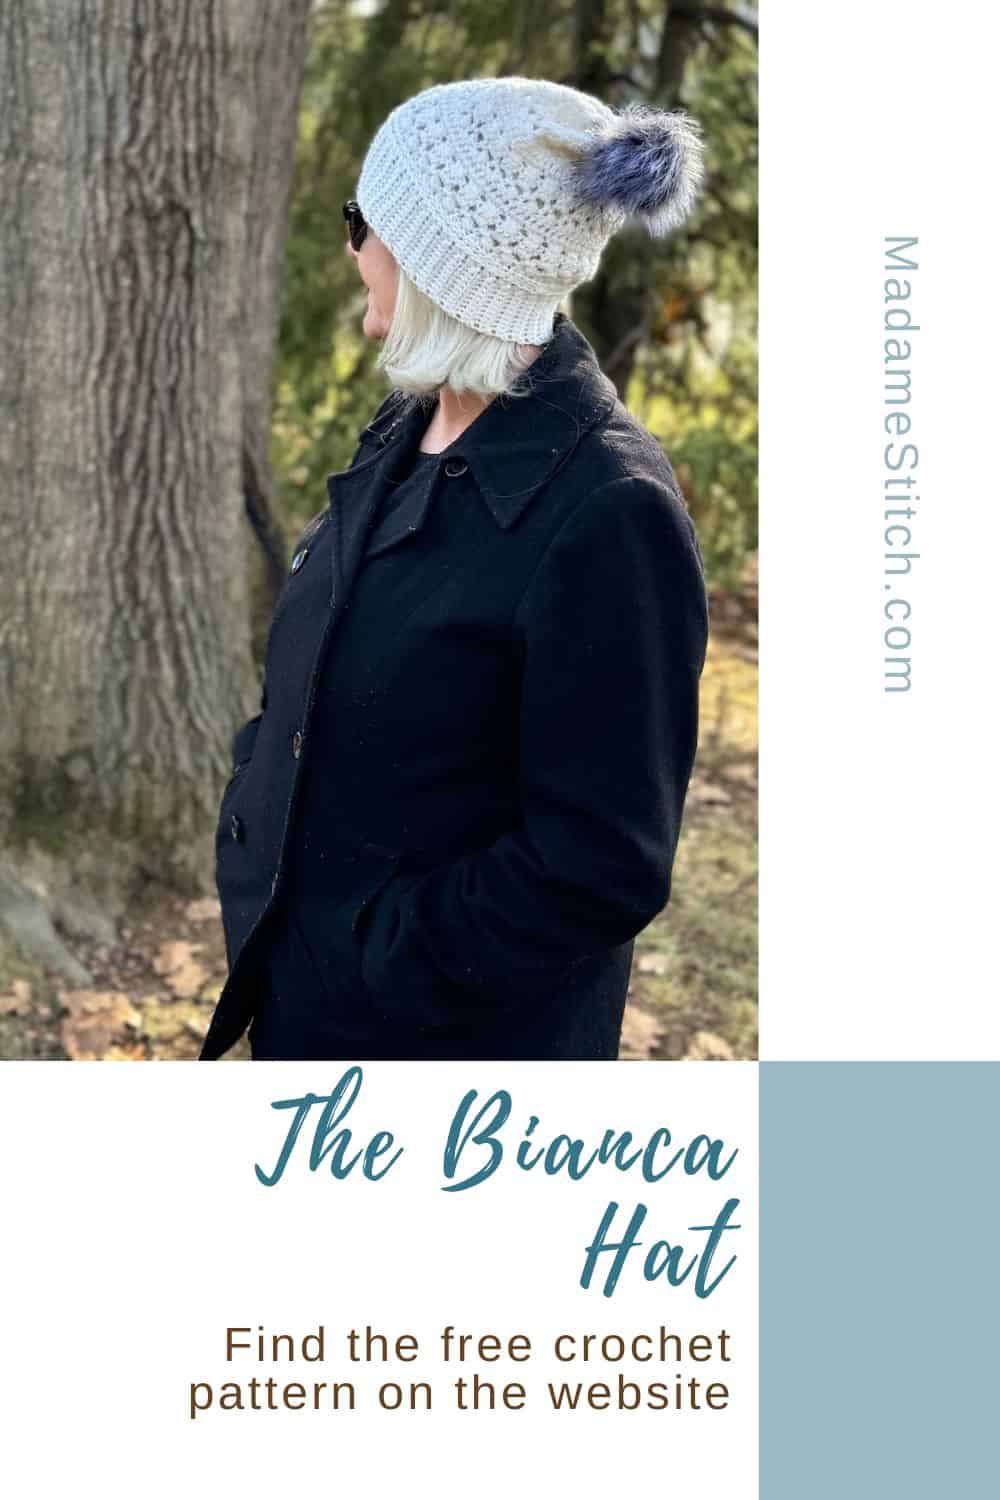
Discover the Bianca Hat, a chic granny stitch hat that’s lightweight, cozy, and effortlessly elegant. Perfect for cooler seasons, this refined crochet design adds sophistication to any outfit while keeping you warm.
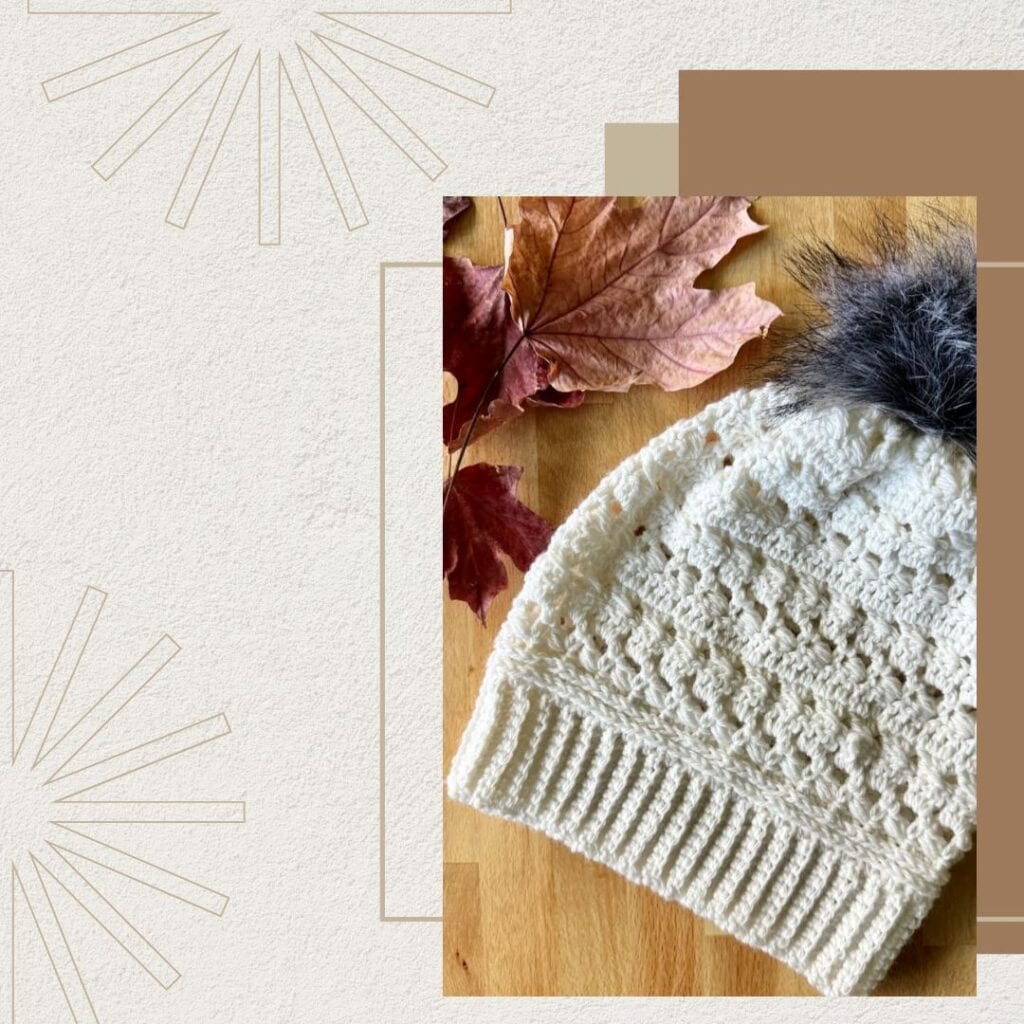
Bianca Granny Stitch Hat
The Bianca Hat is the ultimate in lightweight, cozy elegance, perfect for those who crave style without sacrificing comfort. With its refined crochet design, this granny stitch hat adds a touch of sophistication to any outfit, making it a must-make and must-wear for the cooler seasons. Treat yourself to a timeless accessory that’s as functional as it is beautiful!
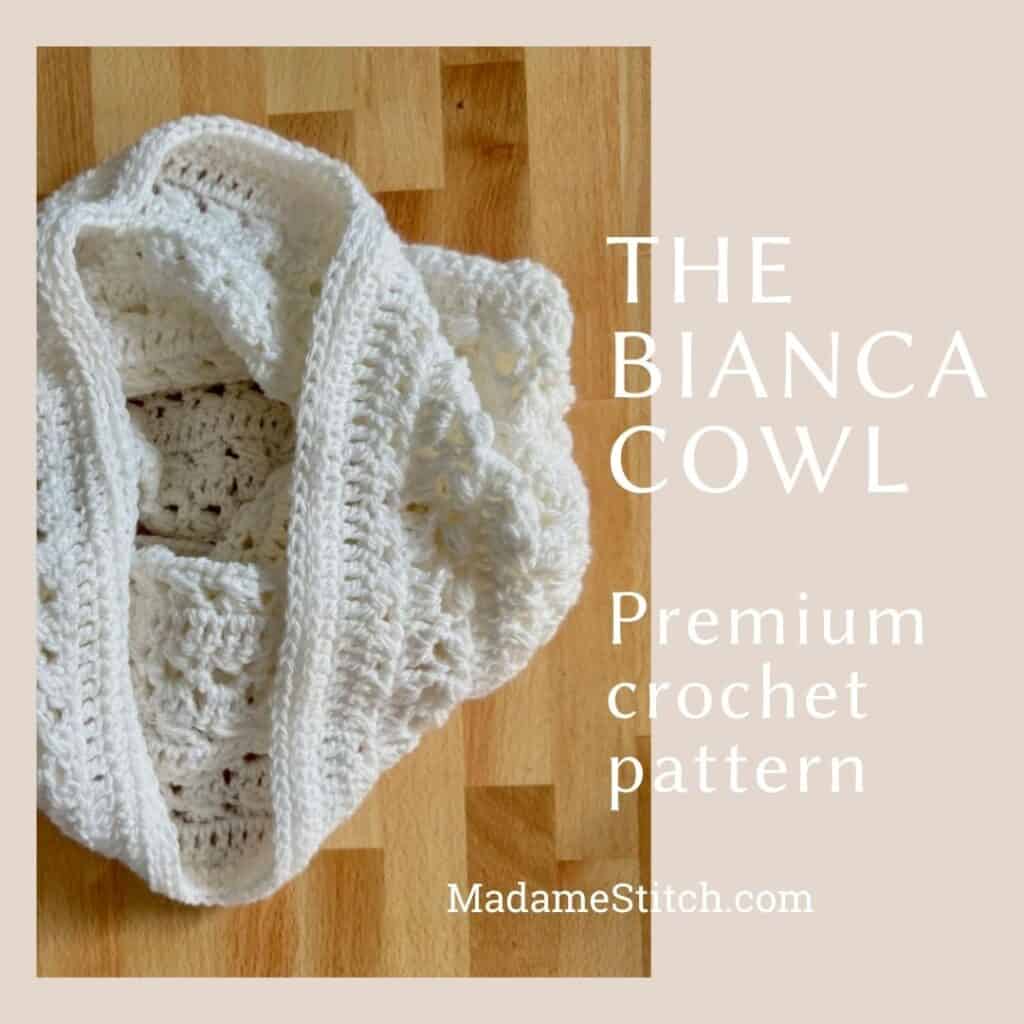
Pairing the Bianca Hat with the Bianca Cowl creates a seamless, coordinated look that elevates any fall or winter outfit. The cowl, designed with the same lightweight and cozy elegance, adds extra warmth and style, making it the perfect complement to the hat. Together, they offer a chic, head-to-toe finish that showcases your crochet skills while keeping you both stylish and snug.
I designed the Bianca granny stitch hat for those, like me, who are interested in incredible drape and lightweight yet warm coverage. If you aren’t a fan of chunky weight hats and you’re looking for something with a bit of refined texture, the Bianca granny stitch hat is made just for you.
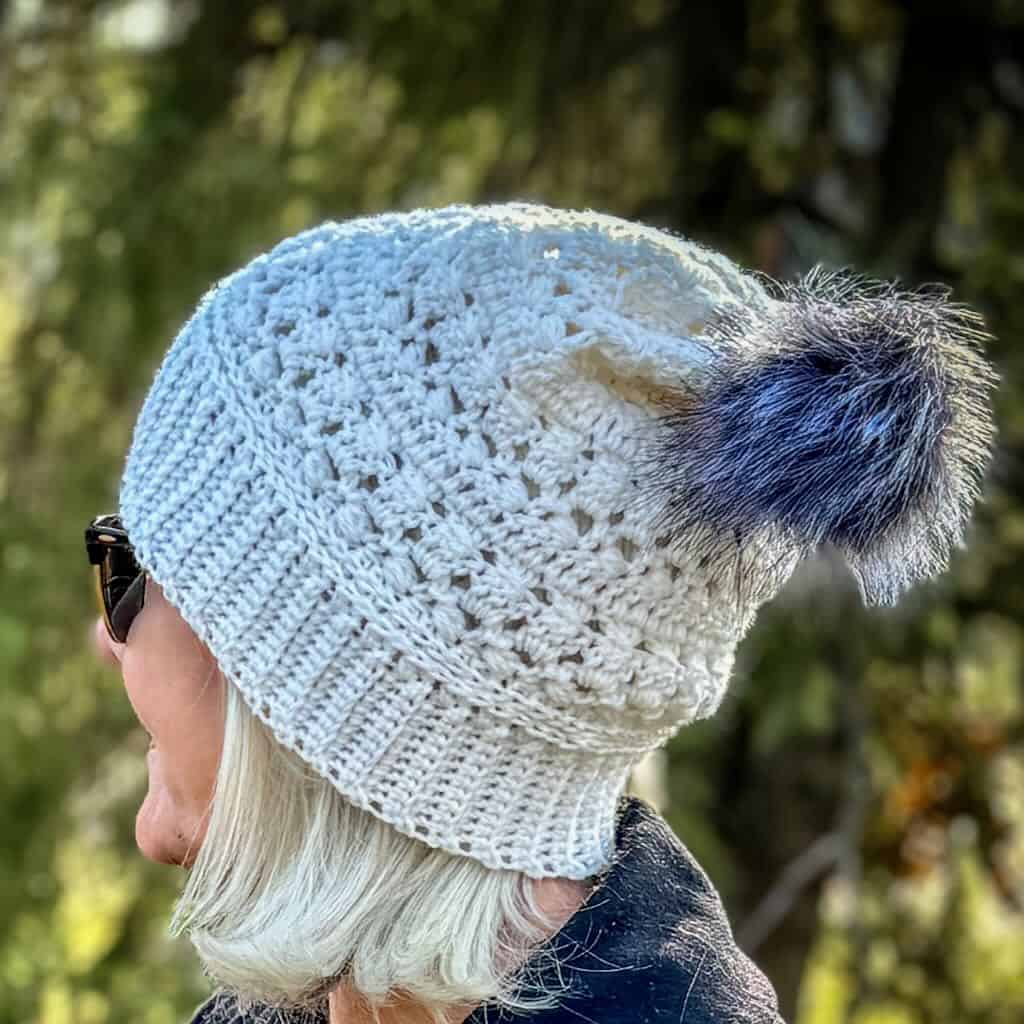
Design + Construction
When I set out to create a lightweight granny stitch hat, I wanted something that I could work in one piece with no shaping and minimal finishing.
The hat is worked bottom up starting with a simple single crochet ribbing. Because the ribbing has a fair amount of stretch, its length is shorter than the wearer’s head circumference to create negative ease and a better fit.
Without fastening off, the ribbing is joined with a slip stitch seam. From there, the body of the hat is worked in the ends of the ribbing rows.
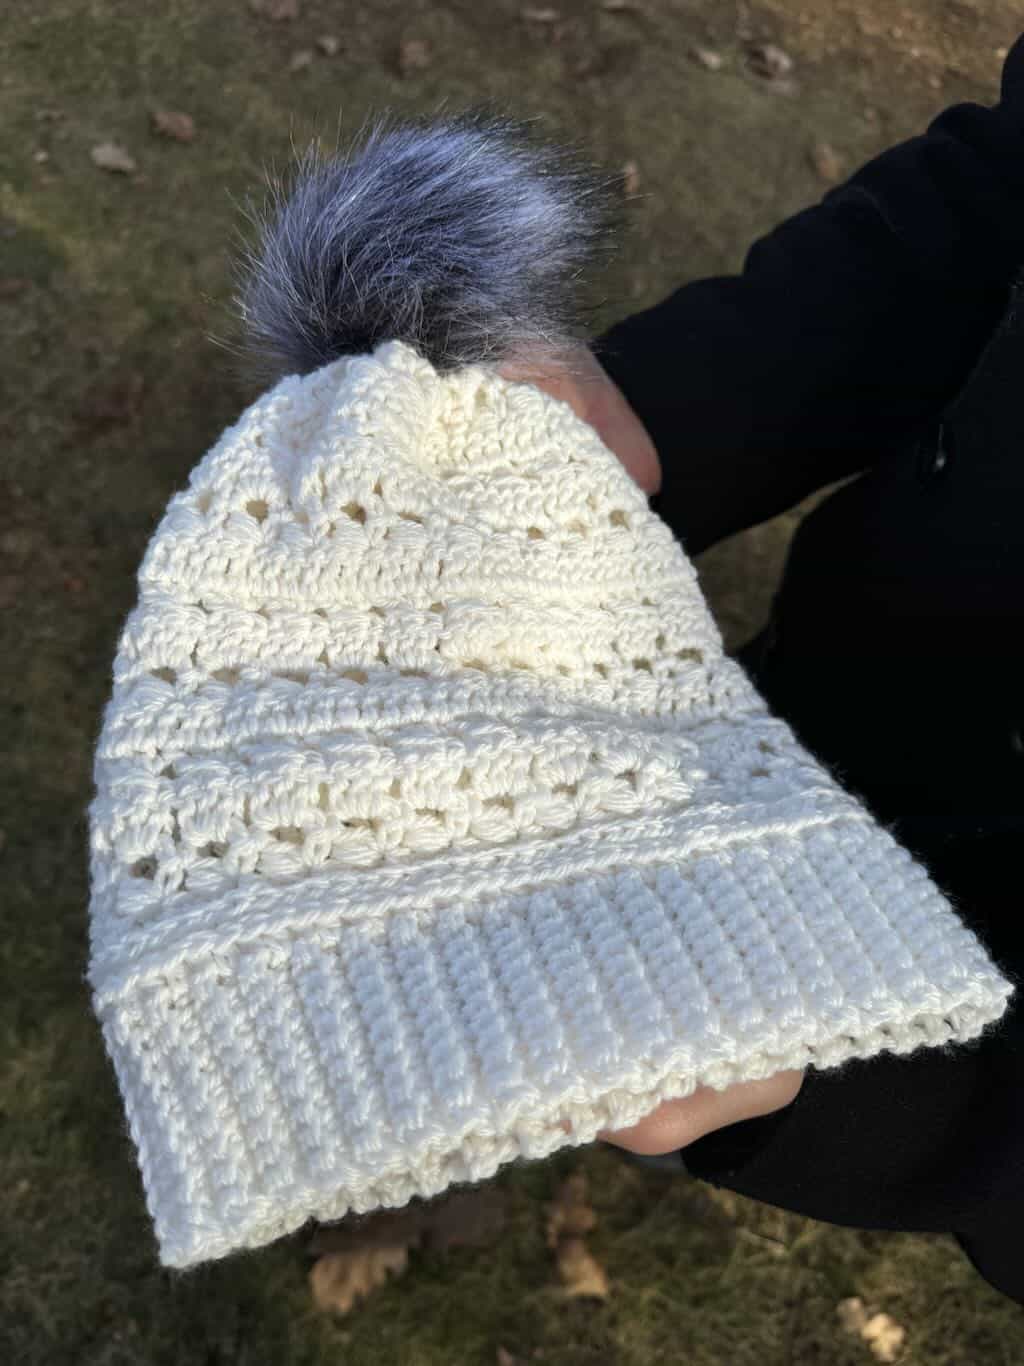
The body of the granny stitch hat is worked in a stitch pattern called “Puffs and Grannies”, a beautifully elegant 4-round repeat with subtle texture. You’ll find the combination of puffs, granny stitches and modified granny stitches a delight to look at. Plus, the drape-y fabric is lightweight for those how need just a bit of extra warmth.
The Yarn
After making my Bianca Cowl, I had enough yarn left over for this matching lightweight crochet hat. It’s the perfect yarn for creating a hat that’s not too heavy but still compliments the cowl and keeps your head warm.
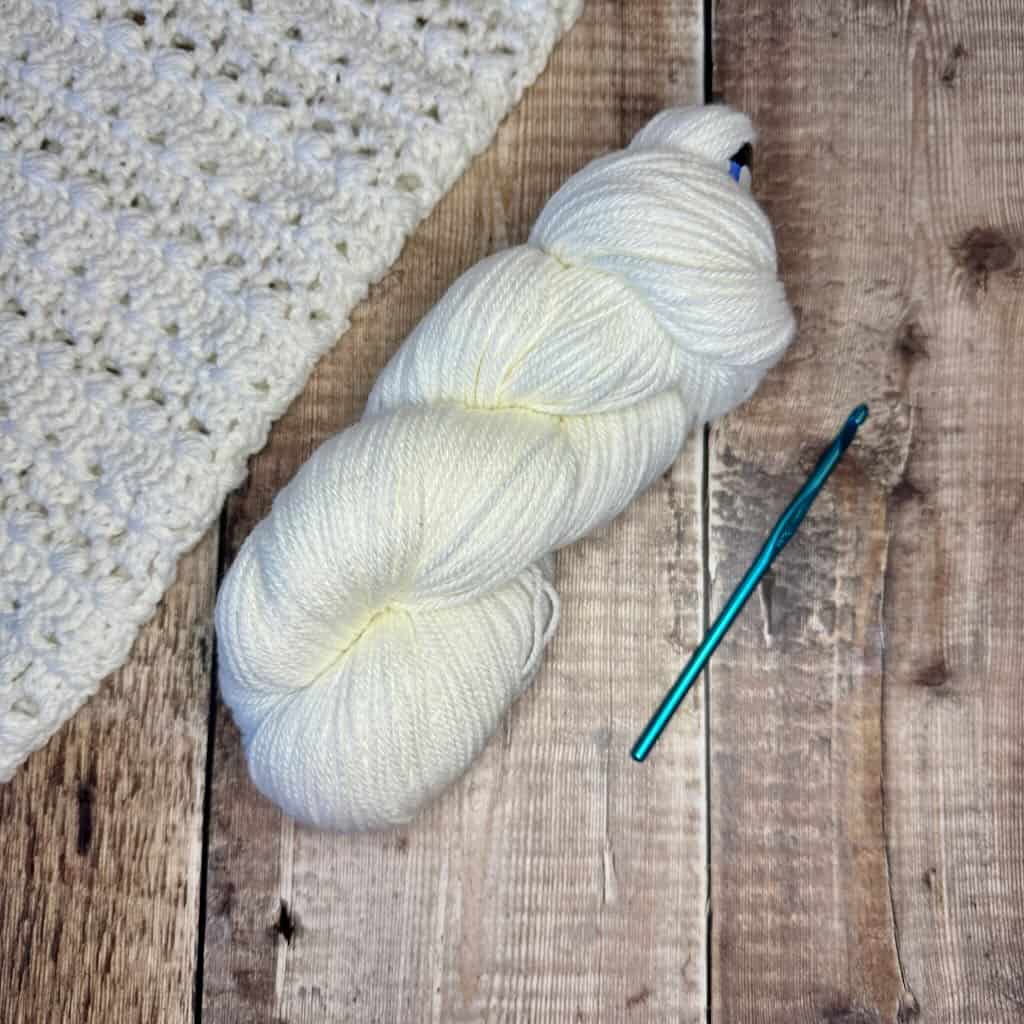
I have fallen in love with this beautiful blend acrylic and wool with a touch of nylon. Wool is hard for me to work with and wear so I’m always looking for a blend that makes the wool softer. Plus, it’s just delightful to work with. I loved making the cowl as much as wearing it!
This beautiful DK weight blend has gorgeous drape, making this crochet hat a stunning accessory that’s both stylish AND functional. This lightweight crochet hat is the perfect companion for the Bianca Cowl. I promise you’ll feel like a million bucks when you don both pieces. You’ll find the hat and cowl set great for adding a touch of warmth when you need it most. And, best of all, it will dress up any casual outfit (it’s great with a pair of jeans) or be perfect for a night out on the town.
You can find Vintage DK at Jimmy Beans Wool and at WEBS Yarn Store.
Yarn Substitute
Any DK weight yarn will work for this granny stitch hat. However, you may want to substitute something that’s close to the Vintage DK for a very close match to the sample.
One of the best resources I’ve found is YarnSub.com. Click here to find the search I did.
For any project you wish to substitute yarn, use my handy Yarn Substitution Worksheet. It’s a free download you can use over and over. It will walk you through the steps to make an informed decision about the yarn you’d like to substitute.
Where to get the PDF for the Bianca Hat
The Bianca Hat is a free granny stitch hat pattern here for blog subscribers. Scroll down to view the free version.
Upgrade to the premium PDF to get a printer friendly and downloadable version of the pattern, available from any of my shops.
The premium PDF can be uploaded to your favorite mobile device so you can take your Bianca granny stitch hat project with you to work on whenever you’re out and about. The PDF is easy to read and beautifully formatted without ads for a great experience.
You’ll also get a crochet chart that shows you how to work the Puffs and Grannies stitch pattern.
Get your copy today!
The Bianca Granny Stitch Hat free pattern starts here
General Information
Yarn
Berroco “Vintage DK” 52% acrylic, 40% wool, 8% nylon (3.5oz/290yd; 100g/266m) – Sample worked in Snow Day (Color 2100)
See chart for amount needed. Any DK weight yarn with similar fiber content and stretchability will work
Hook
US size H-8 (5mm) or size needed for gauge
Tools
- Removable stitch markers
- Tapestry needle
Skill Level: Intermediate
Abbreviations – US crochet terminology
- beg – beginning
- BLO – back loop only
- ch – chain
- dc – double crochet
- hdc – half double crochet
- rep – repeat
- rnd(s) – round(s)
- sc – single crochet
- sk – skip
- sp – space
- st(s) – stitch(es)
- RS – right side
- WS – wrong side
- YO – yarn over
Special Stitches
Crossed Granny Stitch (crossed GS) – sk st, dc in the next 2 sts, dc in the skipped st by crossing over the 2 dc already worked. These 3 dc are worked over the 3 dc of the GS below.
Granny stitch (GS) – 3 dc in the same sp or st
Half double crochet in the 3rd loop (hdc 3lp) – when working on the front side of the stitches from the row before – YO, insert hook through the 3rd loop that sits just under and behind the top loop of the stitch, YO, pull through the 3rd loop, YO, pull through all 3 loops on the hook to complete the hdc.
Invisible join: At the end of the rnd, remove working loop from hook, insert hook from back to front through the top of the 1st st of the rnd, add working loop back onto the hook and pull through to the WS of the hat, continue as instructed. Note: An invisible join is used in Rnds 1 & 2 of the Body to hide the join when working in the 3rd loop.
Puff – YO, insert hook in the indicated st, YO, pull up a loop, [YO, insert hook in the same st] twice, YO, pull through 7 loops on the hook.
Single crochet in the 3rd loop (sc 3lp) – when working on the front side of the stitches from the row before – insert hook through the 3rd loop that sits just under and behind the top loop of the stitch, YO, pull through the 3rd loop, YO, pull through the 2 loops on the hook to complete the sc.
Stacked single crochet (STsc) – (This stitch is used at the beginning of a row or round to replace the traditional turning ch-3. It has the appearance of a dc.) – Insert hook in the same st as the loop, YO, pull up a loop, YO, pull through 2 loops (bottom sc made), insert hook in the left vertical bar of the bottom sc, YO, pull up a loop, YO, pull through 2 loops (top sc made).
About the Puffs and Grannies Stitch Pattern
The puffs and grannies stitch pattern is a 4-rnd repeat that serves as the basis for the body of the Bianca Hat. It incorporates the crochet puff stitch, the granny stitch, and a modification of the granny stitch called the crossed granny stitch.
Finished Sizes, Gauge and Yarn Amounts
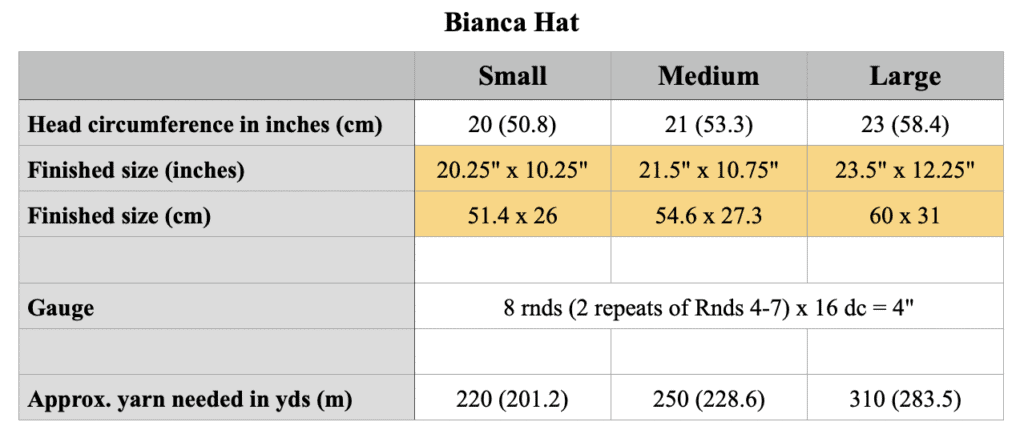
Note: References to the sizes in this pattern will be listed as follows: Small (Medium, Large).
Pattern Notes
- A ch-1 at the beg of a rnd does not count as a st.
- A ch-2 or ch-3 may be substituted for the STsc at any time without affecting the construction of the hat.
- The hat is worked in one piece without cutting the yarn.
- Before beginning, read through the entire pattern. Make note of any stitches or techniques you might not know and practice them. Also, highlight the instructions that apply to the size you’re making.
- Stitch counts are listed only when they change: < Small (Medium, Large) >
Pattern Instructions
Ribbing – For all sizes
Ch 11.
Row 1: Ch 1, sc in the 2nd ch from the hook and in each st across, turn. < 10 sc >
Row 2: Ch 1, sc BLO in the same st and in each st across, turn. < 10 sc BLO >
Rows 3-81 (87, 96): Ch 1, sc BLO in the same st and in each st across.
The ribbing should measure 2″ wide x 18 (19.34, 21.34)” before stretching. The sc BLO is stretchy and should easily stretch to fit your head comfortably. However, you may want to try it on to see if you need to make any adjustments (the number of rows should be a multiple of 3).
Do not fasten off at the end of Row 81 (87, 96). Bring the ends together with Row 1 in front, being careful not to twist. Ch 1, then slip st the ends together, working through the unworked loop of the beg ch of Row 1 and the back loop of Row 81 (87, 96). At the end of the seam, do not fasten off. Turn so the seam is on the inside of the ribbing.
Proceed to the Body.
Body
Notes
- Pay close attention to “turn” or “do not turn”.
- Place a marker in the 1st st of each rnd to keep track of where to join. Move the marker up as you work further rnds.
For all sizes
Rotate the ribbing 90 degrees to work along the row ends.
Rnd 1 (RS): Ch 1, hdc in the end of the same row end and in each row end around, invisible join. Do not turn. < 81 (87, 96) hdc >
Rnd 2 (RS): Ch 1, hdc 3lp in the same st and in each st around, invisible join. Do not turn. < 81 (87, 96) hdc 3lp >
Rnd 3 (RS): Ch 1, sc 3lp in the same st and in each st around, join with slip st to beg st, do not turn. < 81 (87, 96) sc 3lp >
Rnd 4 (RS): Ch 1, (sc, ch 4, puff) in the same st, sk 2 sts, [(sc, ch 4, puff) in the next st, sk 2 sts] around, join with slip st to beg st, turn. < 27 (29, 32) sc, 27 (29, 32) puffs, 27 (29, 32) ch-4 sp >
Rnd 5 (WS): Slip st into the ch-4 sp, (STsc, 2 dc) in the same sp (counts as 1st GS), GS in the next ch-4 sp and in each ch-4 sp around, join with slip st to beg st, turn. < 27 (29, 32) GS >
Note for Rnd 6: Each crossed GS should sit directly on top of the GS below. Be sure the 1st crossed GS is worked in the correct sts. (See chart)
Rnd 6 (RS): Slip st into the next 2 sts, [STsc, dc in the next st, dc in the 1st slip st] (counts as 1st crossed GS), crossed GS over the next GS around, join with slip st to beg st, turn. < 27 (29, 32) crossed GS >
Rnd 7 (WS): STsc, dc in the next st and in each st around, join with slip st to beg st, turn. < 81 (87, 96) dc >
Rnds 8-15: Rep Rnds 4-7 2 times.
For Size Small Only
Rnds 16-18: Rep Rnds 4-6.
At the end of Rnd 18, fasten off, leaving a 12” tail for gathering the crown of the hat.
Proceed to Closing the Hat.
For Medium Only
Rnds 16-19: Rep Rnds 4-7.
At the end of Rnd 19, fasten off, leaving a 12” tail for gathering the crown of the hat.
Proceed to Closing the Hat.
For Large Only
Rnds 16-19: Rep Rnds 4-7.
Rnds 20-22: Rep Rnds 4-6.
At the end of Rnd 22, fasten off, leaving a 12” tail for gathering the crown of the hat.
Proceed to Closing the Hat.
Closing the Hat
- Turn the hat wrong side out.
- Weave the tail in and out of the stitches in the final rnd. To completely close the gap, you may need to stitch across the gap before fastening off.
- Cinch the hole closed as tightly as possible. Securely weave in the end of the tail.
- Turn the hat right side out.
- Add a pompom to cover the hole if you wish.



One Comment