A granny stitch sampler blanket to make your home cozy and warm
Create a lasting memory and a cozy home with this one-of-a-kind granny stitch sampler blanket. It’s free to make and priceless to enjoy!
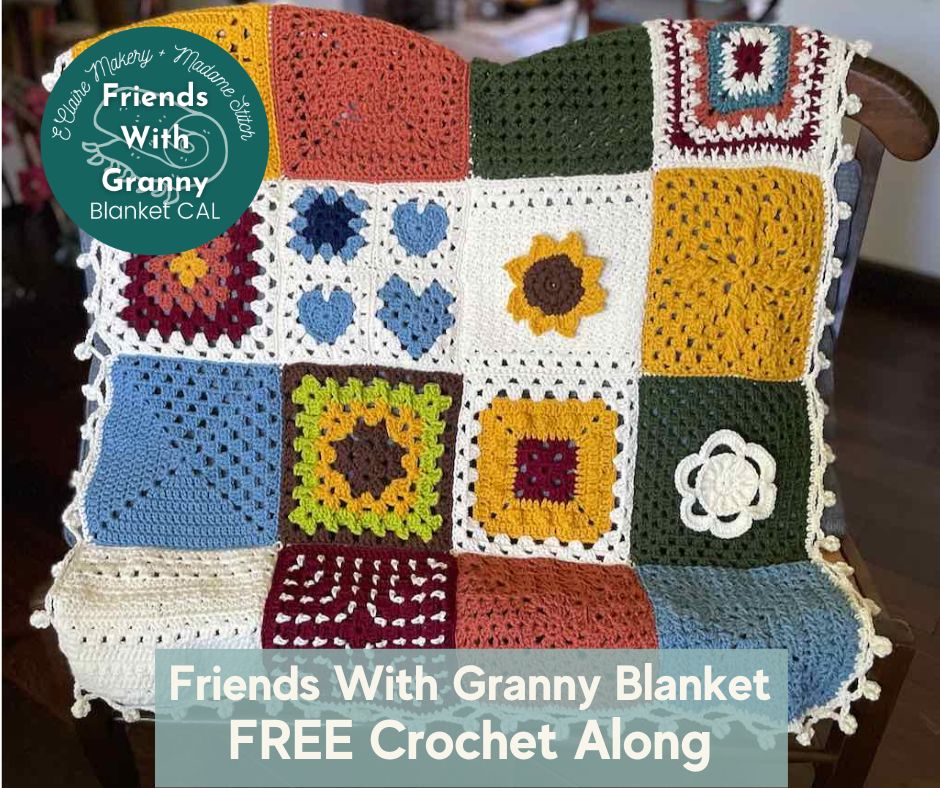
The 2024 Granny Stitch Sampler Blanket
We’re back for a second year with one of our favorite blankets. For those who love granny squares, like I do, this gorgeous granny stitch sampler blanket should be on your project list.
As you may know, I’m on a mission to show how versatile the granny stitch – those 3 double crochets worked in the same stitch or space – can be. Because of its versatility, the granny stitch is the perfect partner for so many other crochet stitches and techniques.
In this second edition, you’ll find a gorgeous granny stitch sampler blanket that will garner all the oohs and aahs from those who see it. Plus, it’s a one-of-a-kind design.
You can crochet this amazing granny stitch blanket at no cost to you just by joining in the free crochet along. Read on for ALL the information!
What is a free crochet along?
Participating in a free crochet along is such a special experience. If you’ve never been a part of one, here’s what you can expect when you join a free crochet along.
- Everyone crochets the same project at the same time.
- Each part of the project is released one at a time. That way all of the participants can work at the same pace.
- The fun part comes when everyone is sharing progress photos with the group. It’s so motivating!
How this crochet along works
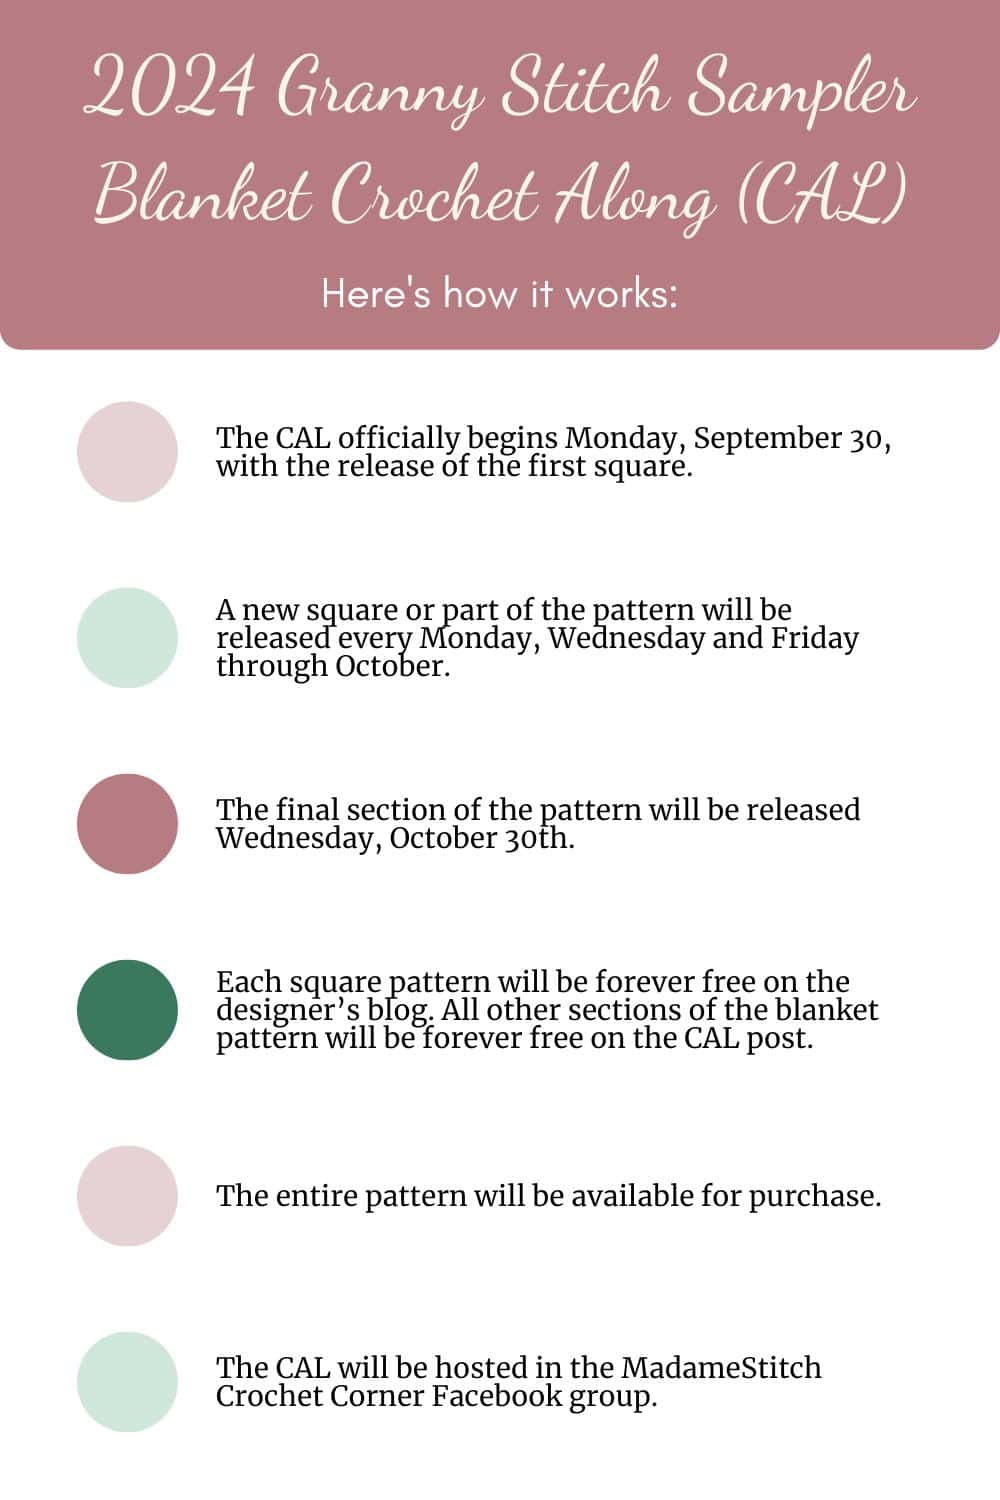
Here’s how to participate in this free crochet along
- The CAL officially begins Monday, September 30, with the release of the first square.
- A new square or part of the pattern will be released every Monday, Wednesday and Friday through October.
- The final section of the pattern will be released Wednesday, October 30th.
- Each square pattern will be forever free on the designer’s blog. All other sections of the blanket pattern will be forever free on the CAL post.
- The entire pattern will be available for purchase.
- The CAL will be hosted in the MadameStitch Crochet Corner Facebook group.
Join the Facebook group for the full experience.
Don’t miss any of the fun! In the MadameStitch Crochet Corner group you can ask questions, share your progress, and enjoy ALL of the other projects.
Sign up for CAL emails.
Get updates sent directly to your inbox. Simply click on the button below, fill out your information, and wait for all the CAL goodness to arrive in real time.
Note: Signing up for the email list DOES NOT mean the pattern will be sent to you. It will be available here or on the designer’s blog post.
The Granny Stitch Sampler Blanket Design
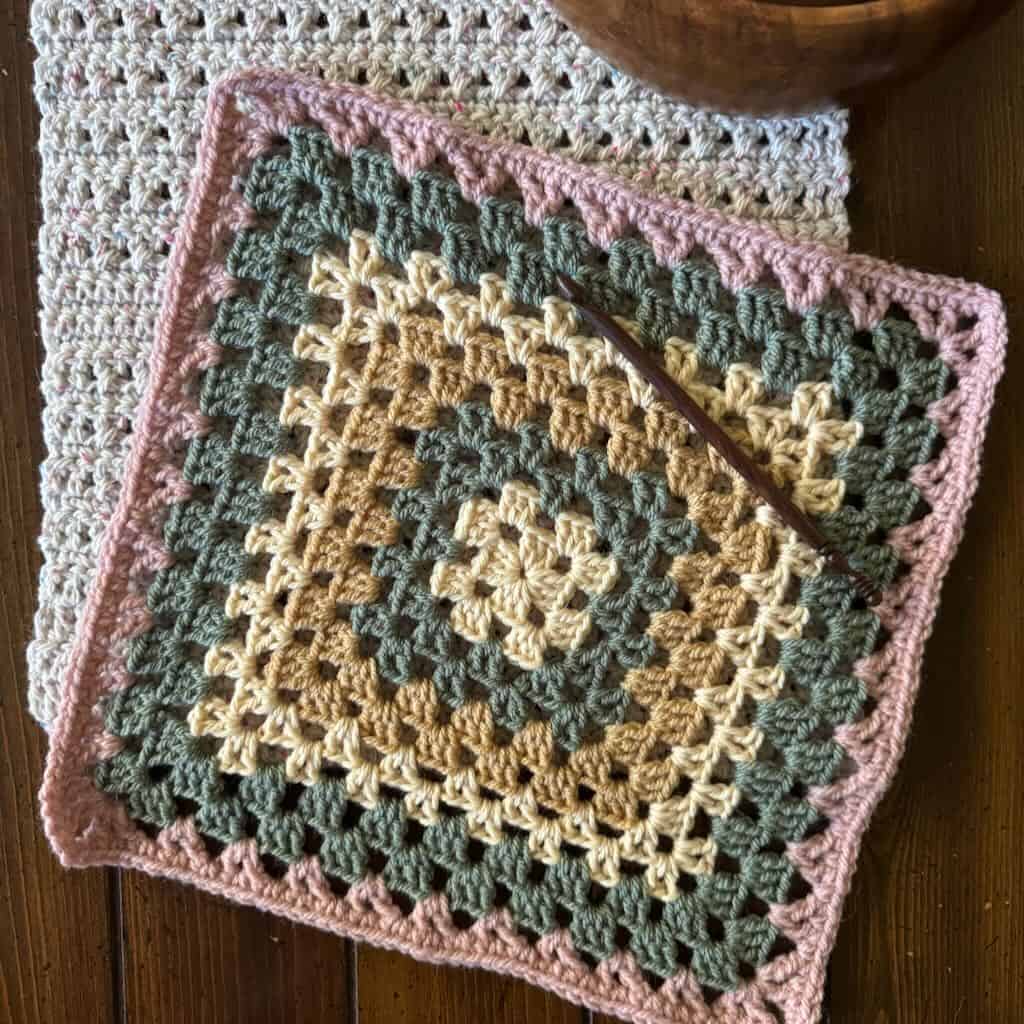
What is a granny stitch? The typical interpretation is 3 double crochet worked in the same stitch or space. The granny stitch is the foundation of the traditional granny square.
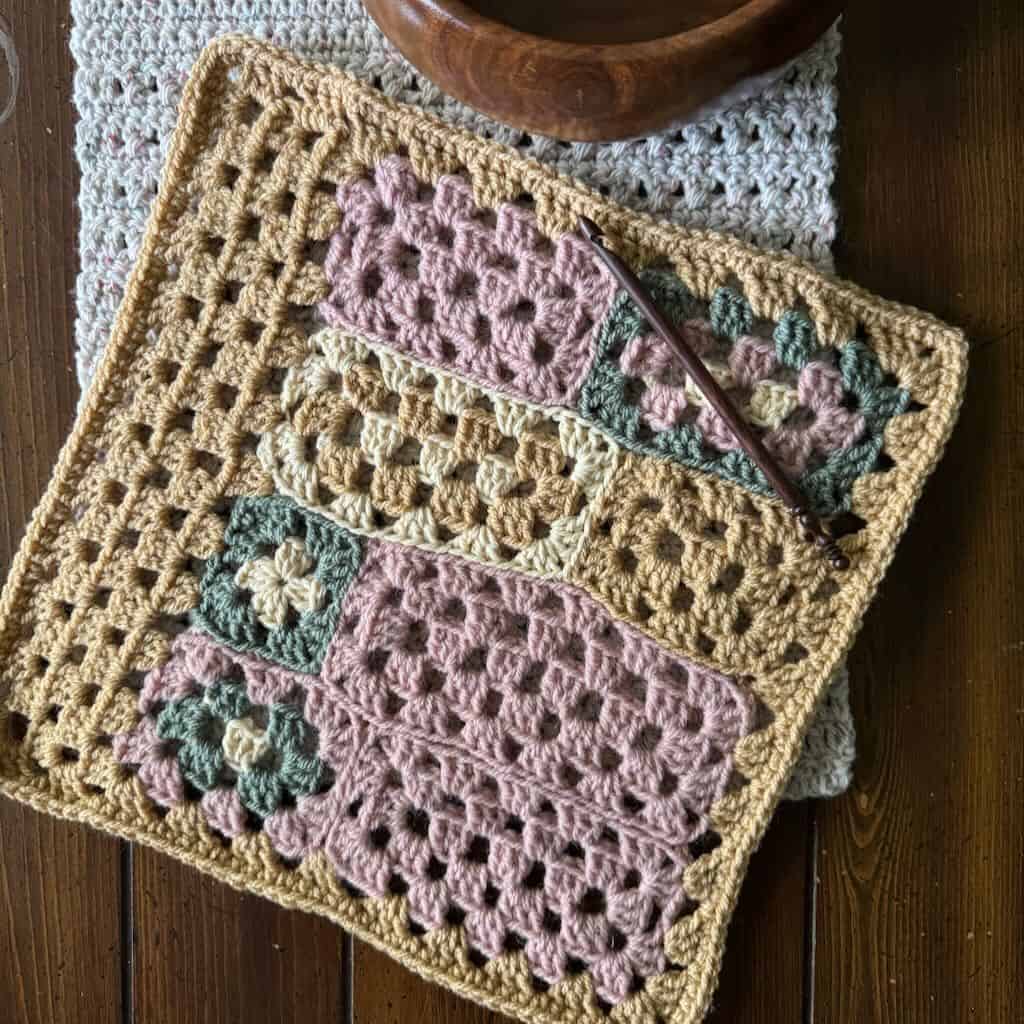
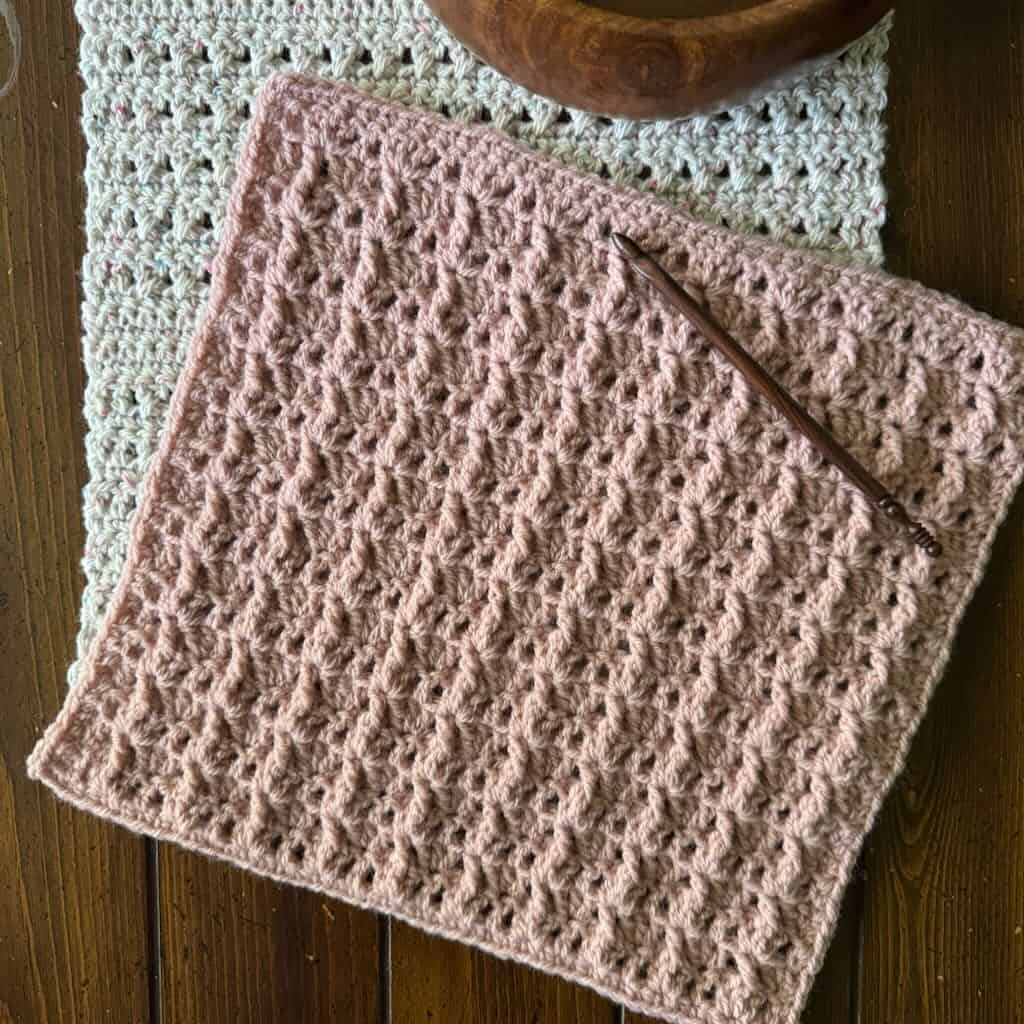
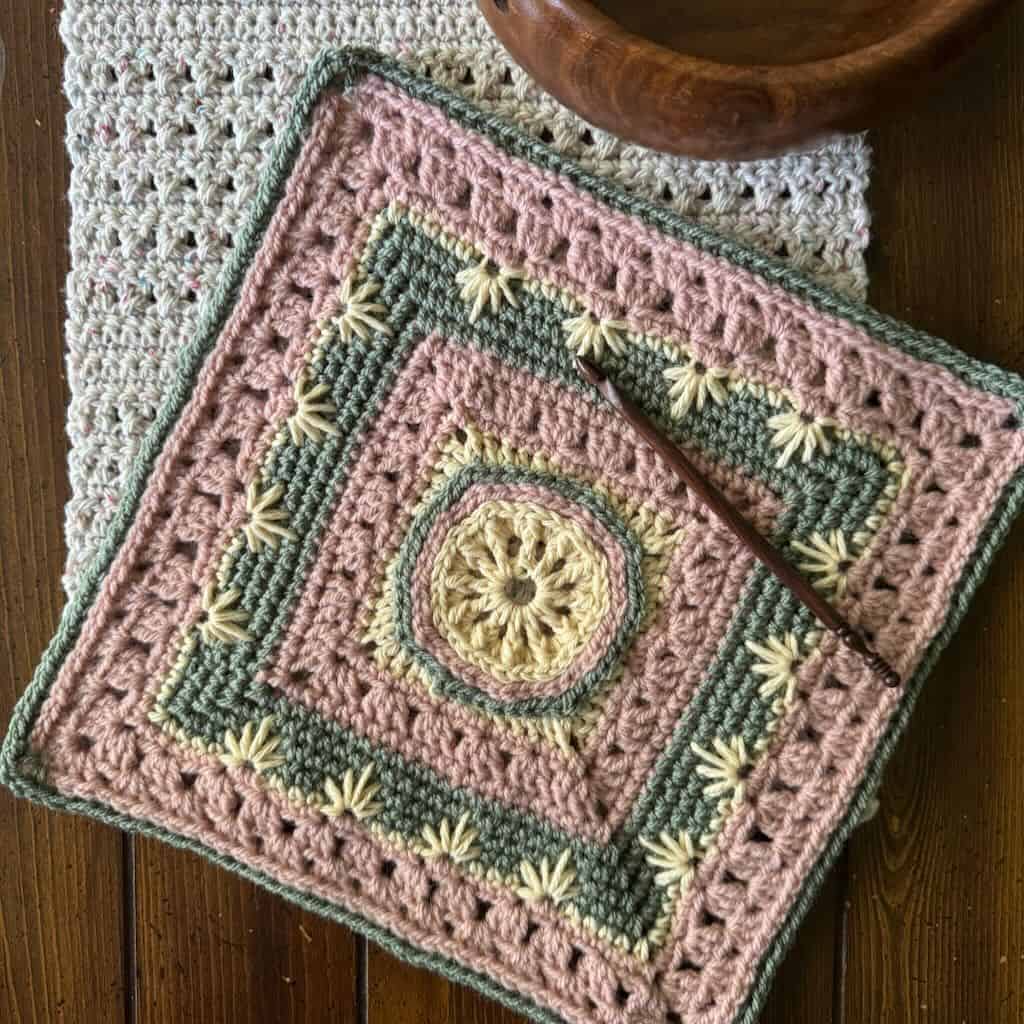
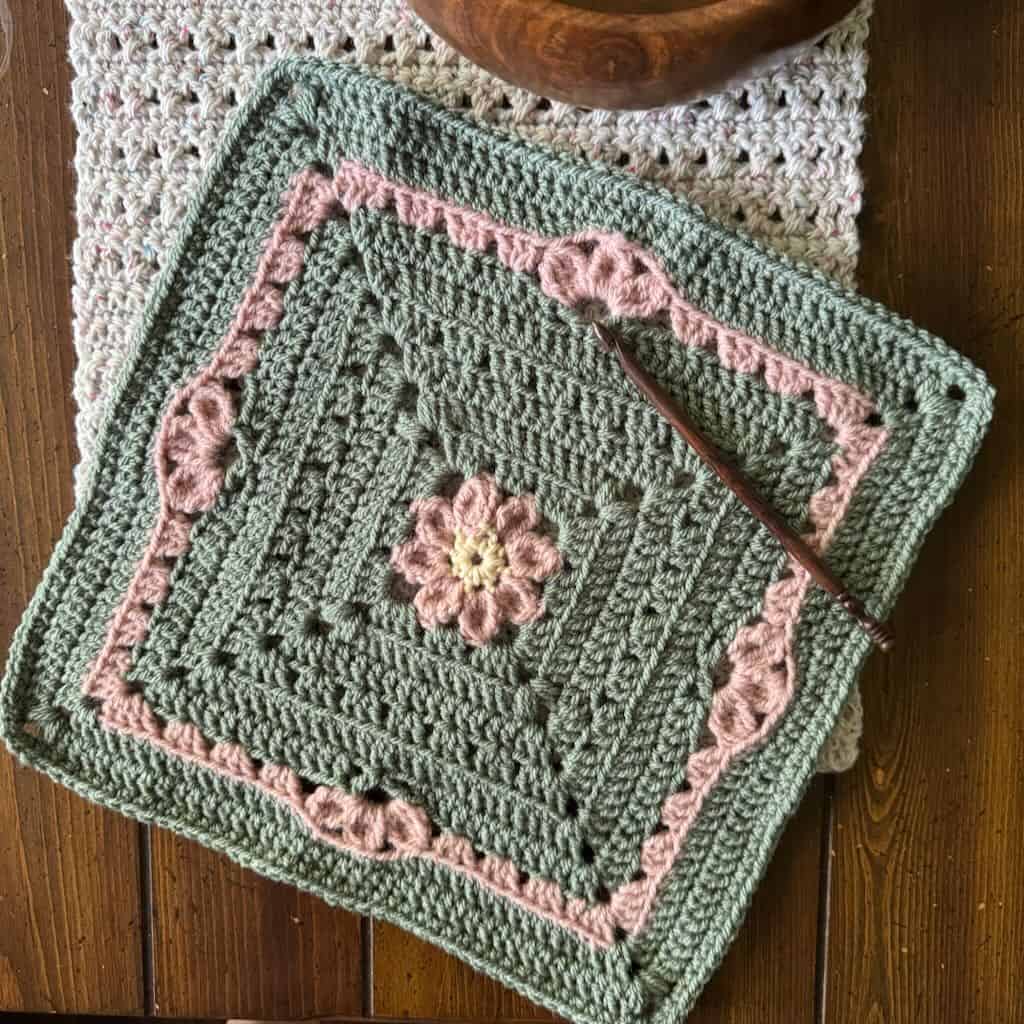
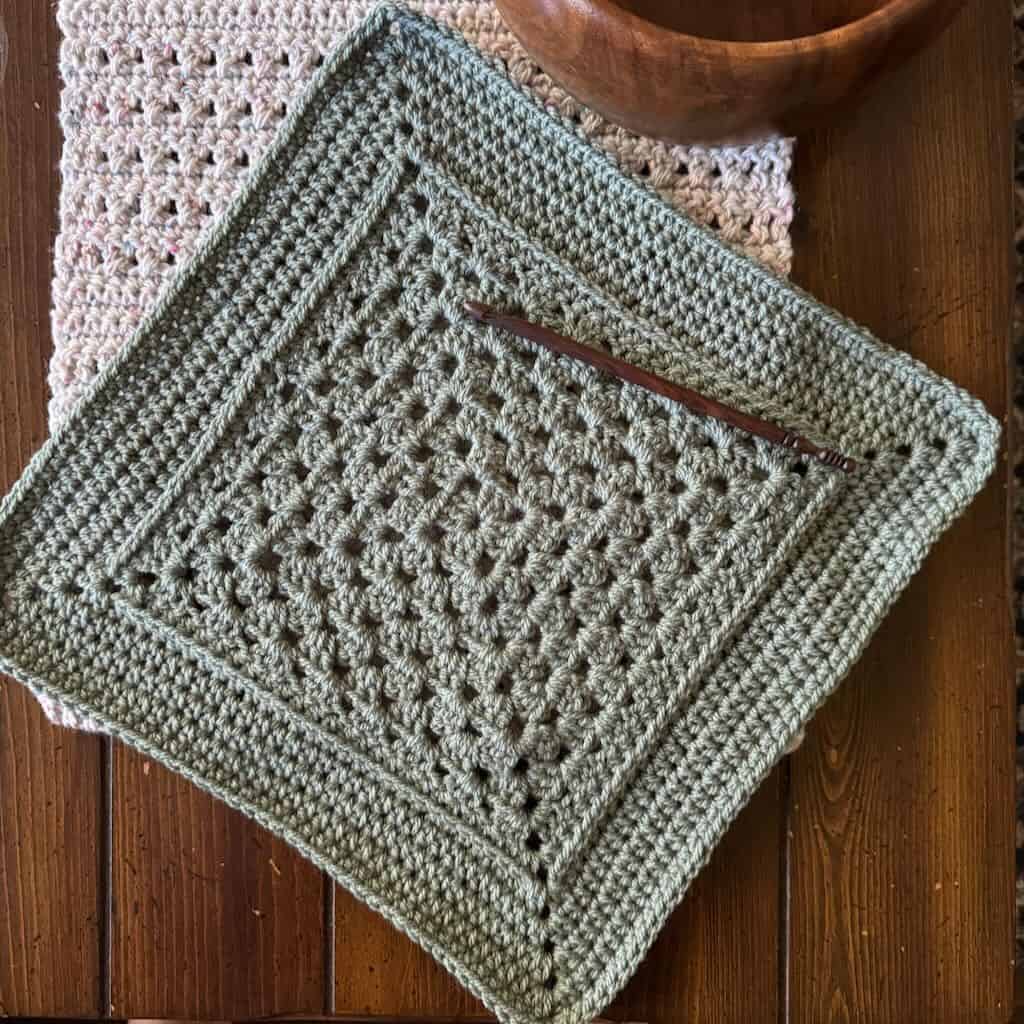
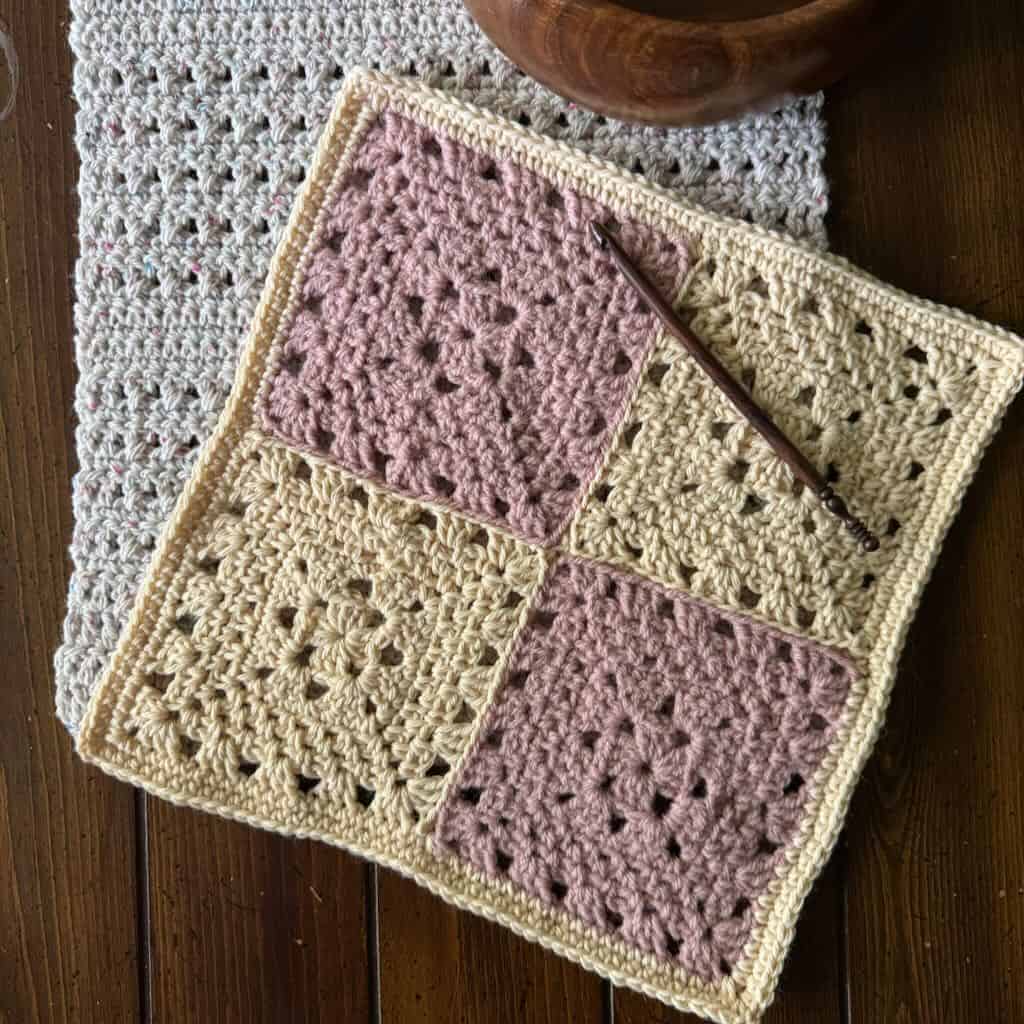
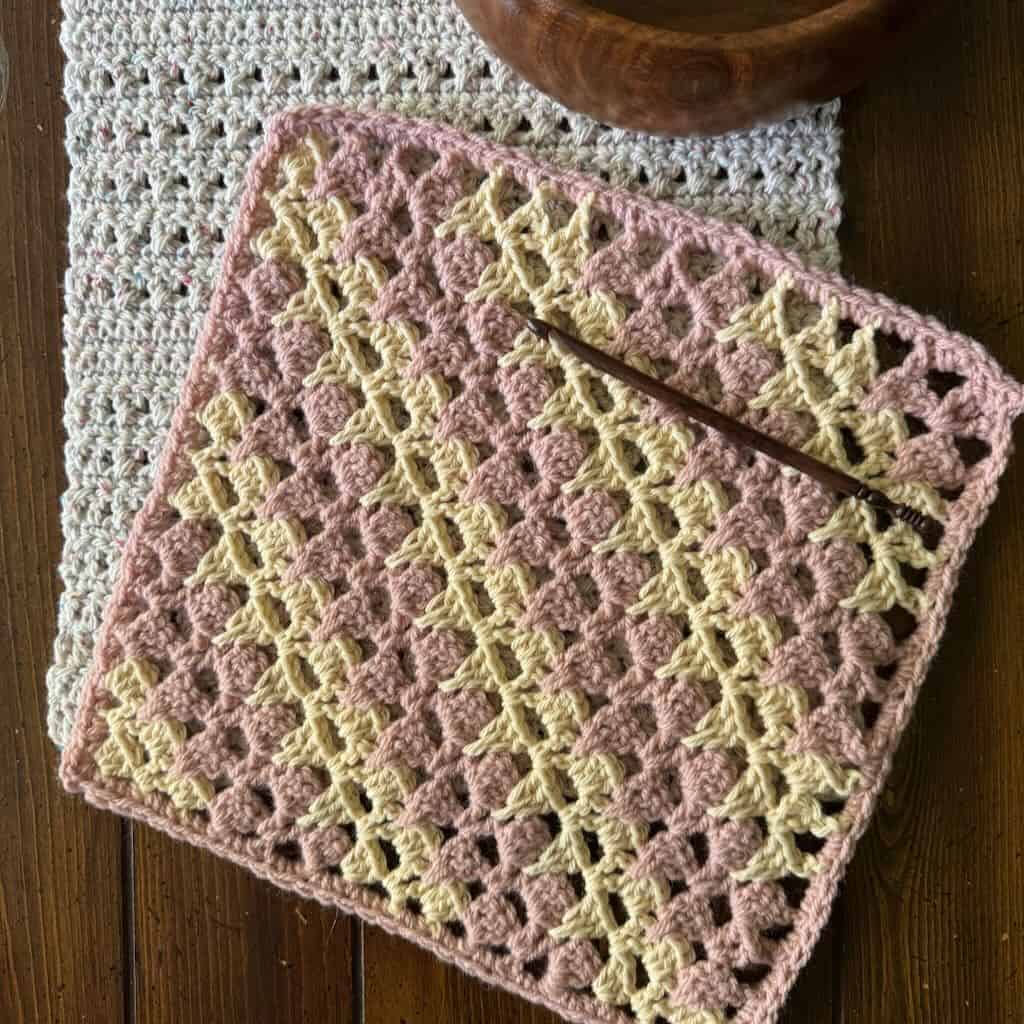
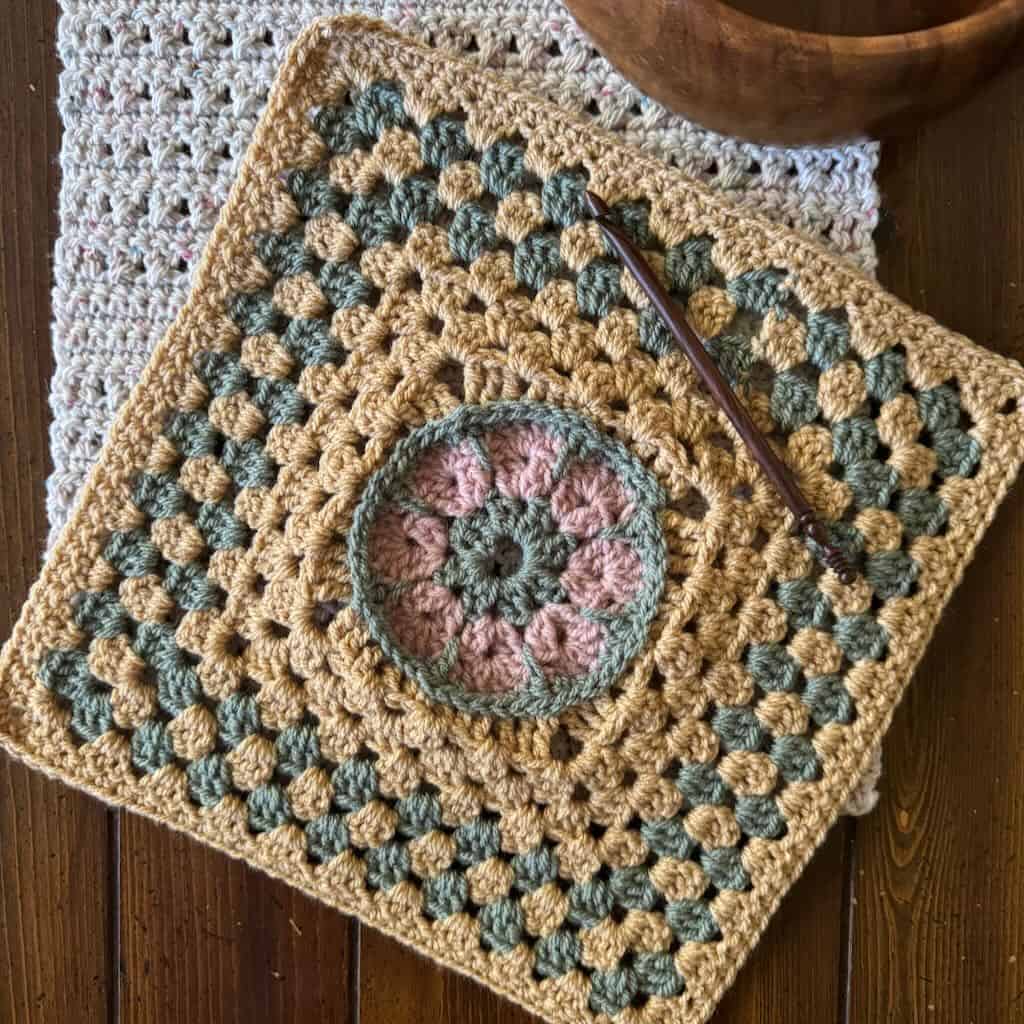
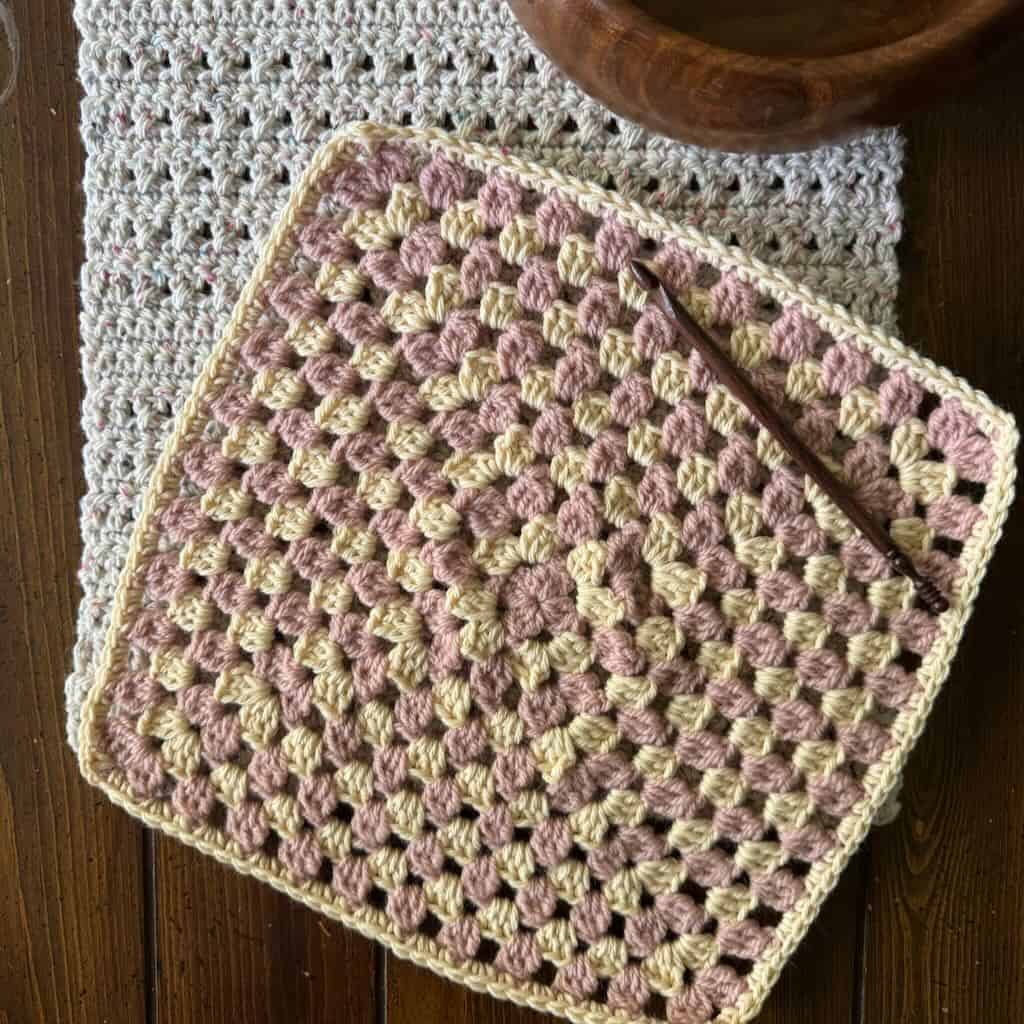
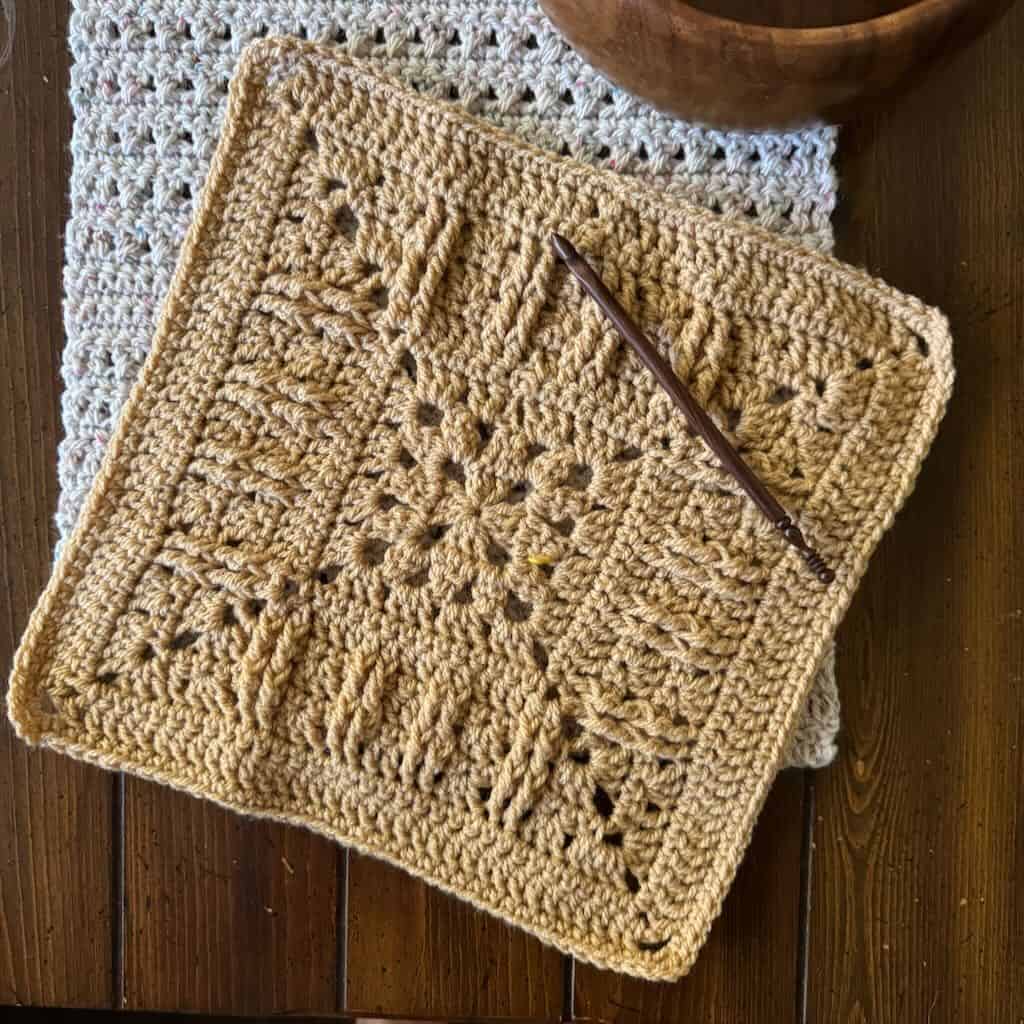
In this granny stitch sampler blanket, my friends and I have bent the rules a bit once again. Eleven designers joined me, each one designing a 12” square that included the granny stitch somewhere in the design. They were free to use any combination of stitches or a technique they wanted.
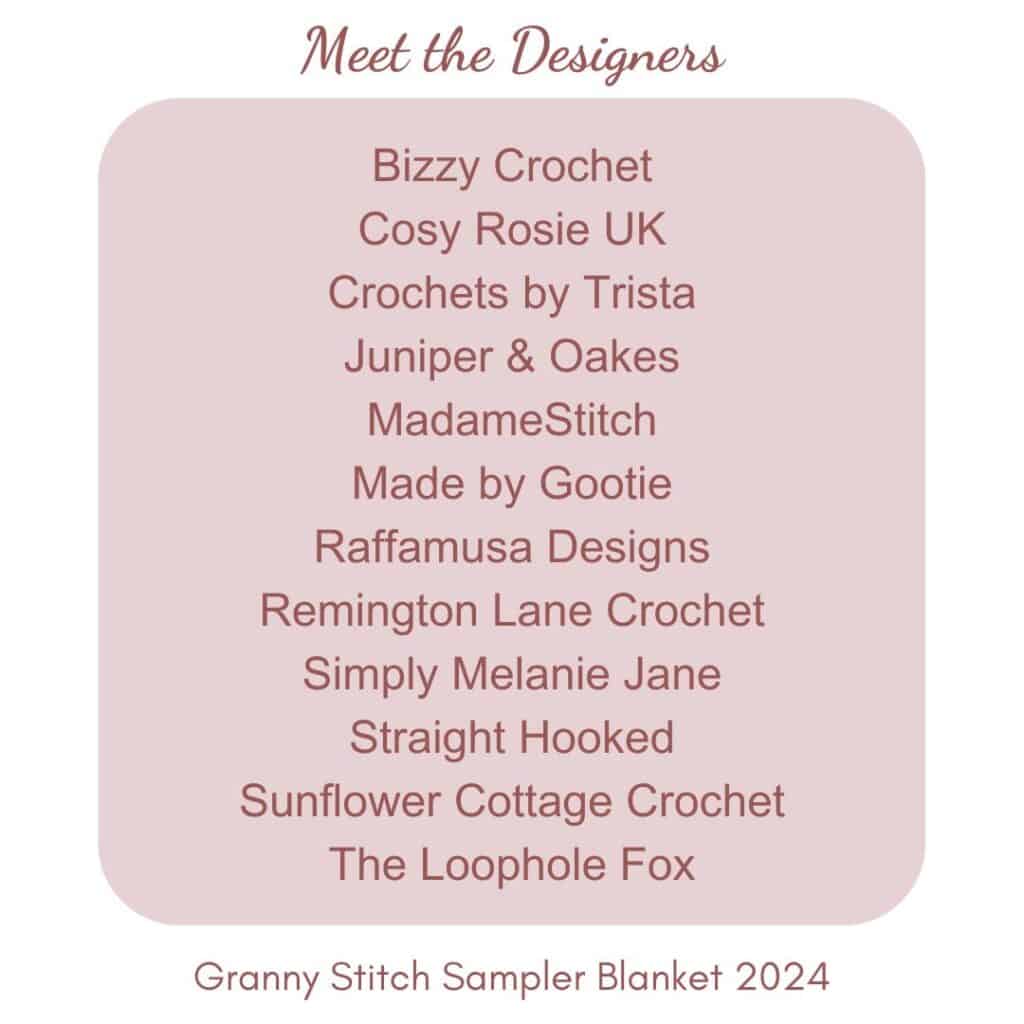
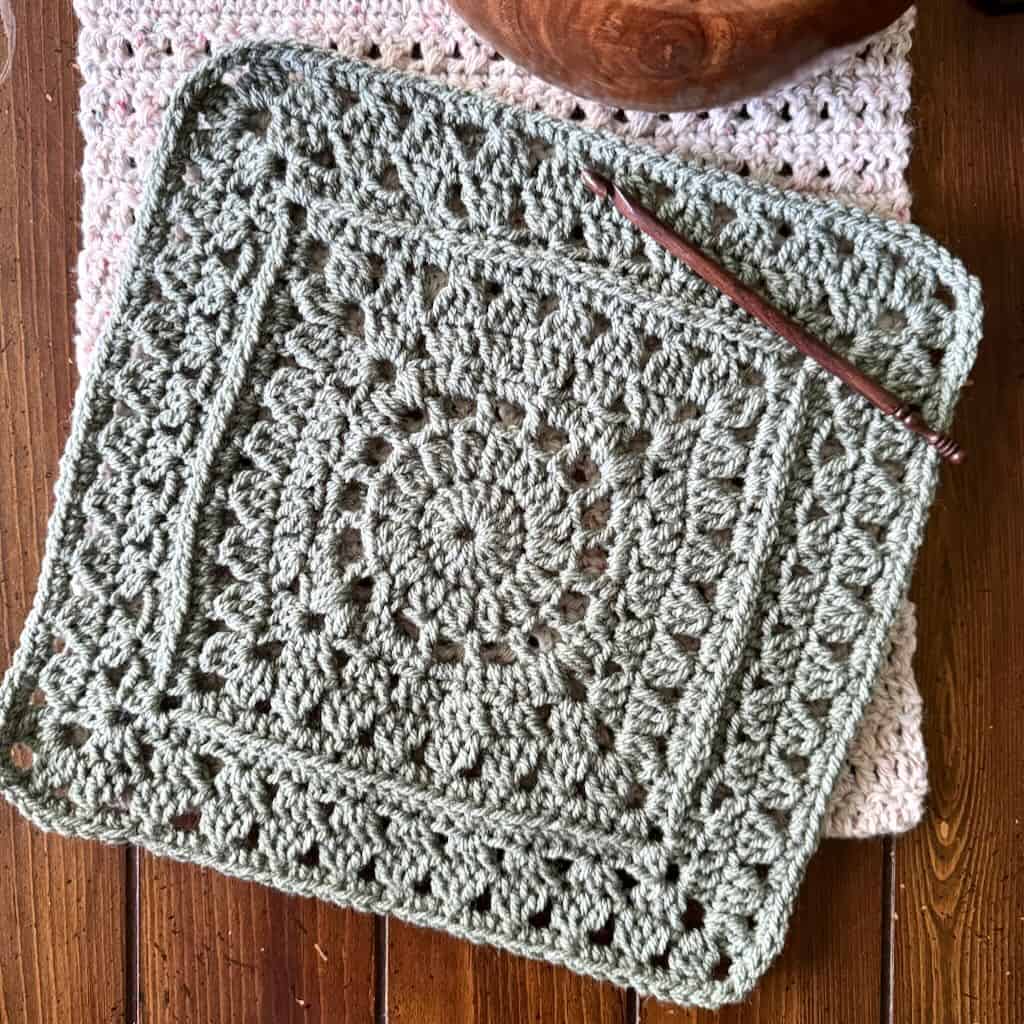
This year’s granny stitch sampler blanket is like no other. You’ll find a variety of stitches and techniques, including post stitches, cluster stitches, corner to corner and leaf stitches.
Skill Level
Because of the variety of stitches and techniques, I’m listing the general skill level as Advanced Beginner/Intermediate.
This is not a beginner level blanket. You’ll need experience reading crochet patterns and it would be helpful for you to have tried a few stitches beyond the basics.
With that said, many of the designers have provided photo and/or video tutorials to help. And, they are available to give you assistance should you need it.
Finished Size
Each square is intended to be 12”. However, they may land in a range of 12.5-13”. As long as all of your squares are approximately the same size, you’ll be fine. Plus, you can adjust the size of each square during blocking to ensure they are all approximately the same size.
The sample blanket measures approximately 42.5″ x 55″. Your blanket may be slightly smaller or larger depending upon the size of your finished squares, the seaming method you choose, and the number of rounds for your border.
Gather Your Materials
This post contains affiliate links. That means, if you purchase something using the link, I receive a small commission. You don’t pay any extra and your information is safe. Thanks for supporting my small business.
All right…let’s get down to business!
The Yarn
It’s time to gather all the yarn you’ll need for your granny stitch sampler blanket. The yarn I have listed here is what I used to make the sample. However, individual square patterns will list the yarns and amounts the designer used for the original square design.
Any worsted weight yarn appropriate for blankets will work. Remember, using a different weight yarn will change the size of your blanket and the amount of yarn needed.
All of the yardages are approximate. Buy a little extra yarn to ensure you have enough when you need it.
Here’s a breakdown of how much I used for the different components:
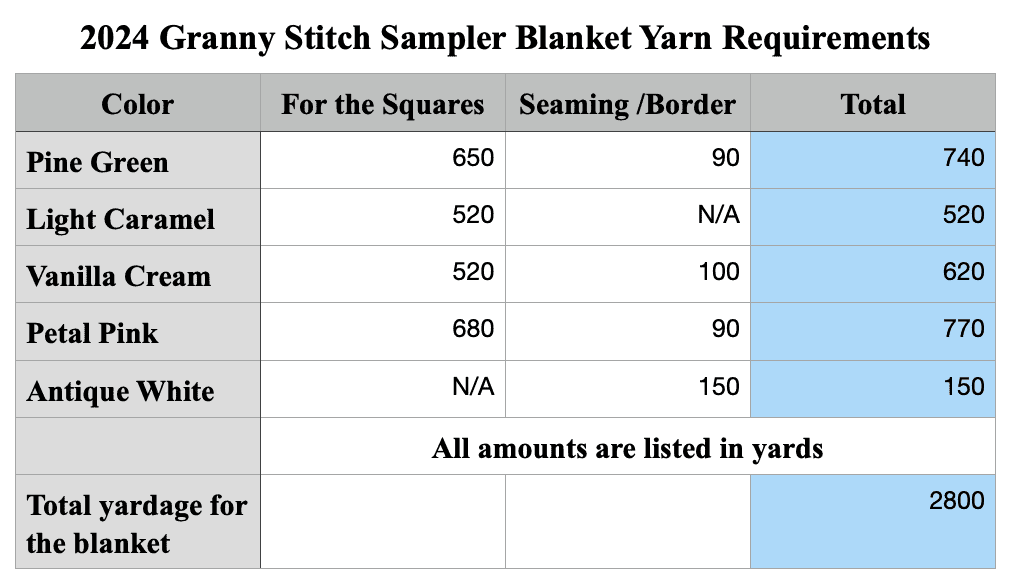
Here are the specific yarns used:
Paintbox Yarns “Simply Aran” 100% acrylic worsted weight (3.5oz/201yd; 100g/184m)
- Pine Green (67)
- Light Caramel (208)
Paintbox Yarn “Wool Mix Aran” 50% wool, 50% acrylic worsted weight (3.5wz/196yd; 100g/180m)
- Vanilla Cream (807)
Plymouth Yarn “Encore” 75% acrylic, 25% wool worsted weight (100g/200yd)
- Petal Pink (9858)
Lion Brand “Pound of Love” 100% acrylic worsted weight (16oz/1020yd;454g/932m)
- Antique White (099B) – 150 yds
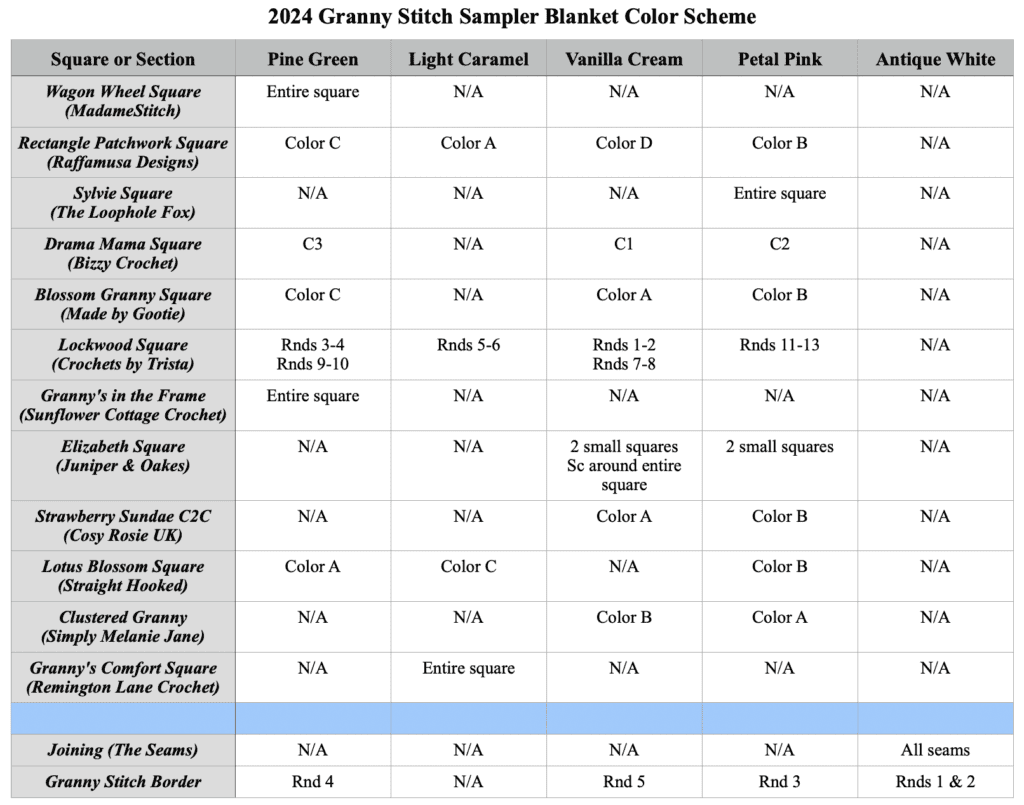
Color Assignment Chart
If you wish to duplicate what I did when I made the sample, this chart shows you what colors I used for each step.
The Hooks
You’ll need at least 2 hooks to make this granny stitch sampler blanket. You may need others if you have to adjust for gauge.
- US size H-8 (5mm) or size needed to meet gauge for each square. You’ll also use this hook for the Border.
- US size I-9 (5.5mm) for Seaming only
Other Tools
- Blocking boards and pins
- Removable stitch markers
- Tapestry needle for weaving in ends
Gauge
Gauge is listed in each square pattern. Make sure you check gauge with each new square to ensure all 12 squares are within .5” of each other. Blocking will take care of the rest.
Purchase the full pattern in a premium PDF.
It’s finally here!
You can purchase the full pattern for the granny stitch sampler blanket at the discounted price of $12.99 through the month of October. At the end of the crochet along, the price will increase.
Head to the sales page and grab your copy today!
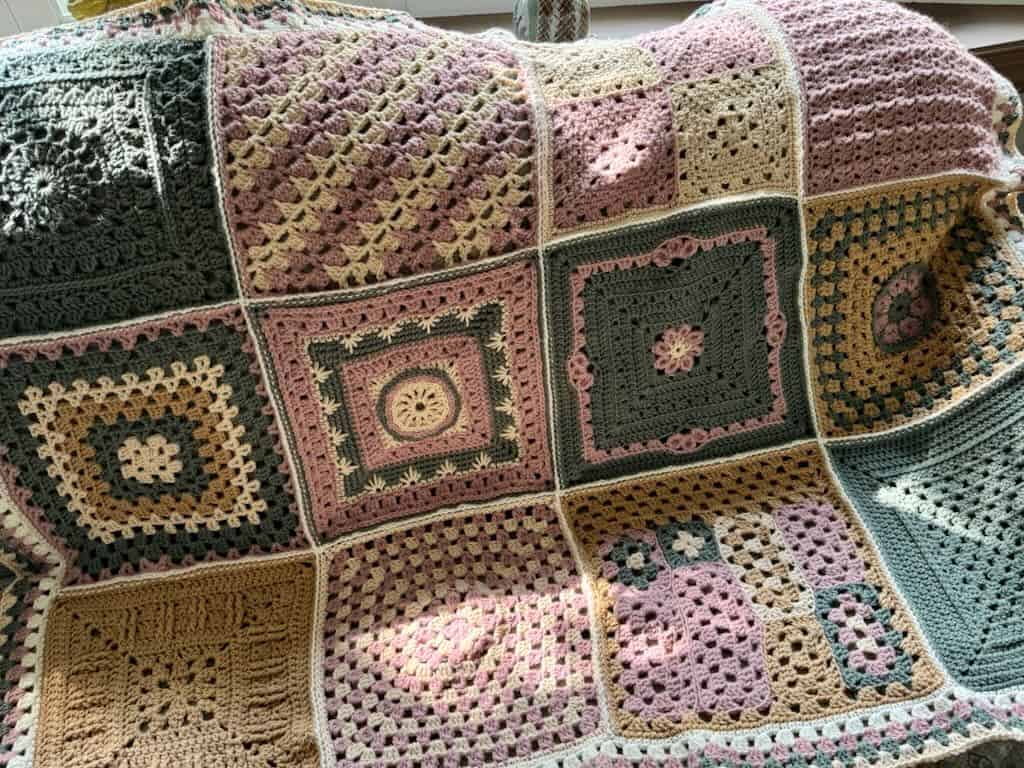
The 2024 Granny Stitch Sampler Blanket Pattern
This is where you’ll find links to each part of the pattern as it’s released. Check back Monday, September 30, at 8am EDT, when the first square’s link is added to the blog.
Reminder: You can get updates sent directly to your inbox (see above). Or, you can join the Facebook group. Either way, you’ll be in the know.
Go grab your yarn and hooks and get ready for some fun!
Free Progress Tracker
I know it can be difficult to keep track of all the moving pieces in this gorgeous blanket. That’s why I’ve created a special progress tracker you can use while you’re making the blanket.
To get your free copy:
- Click the button below.
- Fill out the information.
- Once you hit “Submit”, you’ll be taken directly to the tracker.
- Be sure to download it and note where you saved it.
Video Playlist
In this playlist, you’ll find a video about each square and each part of the blanket. They are released as that part of the blanket is released. So, as the crochet along progresses, the playlist will grow.
The videos about the squares include information about the design of the square. You’ll also find tips about how to be make the square.
Some videos are interviews with the designers themselves. Those fun interviews offer a glimpse into the life and business of the designer.
Visit the playlist for helpful information and fun conversation!
General Information
Abbreviations – US crochet terminology
- beg – beginning
- ch – chain
- dc – double crochet
- hdc – half double crochet
- rnd(s) – round(s)
- sc – single crochet
- sk – skip
- sp – space
- st(s) – stitch(es)
- YO – yarn over
- RS – right side
- WS – wrong side
Repeats
- (…) – Work everything within the parentheses in the same st or sp.
- […] – Repeat everything within the brackets the indicated number of times.
Special Stitches
Granny Stitch (GS) – 3 dc worked in the same st or sp
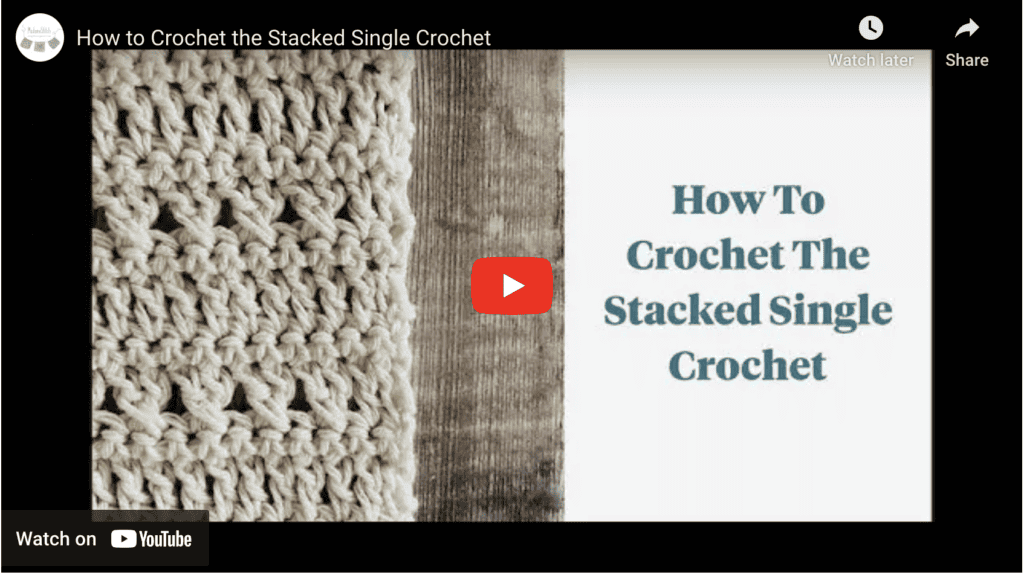
Stacked single crochet (STsc) – (This stitch is used at the beginning of a row or round to replace the traditional turning ch-3. It has the appearance of a dc.) – Insert hook in same st as loop, YO, draw up loop, YO, pull through 2 loops (bottom sc made), insert hook in left vertical bar of bottom sc, YO, draw up loop, YO, pull through 2 loops (top sc made).
Blocking
It’s highly recommended that you block each and every square. Blocking ensures that each square is approx. the same size. It will also open up the stitches and show off that fabulous texture!
For the sample, steam blocking was used. You may use the method of your choice and the one that works best for the yarn you’ve chosen.
Pattern Notes
- Before beginning each new square: Read through the entire pattern. Make a gauge swatch or work the number of rounds for gauge. Practice any stitches or techniques you aren’t familiar with.
- Each square pattern includes all of the information you need to make the square.
- For questions about a particular square, reach out to the individual designer.
- To get a square size of 12″, it may be necessary to add a round or two, or stop a roundearly. Use your best judgement to get to the desired finished size.
Find the links to the square patterns here
Assembling and Seaming your Granny Stitch Sampler Blanket
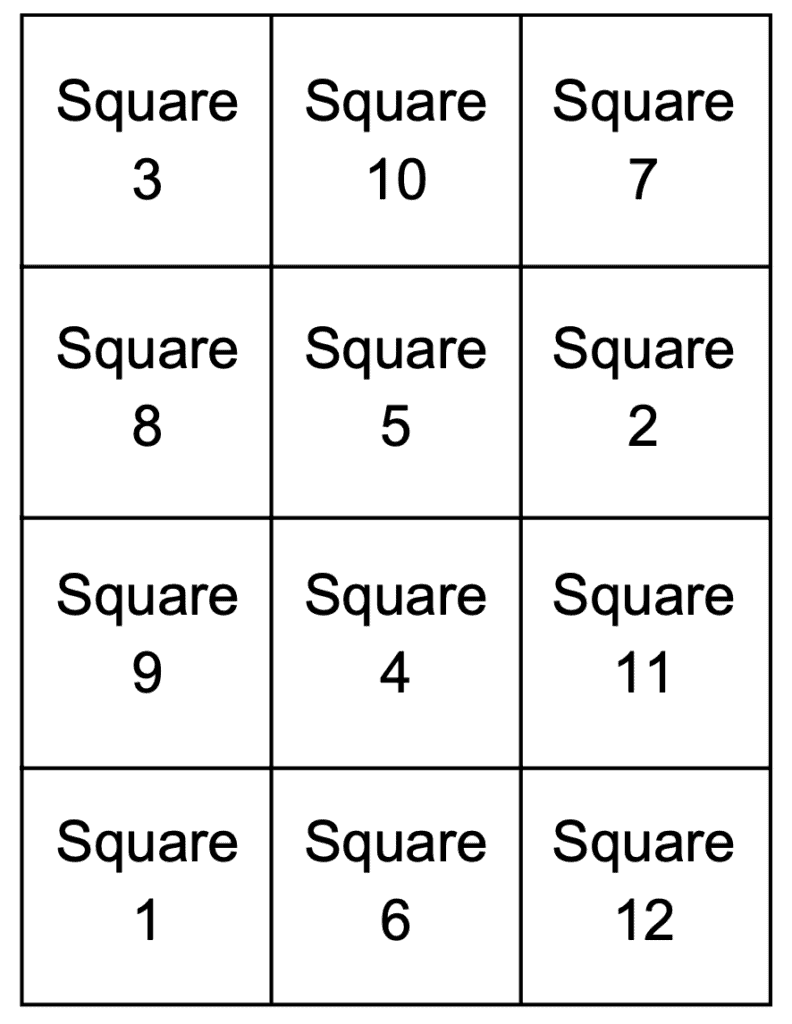
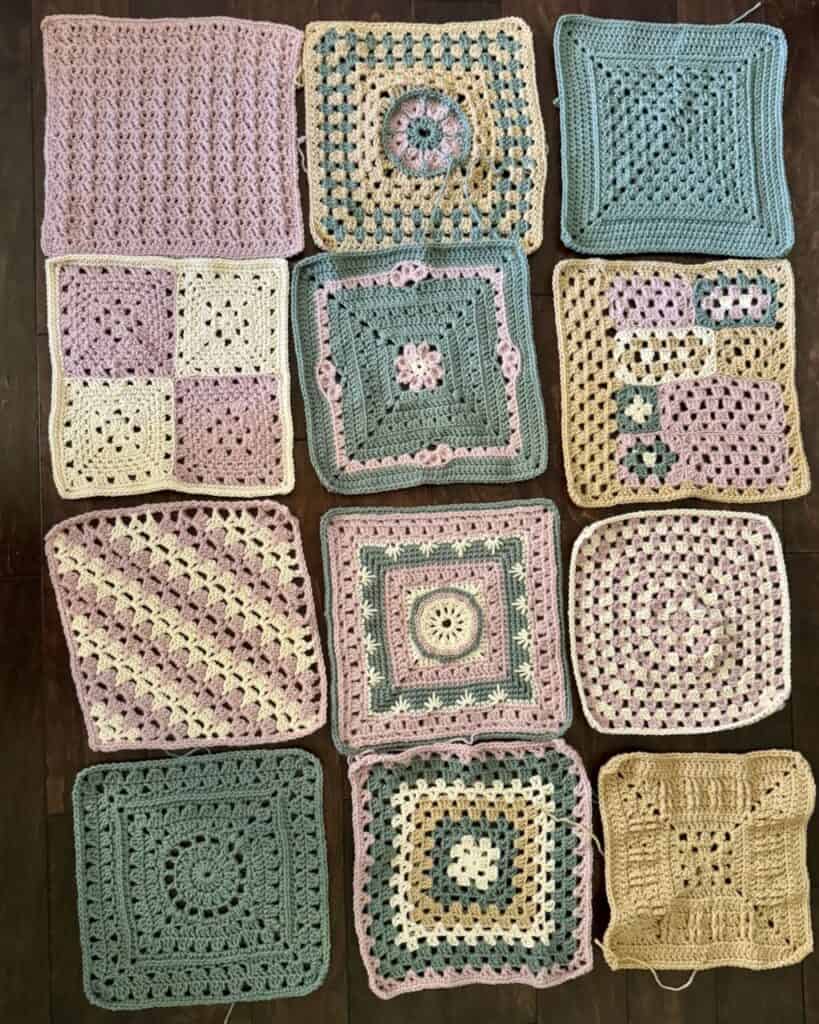
The square numbers in this chart correspond to the order in which the squares were released.
Be sure you’ve blocked each square to the appropriate size before beginning assembly.
How to assemble the granny stitch blanket
- Lay out the squares according to the chart (the numbers correspond to the number of the square when it was released).
- You may choose to lay your squares in any pattern you like. When you do, take a photo of the layout or note the layout you’ve chosen on a piece of paper.
- When you look at the laid out squares, they should all be right side showing with the stitch patterns oriented in the correct direction so you’re looking at them top to bottom.
- Using a slip stitch seam (see below), begin with Squares 2 & 7.
- Sew all horizontal seams first, then sew the vertical seams.
- Do not weave in the ends. They can be carried under the Border and subsequently secured once the Border is complete.
Tips for a successful slip stitch seam
- Use the I-9 (5.5mm) hook or a hook size that allows for moderately loose stitches.
- Check to be sure all of the slip stitches are the same size as you work.
- Adjacent squares may have a slightly different number of stitches along the sides being sewn together. You may have to double up a few slip stitches to ensure that the corners of the squares line up at the intersections of the seams (aka the square corners).
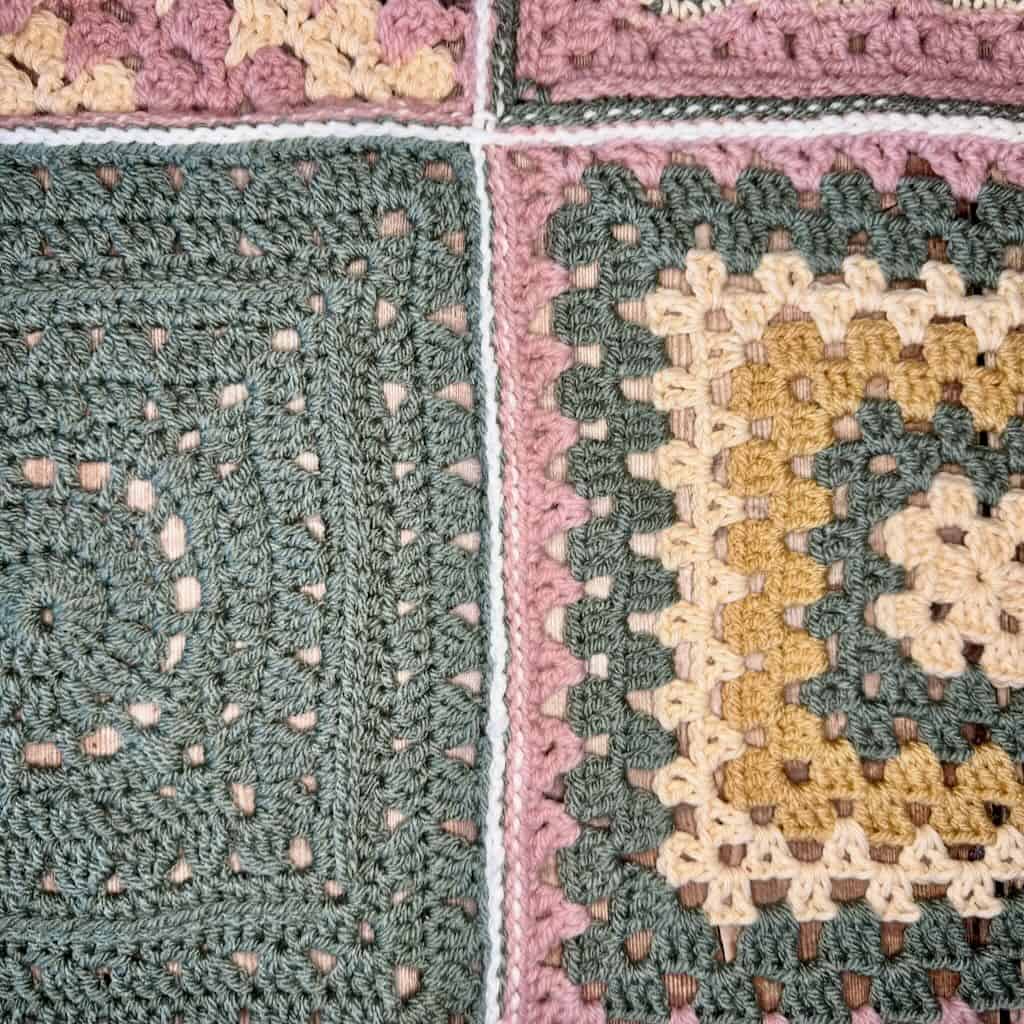
How to seam using a slip stitch seam
Before you begin seaming, choose which side of the blanket you want the seam to show on – right side or wrong side. That will determine which side of the blanket squares the slip stitch seam is worked. Make your choice before beginning.
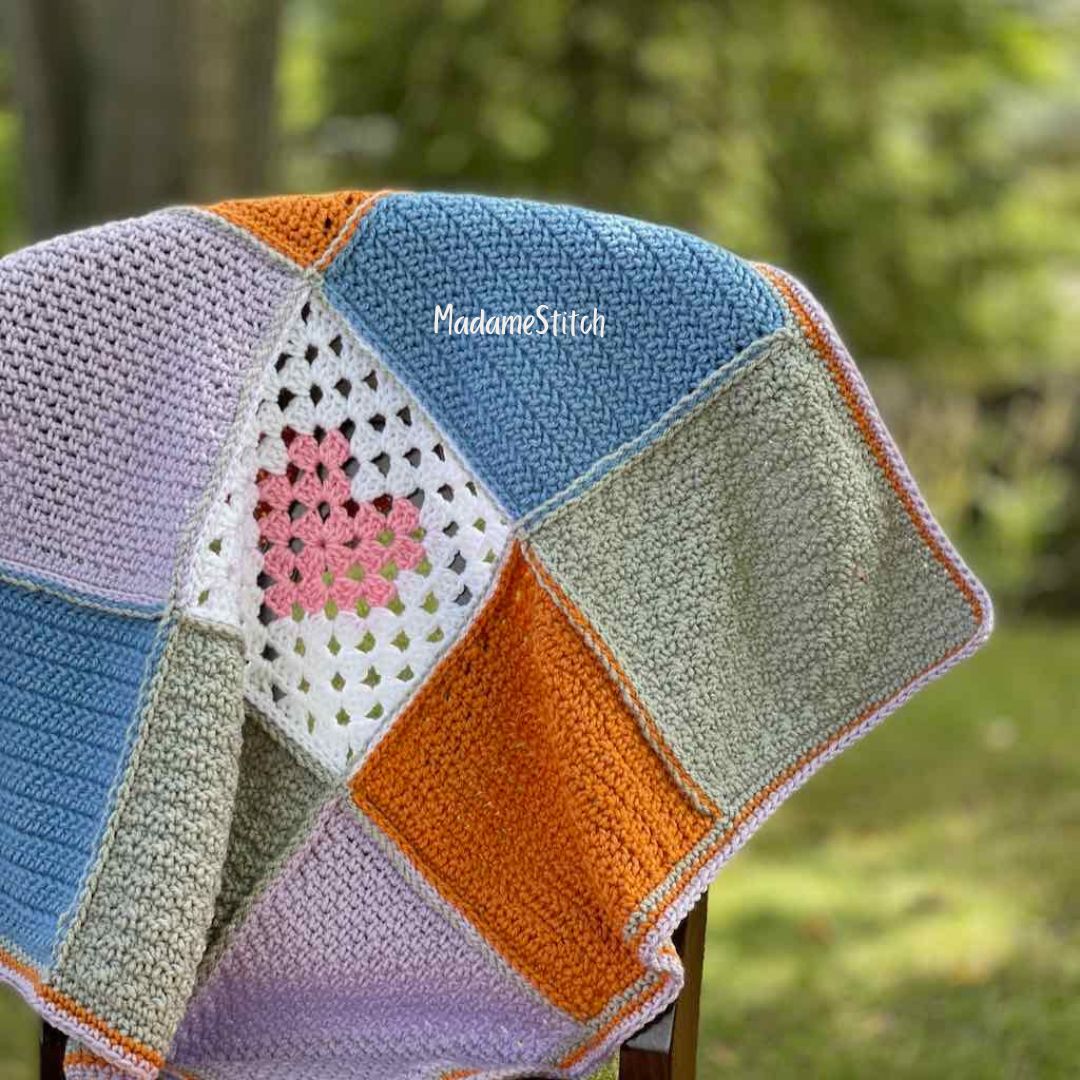
Slip stitch seam on the right side of the blanket: The sample was made with the slip stitch seam worked with the wrong sides of the square held together. That causes the seam to show on the right side of the granny stitch blanket and allows it to become a part of the design.
Slip stitch seam on the wrong side of the blanket: If you want your seams to be invisible, hold the right sides of the square together. When you do, the seam will be hidden on the right side of the blanket.
- Start at the upper right hand corner of the Assembly chart to slip stitch the 1st horizontal seam.
- Hold the bottom edge of Square 7 against the upper edge of Square 2 (which should be facing you as you work the seam).
- Attach yarn to the upper right hand corner through the back loops only (the loops touching each other) of both squares.
- Insert hook through the same sts and draw up a loop.
- Insert hook through the loops of the next st and work a slip st.
- Continue working slip sts across the squares to the next corner.
- When you reach the next corner, pick up the next 2 squares and continue slip stitching across to the opposite corner.
- Repeat the above step to complete the 1st horizontal seam.
- Fasten off at the end of the seam.
Continue by seaming the remaining 2 horizontal seams, then sew the vertical seams.
How to Crochet a Slip Stitch Seam (Video Tutorial)
The Granny Stitch Border
Choose any color scheme you like for your granny stitch border. The colors used for the sample blanket are listed in the Color Scheme table above.
Rnd 1: With RS facing, attach the assigned color to any corner, ch 1, (2 sc, ch 2, 2 sc) in the same st/sp, [sc in the next st/sp and in each st/sp across to the next corner st/sp, (2 sc, ch 2, 2 sc) in the corner st/sp] 3 times, sc in the next st/sp and in each st/sp across to the 1st corner, join with slip st to beg st.
Note: Before each corner, you may need to skip a different number of sts than 2. If it’s more than 3, work another GS in before the corner.
Rnd 2: Slip st to and into the ch-2 corner sp, (STsc, dc, ch 2, 2 dc) in the same corner sp, {[sk 2 sts, GS in the next st] across to the next ch-2 corner sp, (2 dc, ch 2, 2 dc) in the ch-2 corner sp} 3 times, [sk 2, GS in the next st] across to the 1st corner, join with slip st to beg st. Fasten off.
Note: The GS of Rnds 3-5 are worked in the sp between GS of the rnd before, where a ch-1 sp would normally be.
Rnd 3: Attach next color to any corner sp, (STsc, dc, ch 2, 2 dc) in the same corner sp, [GS in the next sp and in each sp across to the next ch-2 corner sp, (2 dc, ch 2, 2 dc) in the ch-2 corner sp] 3 times, GS in the next sp and in each sp across to the 1st corner, join with slip st to beg st. Fasten off.
Rnd 4: Attach next color to any ch-2 corner sp, rep Rnd 3.
Rnd 5: Attach next color to any ch-2 corner sp, rep Rnd 3.
For a wider border, continue to rep Rnd 3, changing colors every rnd.
Fasten off and weave in all ends.


Hi there, thank you for the patterns. looking forward to seeing what is coming!
Lyn,
I can’t wait to get started! I do hope you’re planning to participate. The blanket is absolutely gorgeous!
Best,
Debbie
I am sooo excited about the upcoming GRANNY SQUARE CAL ! Granny Squares make up so fast. Plus the extras to be included in some of the squares. Im ready for the challenge. I do recognize some of the designers so being introduced to others is a bonus. Next on the list is to get my supplies together. I’ve wanted to use a Green/Pink color combo for some time so this project is perfect for me.
Deborah,
This blanket is truly gorgeous, isn’t it? I had so much fun making it and I know you will too!
-Debbie
looking forward to this CAL
Margaret,
I’m so glad you’re planning to participate! Wonderful to have you…
-Debbie
I am looking forward to this project. Thinking of possibly keeping it either monochrome or 2 colours only. Now I have to check my local craft store for supplies
Happy hooking everyone
Looking forward to this.
I have tried 2 different emails but unfortunately the tracker was not sent to me.
Vanessa,
Filling out the form and clicking the button sends you directly to the tracker to download; it wouldn’t have been sent to you in an email.
However, I did send you the link via email since you missed it. Click on the link in the email and that should take you to the tracker.
Best,
Debbie
the tracker doesn’t download for me either…..
Hi.
I can’t afford to buy new wool for this project so it’s going to be a mishmash of all my leftover yarn.
Don’t will not blend with my colour scheme however I will love it for the chance to learn new designs.
Thank you for the chance to do this with free patterns.
I tried to get the tracker several times. I get the landing site but no tracker. Please email me a link. Thank you.
All done! Enjoy!
-Debbie
Thank you so much! Saved and printed
Please tell me what to do to receive the progress tracker? I’ve tried various times to get it by putting in my details but still no tracker!!!! what is the next step?
Frede,
When you hit the button “Submit”, you would have been taken directly to the document. However, if you have a popup blocker or other security measure in place, you might need to temporarily suspend that to see the tracker.
-Debbie
Please tell me what to do to receive the progress tracker? I’ve tried various times to get it by putting in my details but still no tracker!!!! what is the next step?
I have tried everything you suggested and still not get it!!!
I have tried everything you suggested and still not get it!!!
Thank you for the Beautiful pattern
Is anyone else having problems with the 4th square? I can’t find either a materials or special stitch sections. Am I missing something on that blog post?
Beth,
That information has now been added to the post for Square 4. You should have everything you need!
Best,
Debbie
Thank you so much. I have enjoyed all the squares so far and am looking forward to the rest.
4th square is quite a challenge. I’m also struggling with it. Only special stitch is the video at the end of the leave pattern, but no instructions for it. I take it that all the other stitches used, refers to the abbreviations in the original square 1 that was released. It makes it somewhat of a challenge, but i’m trying!!!
I love CALs, and I’m very excited about this one since I also happen to love Granny Squares. Unfortunately, I’m having a challenge on Square 4 (Drama Mama). The pattern on the designer’s blog says “see special stitches” in Round 3, in the context of a stitch “St Sc”, and the same round mentions a stitch “sc3Lp” that seems to be used throughout the pattern. And Round 5 mentions a stitch “dc3Lp”. But I can’t find a “special stitches” section, and a search of the blog returns no results except in other patterns. I’m an experienced crocheter but I’m not familiar with these stitches. And if I Google these stitches, the result just sends me back to the blog post for this pattern. Bottom line, I can’t create this square without some additional education. Is the designer’s blog perhaps missing a section called “special stitches” for this pattern?
Betsy,
I’m so glad you’re here!
I notified the designer and she has graciously added all of the missing information. You should be fine now.
Best,
Debbie
Thanks so much!!
2nd request.
Thank you for all your efforts in putting together such a lovely blanket!
I have tried multiple times to get a download of the tracker…..still not downloading…..even after reading all of your replies to others for how it is supposed to work. (I’ve tried to download on android, apple, and microsoft products.)
Would you please send me a pdf of that document?
I love your sampler blankets….this is the second year I have participated. I managed without a tracker but very interested in seeing the one you designed.
fyi….i dont get an email when each square is released either….just to let you know in case a similar process is used.
Agat, I love your instruction on this square, the pics are clear and concise. thankyou chrissie
Really enjoying this, the squares are all gorgeous.
But every square seems to have a different stitch count in the final round – how will you stitch them together? Or am I reading these patterns wrong?
It’s my perfectionist OCD side which is messing with me, I’m trying to ‘trust the process’ but it’s a struggle! I know you won’t want to release the full details in advance, but can you give me a hint, just so I can keep crocheting? Even if it’s just “trust me, it’s magic, it will work!” Cos I’m getting hung up on the stitch count right now.
Sorry to be a pain and thanks for your indulgence! It’s a really pretty project.
Eleanor,
I understand the uncertainty and anxiety. You are correct…each square will likely have a different stitch count along the edge. But, when you get to seaming them together, you may have to work into some stitches twice to keep the squares aligned with each other.
I promise it works. I’ve done several blankets like this and you can’t tell by looking at it that the squares are different. Just be sure the finished measurement of each square is close to the same. That’s the most important part.
-Debbie
Thank you! I shall persevere and see where the patterns lead me. It will be a new experience!
I really appreciate your patient response.
I have read through all of the comments so far, and as a very “old” crocheter, I can tell you that there is no such thing as a “perfect” square. As Debra Field has said many times, “In the end you will not notice if a stitch is less or more than the stitch count. Don’t let it get you frustrated. Have fun with it.
Well said, Dorothy!
I’m very frustrated with Square 6 (Lockwood Square from Crochets by Trista). The website appears to have blocked printing, and I ALWAYS print my patterns so I can crochet even if I don’t have access to the internet. I tried to post a comment on that website, but when I click “Leave Comment” on that page, the page generates an error (and I don’t think the Comment went anywhere) — since there are no other comments on that webpage, I don’t think the comments are working. Please help!
I have the same frustration. it is a lot of work to copy and paste but I prefer to do that and work from a hard copy!
Sadly, I can’t copy — I get an error message that the website is “protected” — so even that is not an option 🙁
Betsy,
I certainly understand your frustration. However, in this blog post, I’ve stated clearly that the pattern is “free to view” on the designer’s blog. To get a print copy, everyone is encouraged to purchase either the single PDF or the full pattern.
Plagiarism and stolen patterns are a big problem in the crochet industry, only made worse by AI which doesn’t give credit to the original designer. Trista has chosen to address the issue by having a setting on her website that prevents copy and print. It gives her a measure of protection. I hope you’ll support her decision so she can continue to provide content. She isn’t doing anything wrong; she’s simply protecting her copyrighted material.
Best,
Debbie
I tried going on crochets with Trista blog and it doesn’t let me download the granny sq. It comes up one page only and it comes up blank.
This issue has been addressed several times. I get so tired of reading the same complaints. She is keeping her patterns protected from plagiarism, which is a problem for many designers. I am not a designer, but I understand their problem. If you want to have a copy of the pattern be willing [as I am] to pay for it. It takes a lot of time to design, write and publish patterns. I do not know the people involved, but I do read comments to find valid instructions on patterns. Please be kind to these girls and guys that take the time to design the beautiful patterns we all enjoy.
I have tried several times to request the progress tracker, but it does not show up in my email. After the submission process, the page says it is on the way. But I have never received an email for it. I have searched the spam, junk folders and anything else I can think of. Is there another way to receive the progress tracker?
Just to note, this is such a simply beautiful afghan to work on! Keep up the good work and inspiration!
Sheri,
I checked the form and it wasn’t working properly so I must apologize to you.
Yesterday I sent an email with a link to the Progress Tracker to everyone who signed up for it. You should have received that email.
Thanks for being a part of the CAL!
Best,
Debbie